The plan
Reverse lunges look like the polite version of lunges until a workout gets fast. Then the usual leaks appear: short steps, soft front knees, loose ribs, and athletes pushing off the back leg because the front leg has stopped doing its job.
In CrossFit, reverse lunges can show up with bodyweight, dumbbells, kettlebells, a barbell, a sandbag, or a plate overhead. The loading changes the feel, but the basic question stays the same: can you step back, touch the floor under control, and stand up through the front leg without twisting or collapsing?
- Step back far enough to make room for the front leg to work, but not so far that the back hip gets dragged open.
- The front foot should stay heavy. If the athlete pushes mainly from the back toes, the rep has lost its point.
- Scale load before knee control disappears, especially in long sets or workouts with running, sleds, or squats.
What a clean reverse lunge should feel like
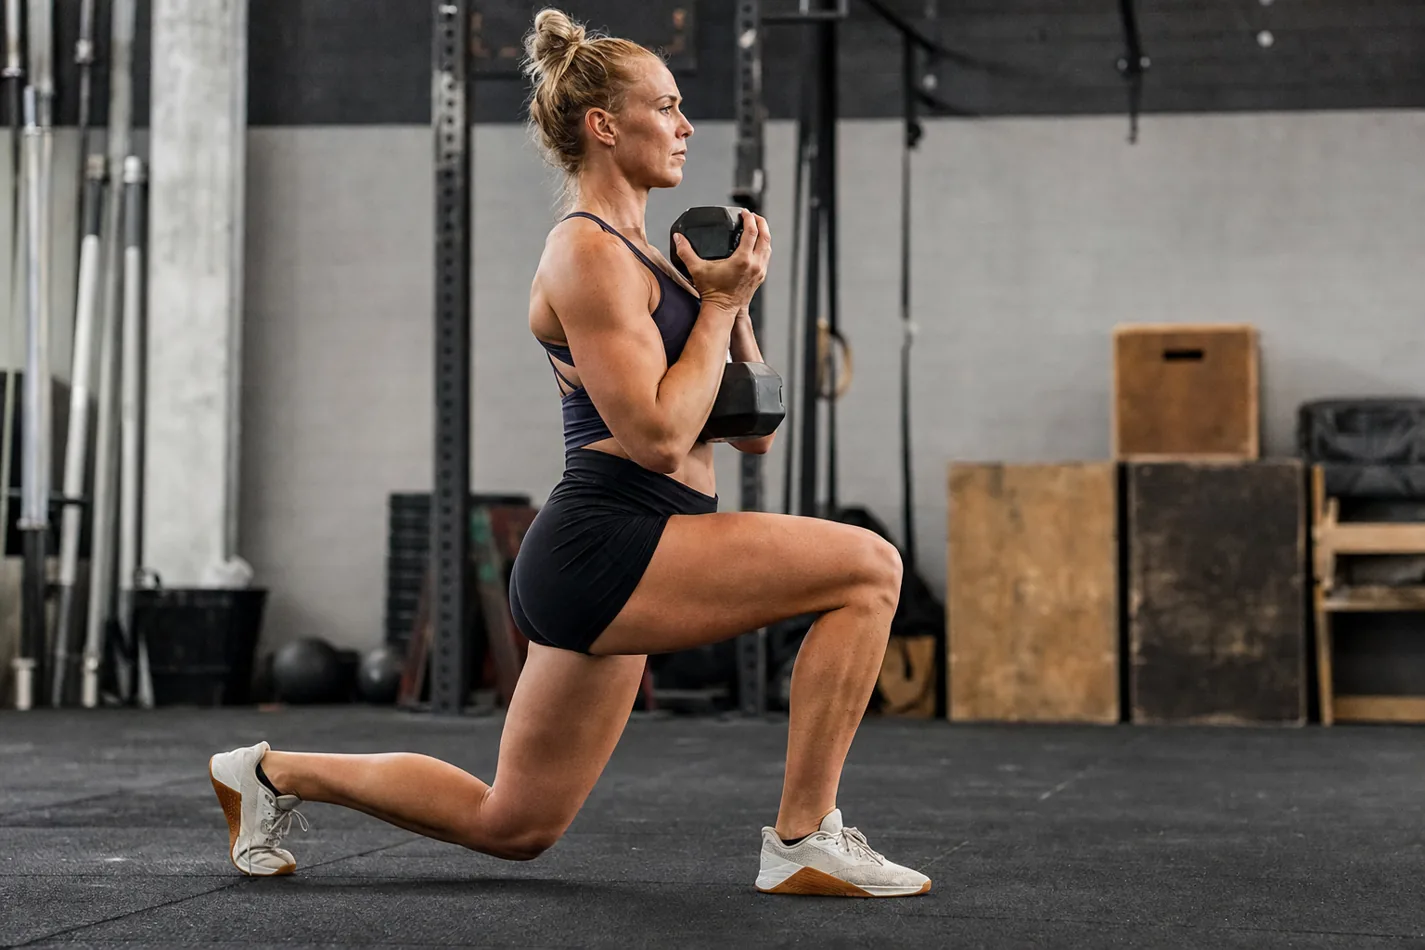
A good reverse lunge starts with a quiet step back. The front foot stays planted, the ribs stay stacked over the hips, and the back knee moves toward the floor without a crash. At the bottom, the athlete should feel the front glute and quad ready to drive, not the back leg scrambling to push the body forward.
The movement has a different rhythm than walking lunge control. Walking lunges keep traveling, so momentum can hide a lot. Reverse lunges make the athlete return to the same spot. That makes balance, knee tracking, and pressure through the front foot easier to coach.
The front leg has to own the rep
The biggest mistake is treating the back leg like a kickstand that launches the athlete up. A small assist from the back toes is normal. A hard shove is not. If the front heel gets light or the front knee dives inward, slow the rep down and reduce the load.
This is where reverse lunges pair well with goblet squat depth and box step-up pacing. All three movements expose whether the athlete can keep pressure through the whole foot while the leg is tired. If the front leg cannot stay organized in a simple reverse lunge, loading it heavier will not make it cleaner.
| Fault | What it looks like | Fix to try |
|---|---|---|
| Step is too short | The front knee jams forward and the athlete feels crowded | Step back a little farther and keep the front foot flat |
| Step is too long | The back hip opens and the torso leans | Shorten the step until the hips stay square |
| Front knee caves in | The athlete loses power standing up | Slow down and track the knee over the middle toes |
| Back knee crashes | The rep turns into a bounce off the floor | Touch lightly or stop just above the floor |
Choose the load for the workout, not your ego
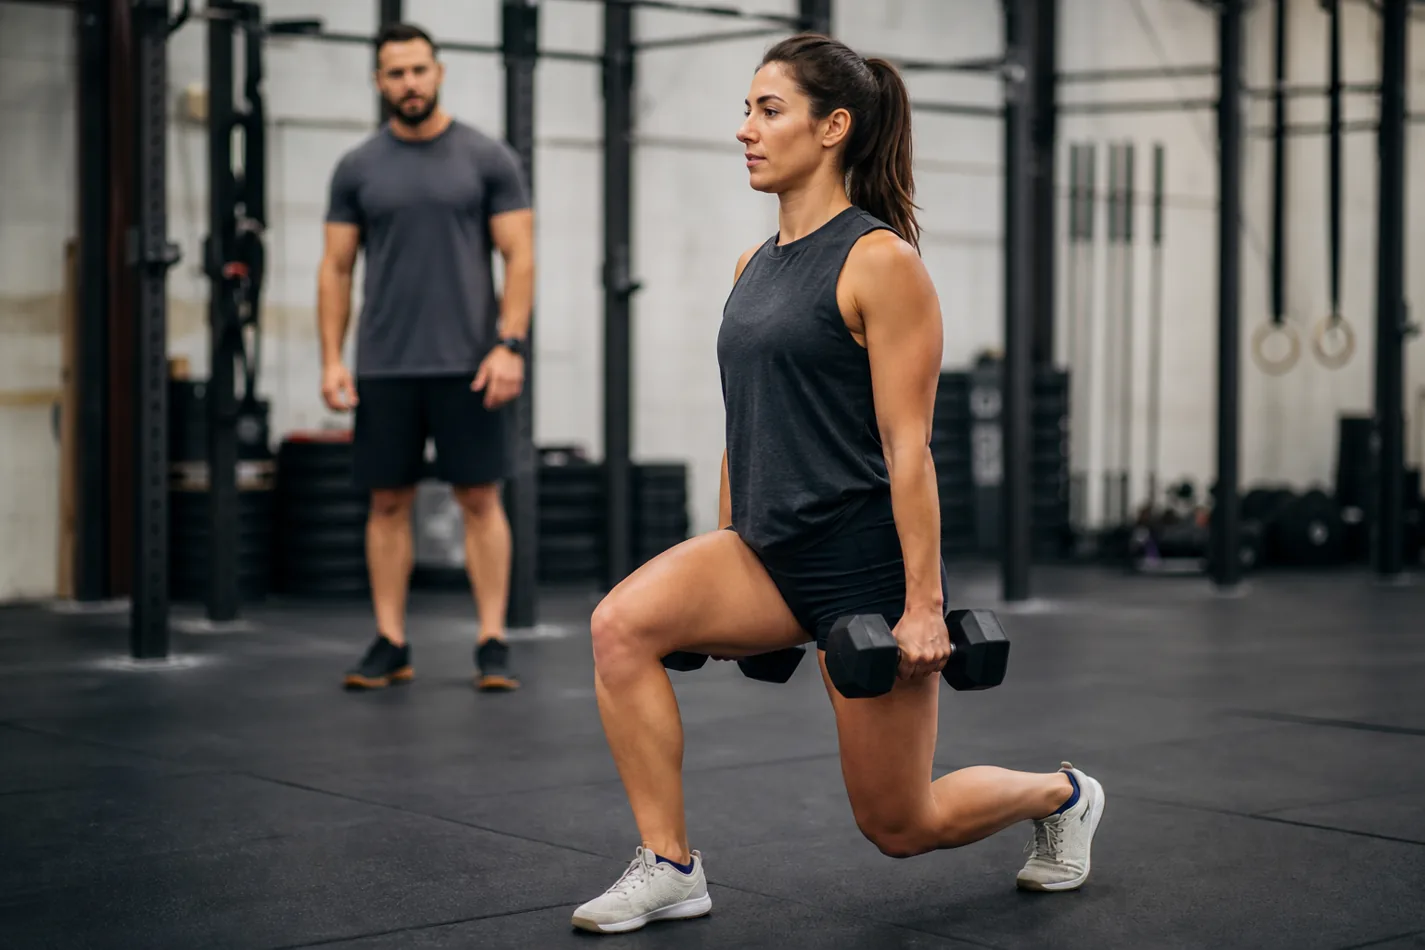
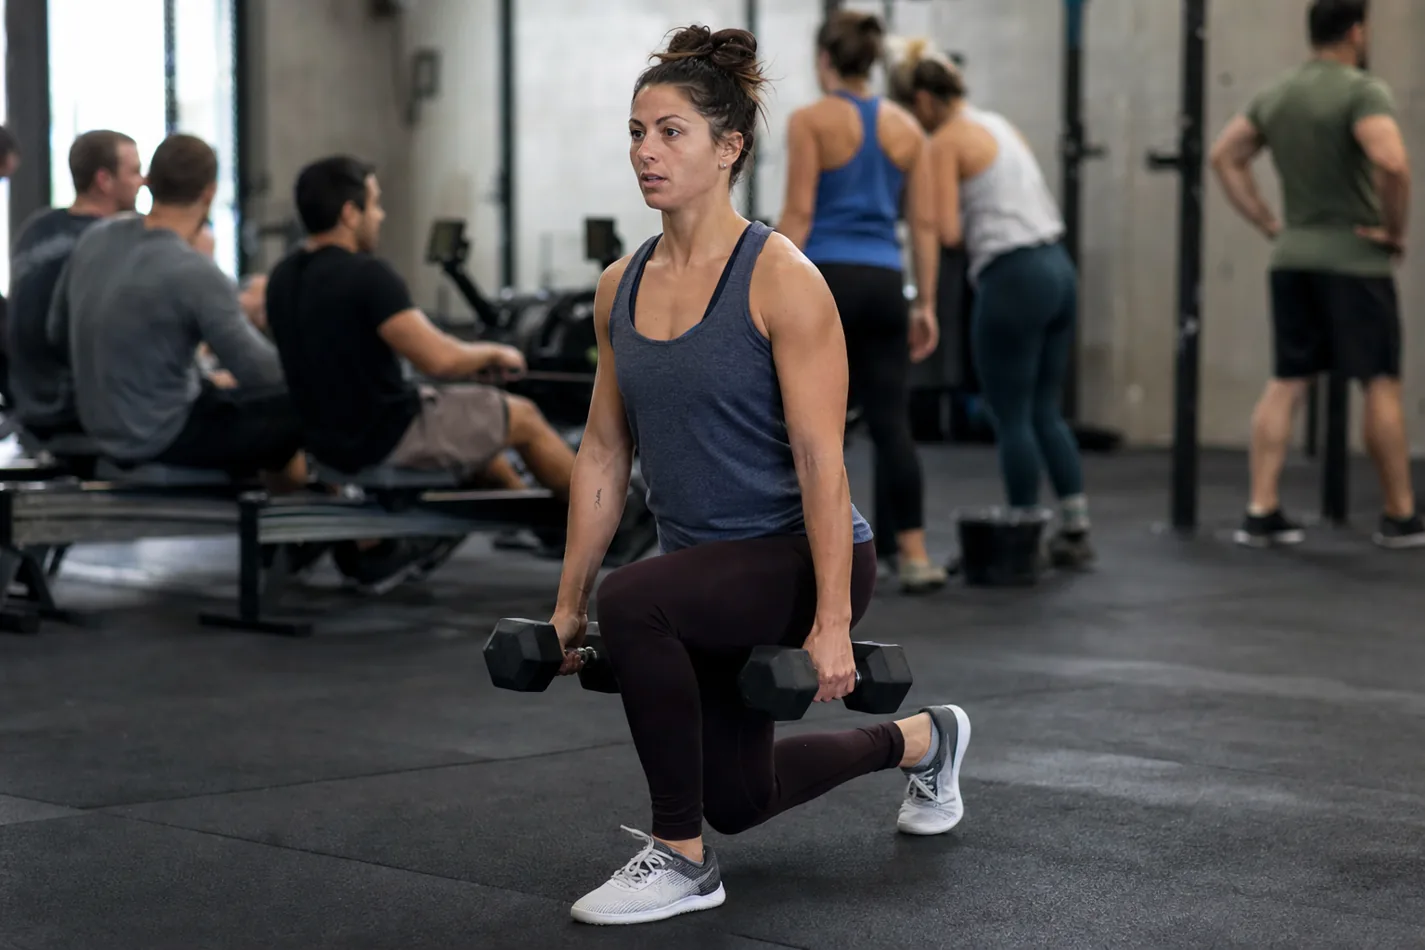
Dumbbells at the sides are usually the simplest loaded version. They let the athlete breathe and keep the shoulders relaxed. A goblet hold adds more trunk demand. A front rack or barbell version starts to feel closer to front squat bracing, especially when breathing gets messy.
Overhead reverse lunges are a different animal. If the workout asks for them, the athlete needs enough shoulder position to keep the ribs down and the weight stacked. If that position is already shaky, build with overhead lunge stability drills or lighter overhead holds before adding speed.
The demo below is useful because it keeps the movement quiet. Watch the step length, the front foot, and the way the athlete stands through the front leg instead of bouncing off the back knee.
How to pace reverse lunges in a WOD
Reverse lunges punish athletes who sprint the first set. The movement is slow enough that trying to rush usually creates worse reps, not much more speed. Keep the steps repeatable. Breathe at the top. If the set is long, break before the front knee starts drifting.
The pacing changes when reverse lunges sit next to sled push fatigue, running, wall ball breathing, or dumbbell work. Your legs may feel fine in the first round and then disappear in the second. Planned breaks beat a set that turns into half reps and knee wobble.
Scaling options that keep the single-leg stimulus
Good CrossFit scaling should keep the single-leg problem alive without forcing ugly reps. Use bodyweight reverse lunges, reduce the range of motion, hold a rack for light balance, switch from barbell to dumbbells, or use step-backs to a pad if the floor touch is too aggressive.
If the athlete cannot control the knee, lower the speed first. If control still fails, reduce load or range. For newer athletes, alternating reverse lunges with a controlled touch often teach more than loaded reps that turn into a balance drill nobody can repeat.
When reverse lunges are not the right choice
Change the movement if the athlete has knee pain that gets worse with each rep, cannot keep the front foot planted, or loses balance every time fatigue rises. A lower box step-up, split squat to a target, sled work, or lighter dumbbell clean mechanics may fit the day better.
Before the next workout, test five slow reps per side. Can you step back to the same distance, keep the front heel heavy, and stand without the knee diving in? If yes, start adding load or speed. If not, the fix is not more intensity. It is a cleaner step, a calmer torso, and a front leg that actually does the work.