The plan
A front rack carry gets uncomfortable faster than it looks. The weight sits high, the elbows want to drop, and every breath has to happen while the ribs are already under pressure. That is why it shows up so well in CrossFit accessory work and mixed conditioning pieces.
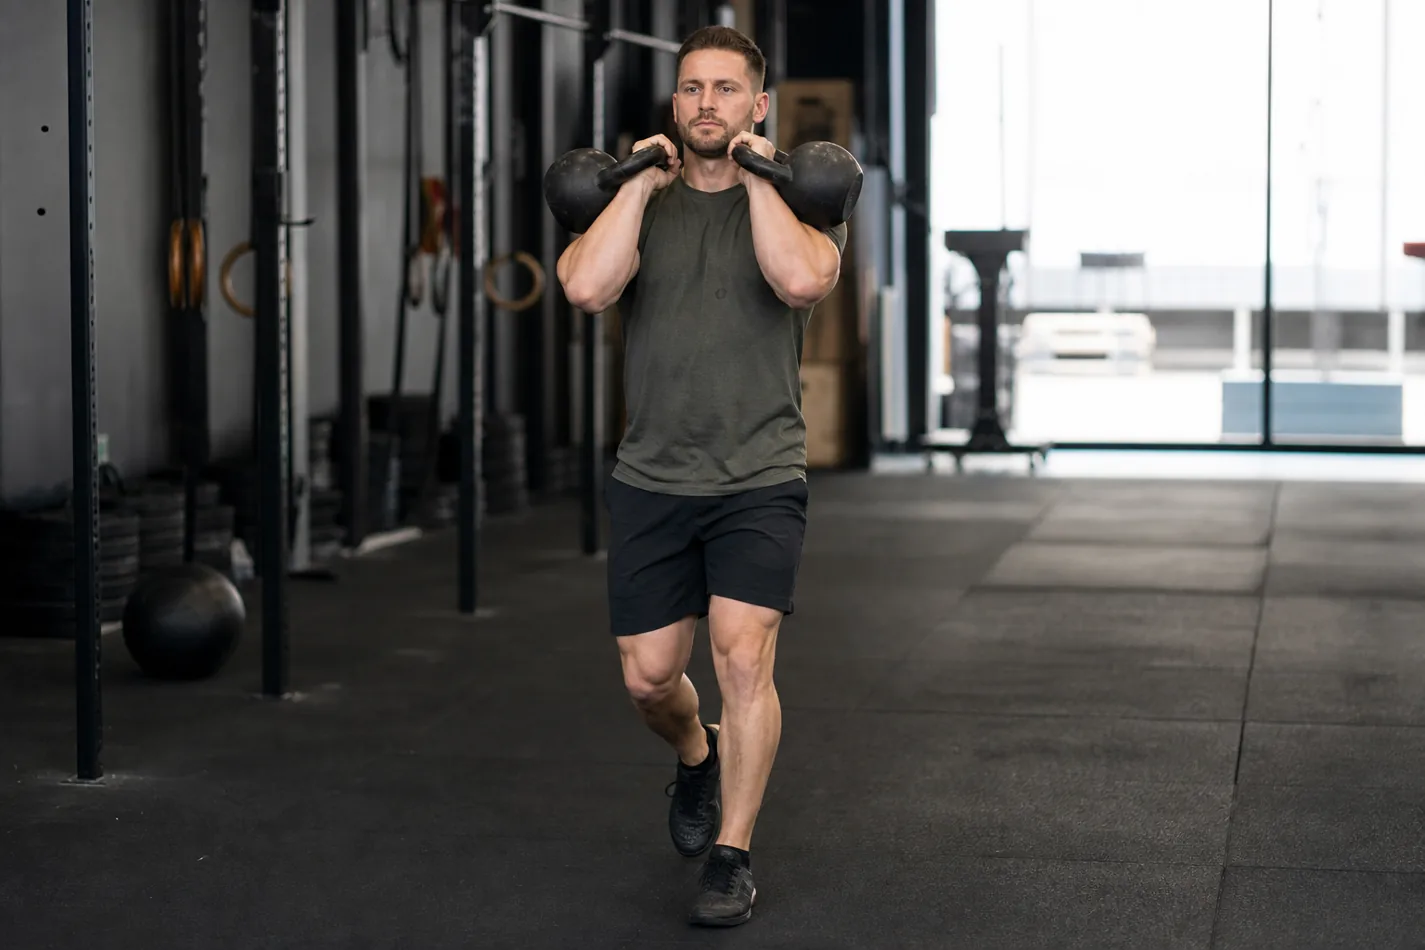
The movement is simple on paper: clean one or two kettlebells or dumbbells to the front rack, walk a set distance, and keep the rack from collapsing. In practice, it tests posture, breathing, upper-back endurance, grip, and the athlete's ability to stay calm when the load is right under the chin.
- The bells should rest in a stable front rack, not hang from tired hands.
- Breathe behind the brace. Holding air for the whole carry usually ruins the walk.
- Scale load or distance before the elbows drop and the lower back starts doing the job.
What the front rack carry trains
The front rack carry is not just a heavier walk. It puts the load where breathing gets harder and posture has fewer hiding places. If the upper back rounds or the ribs flare, the bells drift forward. If the athlete squeezes too hard, the forearms burn before the trunk gets real work.
That makes the carry a useful bridge between front squat rack position, kettlebell clean rack, and longer loaded carries. Compared with farmer carry grip or suitcase carry work, the limiter is less about hanging grip and more about keeping the rack tall while the lungs are working.
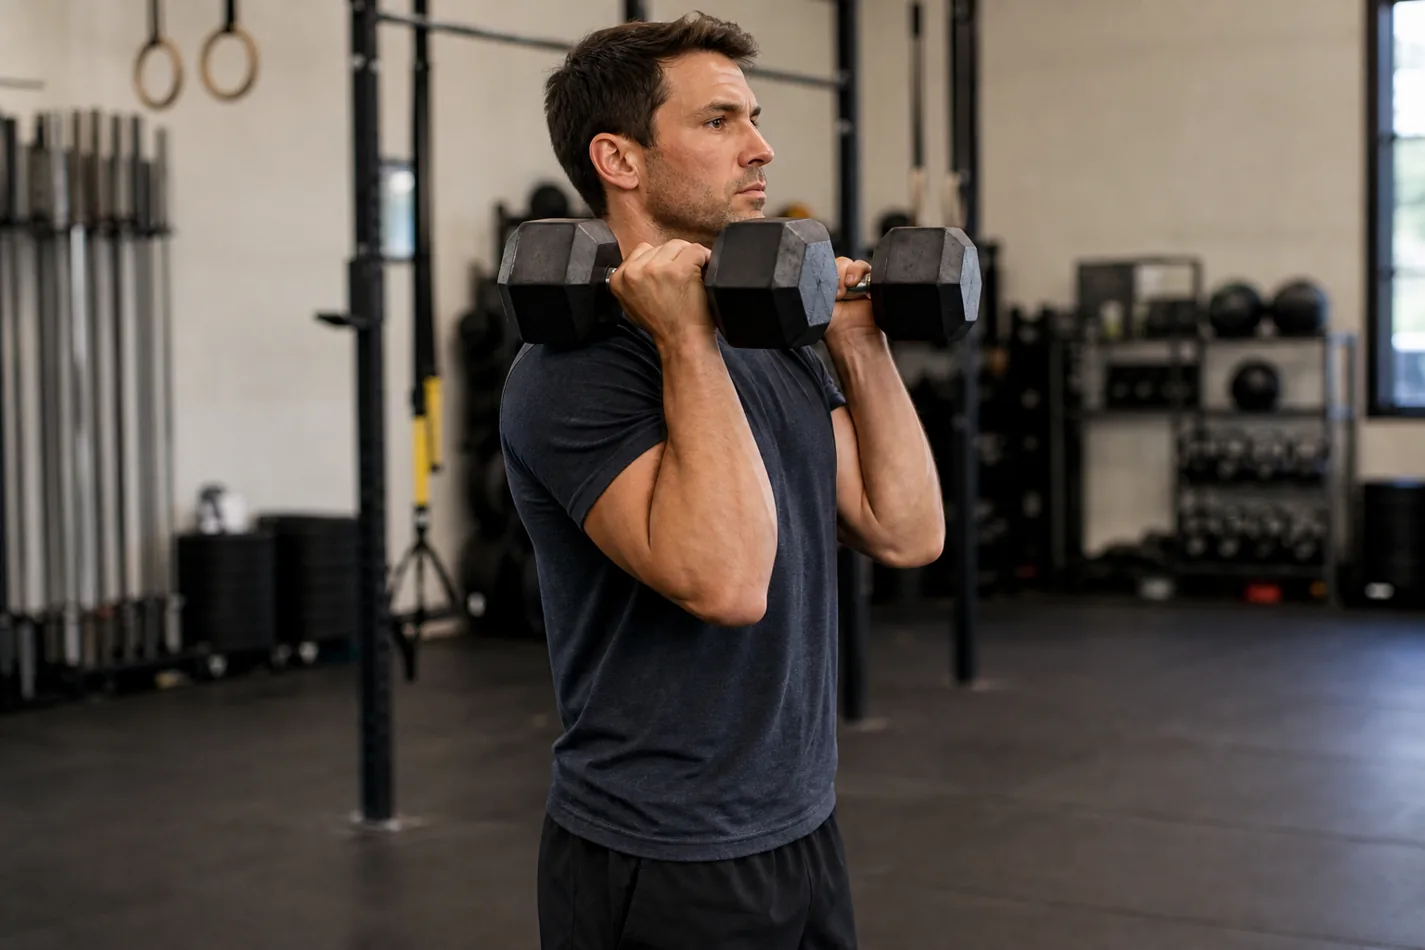
Build the rack before you start walking
Start by cleaning the weights to the shoulders with control. The handles should not sit in the fingertips. With kettlebells, let the bells settle against the forearms and upper arms. With dumbbells, keep the elbows slightly forward and the handles close enough that the rack feels supported.
Before the first step, take one breath, brace, and check the line. Ribs down. Eyes forward. Elbows up enough that the weights do not slide. A sloppy pickup from the floor turns the first ten feet into damage control, especially if the athlete is already tired from dumbbell clean mechanics or a barbell cycling piece.
| Fault | What it usually means | Fix before the next set |
|---|---|---|
| Elbows drop after a few steps | The rack is too heavy or too far forward | Lower the load, shorten the distance, or reset the bells higher |
| Lower back arches hard | The athlete is chasing height with the ribs | Exhale, pull the ribs down, and walk slower |
| Wrists fold back | The hands are carrying instead of supporting the rack | Relax the grip slightly and let the arms share the load |
| Steps get narrow and wobbly | The load is beating the midline | Use normal walking steps and cut the distance |
How to breathe when the rack feels tight
The front rack compresses the chest, so breath control matters. Do not try to hold one giant breath for the full lane. Use short breaths behind a steady brace. The trunk should stay firm, but the athlete still needs to get air in and out without shrugging the shoulders.
A good cue is "small breaths, tall elbows." If the elbows fall every time the athlete inhales, the load is probably too heavy for the goal. In class, this is where a coach should scale before the carry turns into a bent-back shuffle.
The demo below is useful because it shows the quiet part of the movement: the bells stay high while the athlete keeps walking. Watch the elbows, rib cage, and breathing pattern, not just the steps.
Where it fits in a CrossFit workout
Front rack carries work well after a CrossFit warm-up, in strength accessories, or inside conditioning pieces that already include squats, step-ups, rowing, burpees, or sled work. They are also useful when a workout needs loaded breathing without adding more pulling volume.
For most athletes, a clean set of 50 to 100 feet is enough to teach the point. Heavier is not automatically better. If the athlete cannot keep the rack through the turn, the set is too long or too heavy. The carry should make the posture work, not teach the body to fold.
Scaling options that keep the lesson intact
Good CrossFit scaling keeps the load in front while removing the piece that is failing first. If the rack is the issue, use one kettlebell instead of two. If breathing is the issue, shorten the lane. If the clean into the rack is messy, start from blocks or have the athlete use lighter dumbbells.
Single-arm front rack carries are a good step between a suitcase carry work and a double front rack carry. Stronger athletes can use two kettlebells, uneven loads, front rack plus farmer carry combinations, or longer intervals. Keep the standard honest: elbows stay high enough, feet stay calm, and the athlete can breathe.
What to test next time
Before adding weight, film ten steps from the side. The check is simple. Do the ribs stay down? Do the elbows stay in front of the body? Does the athlete keep walking like a person, or does the load turn every step into a fight? Fix those answers first. Then make the carry heavier.