The plan
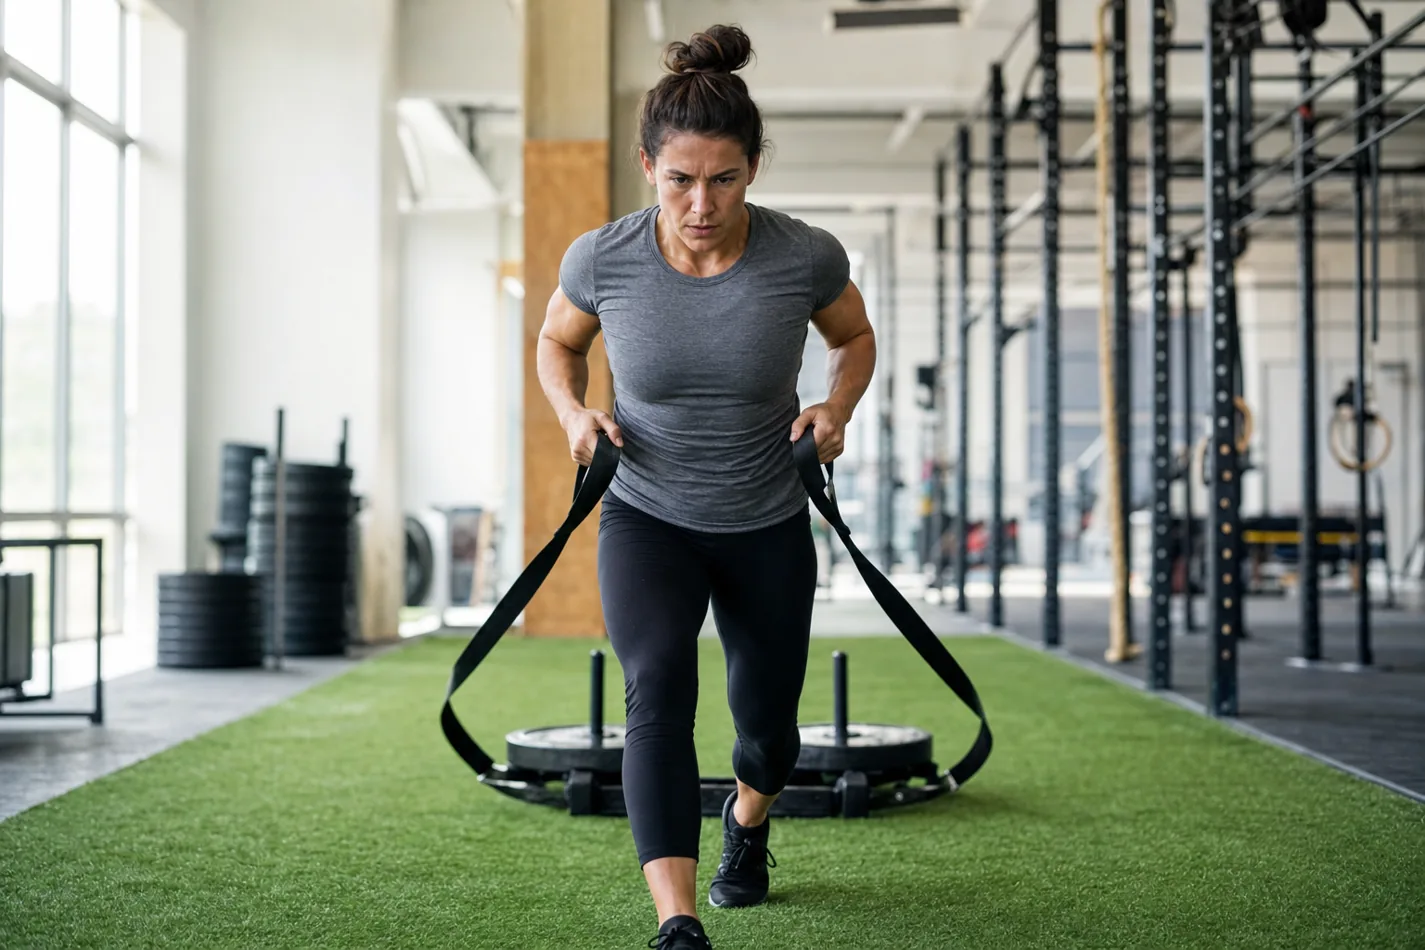
A sled drag looks harmless until the turf starts fighting back. The first ten feet feel fine. Then the straps go slack, the steps get choppy, and the athlete realizes the sled does not care how fit they felt during the warm-up.
In CrossFit, sled drags can show up as a heavy leg finisher, a conditioning station, or a quieter way to build strength without beating up the joints. The movement is simple, but it is not random. Better posture, steady strap tension, and smarter turns make the difference between useful work and a slow stumble.
- Keep tension in the strap before the sled starts moving. Slack turns the first step into a jerk.
- Forward drags punish the posterior chain and breathing. Backward drags make the quads light up fast.
- Use shorter steps and clean turns before adding plates or racing the clock.
What the sled drag actually trains
The sled drag trains legs, lungs, trunk control, and patience. Unlike sled push drive, the arms often connect the athlete to the sled through straps or a harness instead of a fixed handle. That changes the feel. The load follows a split second behind you, so sloppy rhythm gets exposed quickly.
A forward drag asks the hips and hamstrings to keep driving. A backward drag lights up the quads and forces smaller steps. Both versions can build the same calm under load that carries over to farmer carry posture, heavy carries, and longer mixed workouts.
Set the strap before the first step
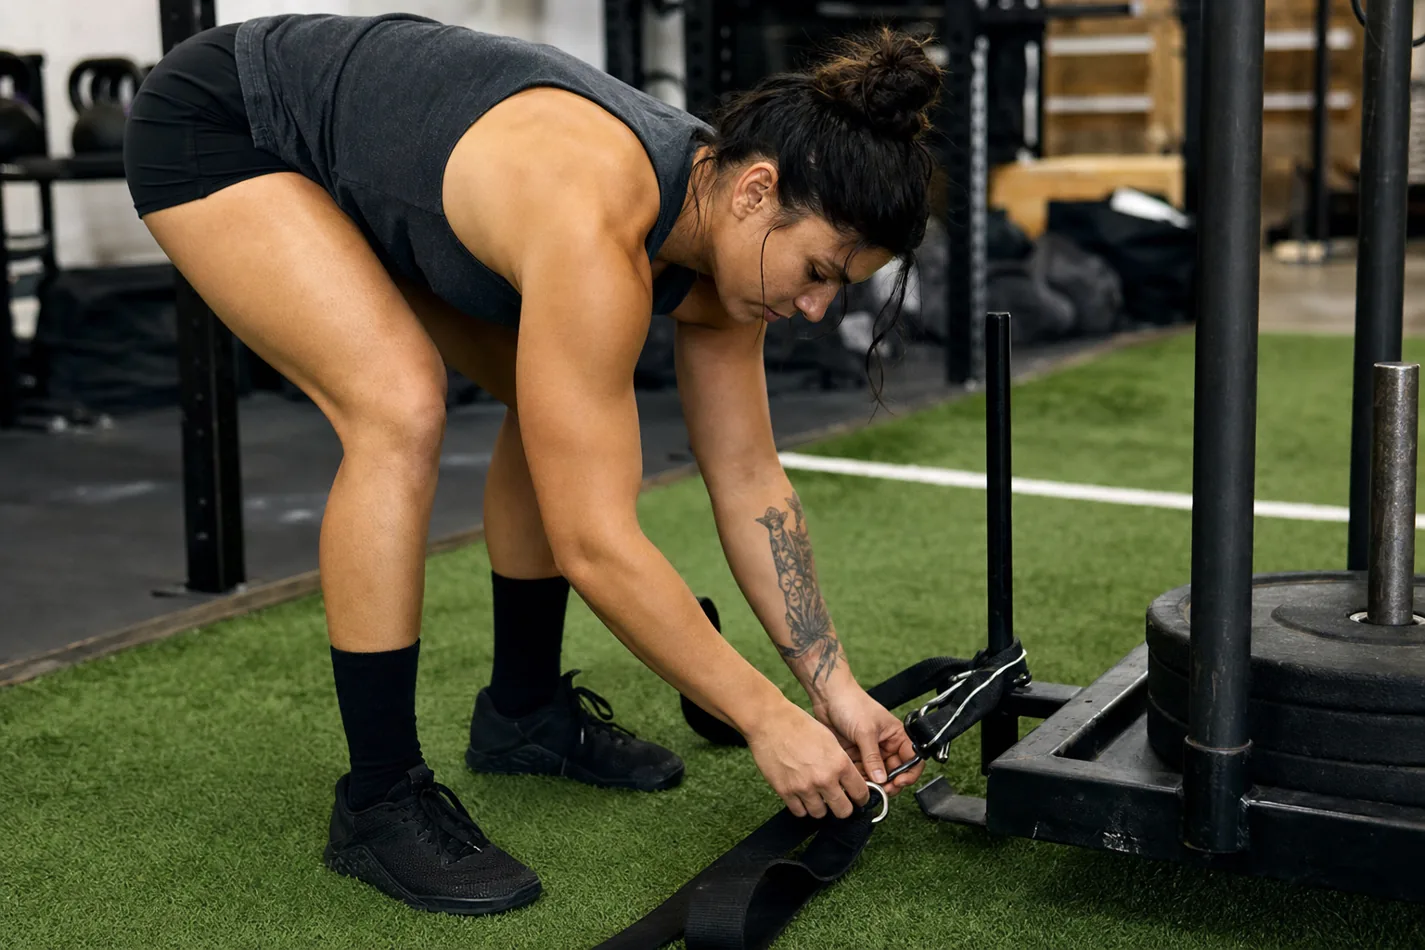
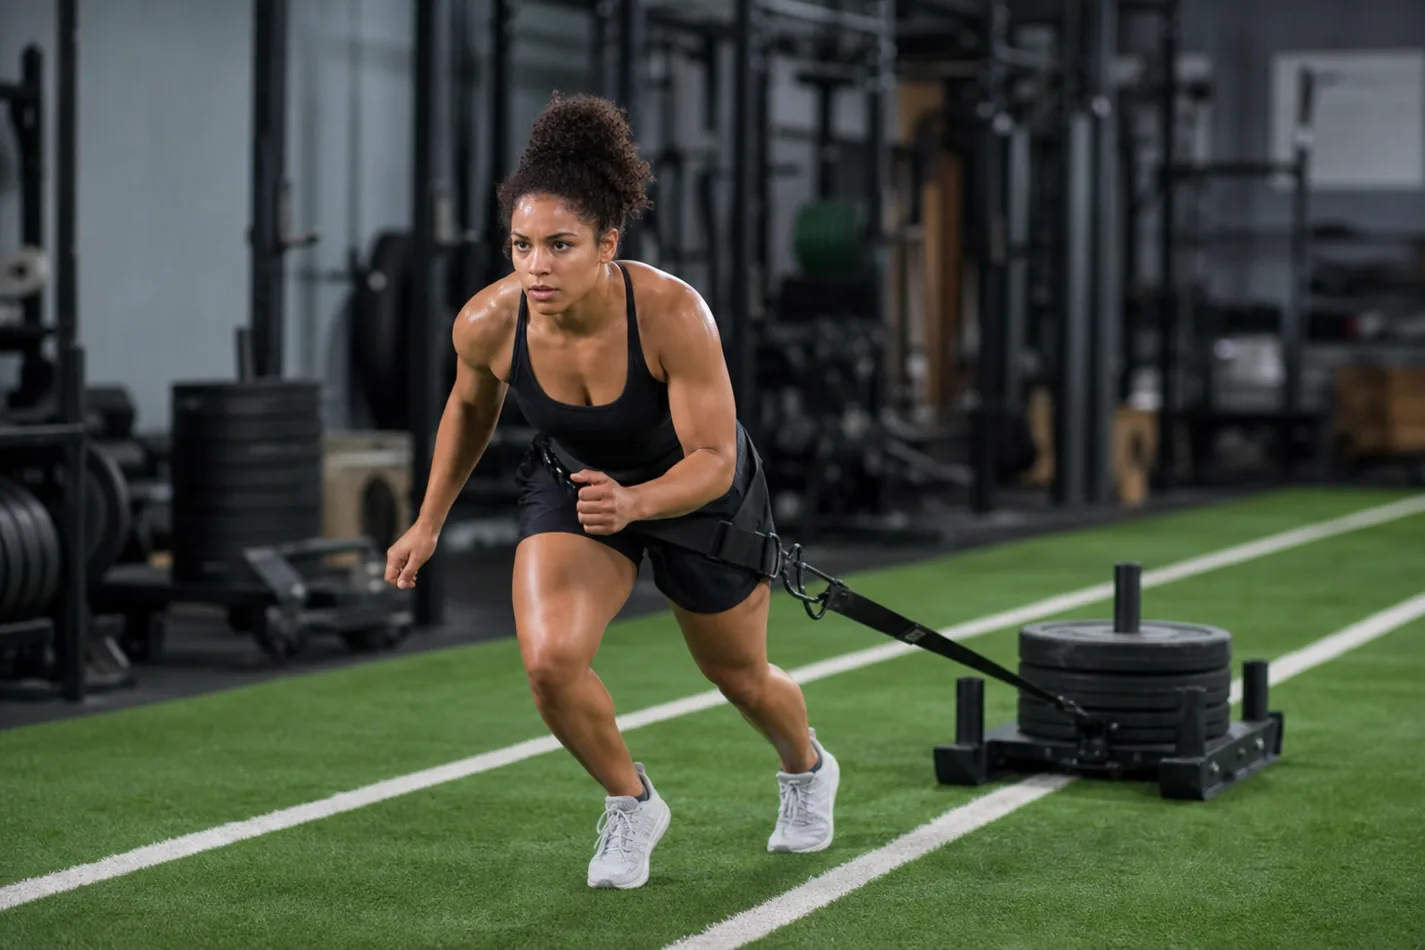
The most common mistake is starting with loose straps. The athlete leans, steps, and only then meets the load. That sudden tug wastes energy and can throw the torso out of position. Start with the strap already tight. Brace, lean enough to feel the sled, then take the first step.
Think of the setup like deadlift bracing. The load should not surprise you. If your ribs flare, your hips shoot up, or your feet scramble before the sled moves, the weight is probably too high for the workout goal.
| Version | Best use | Coaching cue |
|---|---|---|
| Forward sled drag | Posterior chain, breathing, long turf lanes | Lean from the ankles and keep the strap tight |
| Backward sled drag | Quads, knee-friendly leg work, controlled burn | Sit slightly, step short, keep the chest tall |
| Lateral sled drag | Hip control and change-of-direction work | Move smoothly instead of twisting the knees |
| Heavy short drag | Strength bias and low-skill output | Keep the distance short and the posture clean |
Forward drag versus backward drag
Forward drags usually let athletes move more aggressively. The body leans away from the sled, the feet drive through the floor, and the hamstrings have to keep working. This version pairs well with loaded carries, short runs, or lower-skill conditioning pieces.
Backward drags feel different. The athlete faces the sled, keeps the torso more upright, and steps back under constant quad pressure. It is a good option when the goal is leg fatigue without high-skill reps, but it gets ugly when athletes take huge steps and lose strap tension.
The demo below is useful because it shows the drag as a posture and footwork problem, not just a leg burn. Watch how the athlete keeps tension in the straps and avoids yanking the sled with loose steps.
How to pace sled drags in a WOD
The trap is treating the first length like a sprint. A sled drag does not always spike the heart rate immediately, so athletes start too hot and pay for it halfway through the workout. If the WOD also includes shuttle run turns, box work, or machines, the legs may feel normal until they suddenly do not.
Use the first lane to find the pace you can repeat. Short steps, quiet shoulders, steady breathing. If the sled sticks, do not panic-pull with the arms. Reset the strap tension and get the feet moving again.
How to scale it without changing the point
Good CrossFit scaling keeps the drag honest: move load across the floor while staying in control. Lower the weight before letting the athlete fold in half or yank the straps with bent arms. A lighter sled moved cleanly teaches more than a heavy sled that barely moves.
If turf space is limited, shorten the lane and reduce transition chaos. If the athlete cannot use straps safely, switch to a prowler, a plate push, or another loaded carry. The goal is not to worship the sled. The goal is controlled output under fatigue.
What to fix before adding plates
Add weight only after the athlete can start without a jerk, keep the straps tight, and turn without wandering across the lane. If the sled drag is paired with air bike pacing or another leg-heavy station, be even more conservative. The cost stacks fast.
Before the next WOD, check three things: does the sled move on the first step, do your feet stay under you, and can you finish the lane without your torso collapsing? If those are yes, add load slowly. If not, the sled is already heavy enough for today.
That same patience shows up in yoke carry bracing. Heavy tools reward athletes who stay organized before they chase speed.