The plan
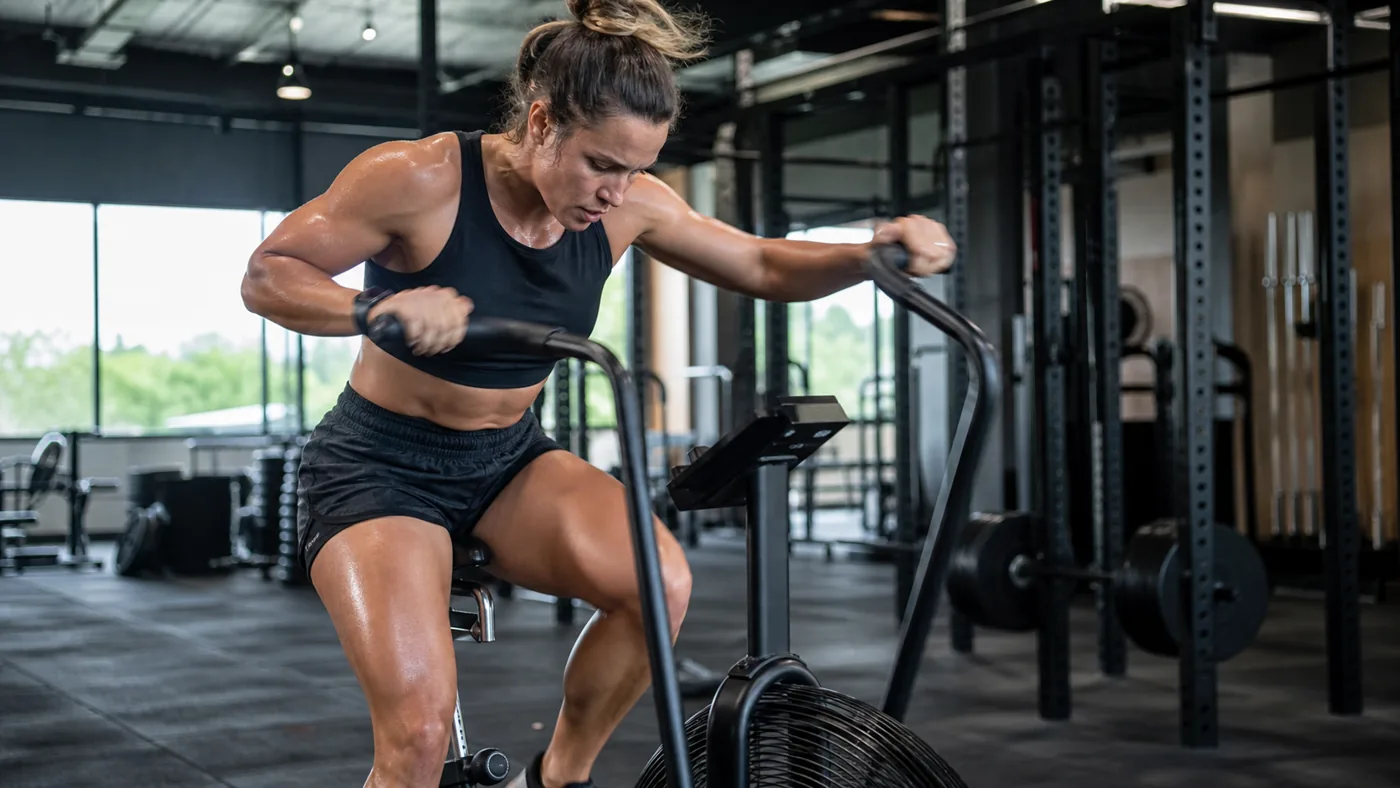
The air bike has a way of making confident athletes honest. Ten seconds can feel smooth. Thirty seconds can feel personal. By the one-minute mark, the bike is no longer just a machine in the corner. It is asking whether your pace matched the workout or your ego.
That is why air bike work in CrossFit should not be treated like a blind sprint every time. The fan rewards strong pressure, but it punishes panic. A good ride starts with a clean setup, a rhythm you can repeat, and a plan for when your legs and arms start arguing.
- Set the seat so your knee stays slightly bent at the bottom of the pedal stroke.
- Use arms and legs together instead of turning the ride into a quad-only sprint.
- Match the pace to the workout: calories, intervals, recovery, or a final push.
Why the air bike feels different from the rower
The air bike uses a fan, so resistance rises as you push harder. There is no fixed load to hide behind. The harder you drive the handles and pedals, the more the bike pushes back. That makes it useful for short bursts, conditioning pieces, and nasty mixed-modal workouts where your heart rate climbs fast.
It also changes the pacing problem. On the CrossFit rowing machine, athletes can often settle into a stroke rate and split. On the air bike, a small surge can cost more than it looks. If you open too hot, the fan does not care that the workout has four more rounds.
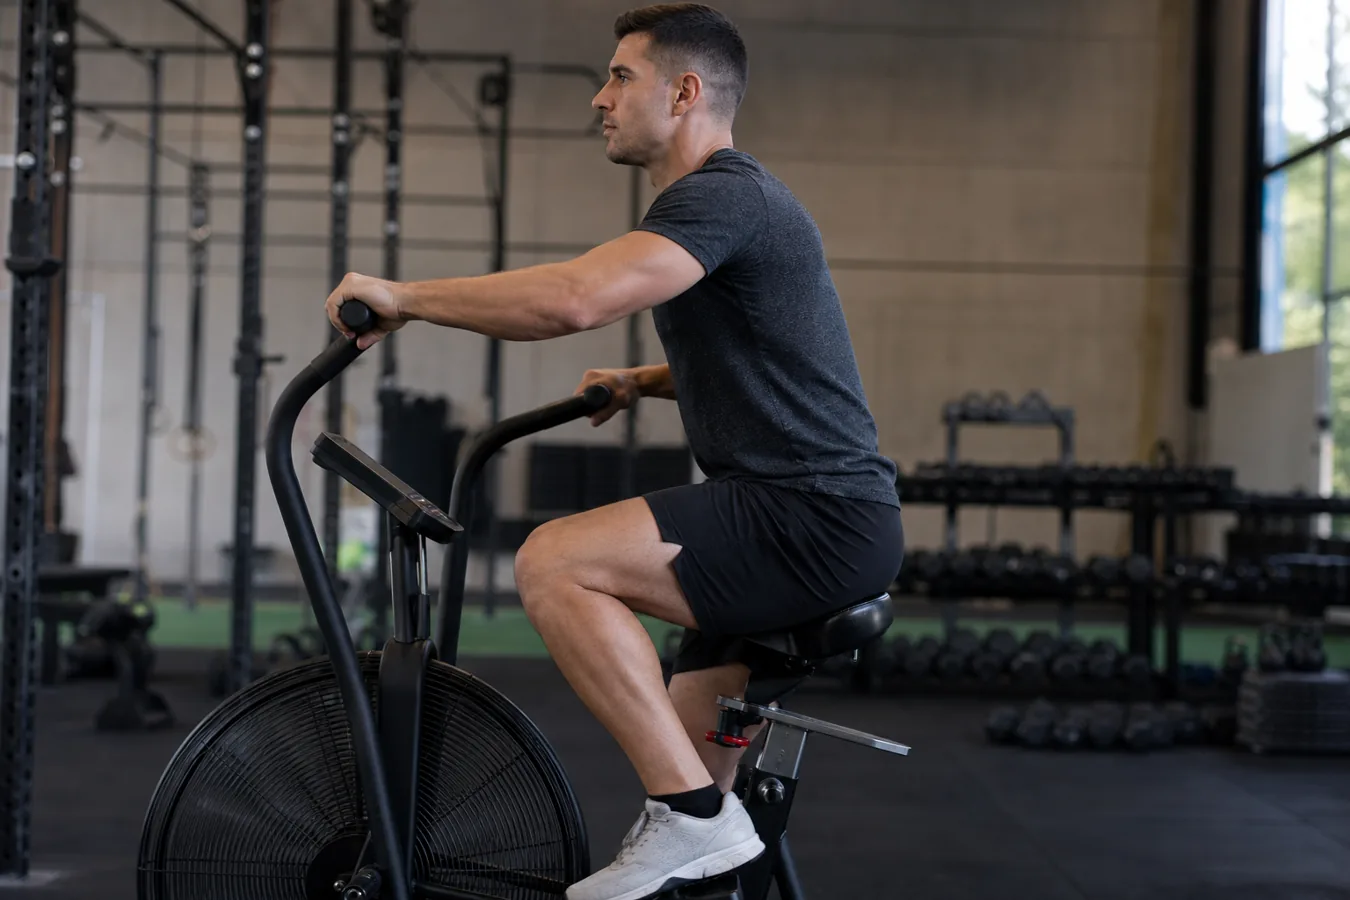
Set the bike before you chase calories
A rushed setup makes the ride worse before the clock even starts. Sit too low and the legs burn early. Sit too high and the hips rock side to side. A useful starting point is simple: at the bottom of the pedal stroke, the knee should still have a slight bend, and the athlete should be able to push and pull the handles without shrugging the shoulders.
Keep the chest tall enough to breathe. You do not need a stiff, military posture, but folding over the console usually turns into tight hip flexors, shallow breathing, and wasted handle movement. The best athletes on the bike often look calmer than they feel.
| Setup point | What it should feel like | Fix if it is off |
|---|---|---|
| Seat height | Leg extends with a soft bend, not a locked knee | Move the seat up or down one mark and retest |
| Torso position | Chest can stay open enough for steady breathing | Sit taller and stop collapsing onto the handles |
| Handle drive | Arms push and pull without the shoulders taking over | Relax the neck and drive from the upper back |
| Cadence | Pace is repeatable for the assigned work window | Back off before the fan speed spikes too early |
Watch the setup before the hard effort
This CrossFit coaching clip is worth watching before a workout with bike calories. It focuses on the small setup details that decide whether the ride feels controlled or frantic: seat position, handle reach, and how the athlete connects the upper body to the pedals.
How to pace the air bike in a WOD
The first question is not "How hard can I go?" It is "What does this bike piece need to do?" A 10-calorie sprint at the end of a chipper is different from 20 calories every round for five rounds. A recovery bike between heavy lifts is different again.
For repeat rounds, start just under the pace you want to brag about. If the screen shows watts, RPM, or calories per hour, pick a number you can repeat without a dramatic fade. If you use feel, aim for pressure that makes you work but still lets you step off the bike and move to the next station within a few breaths.
This is the same lesson athletes learn with double unders under fatigue: the first burst matters less than whether the skill is still there later. On the bike, the skill is restraint.
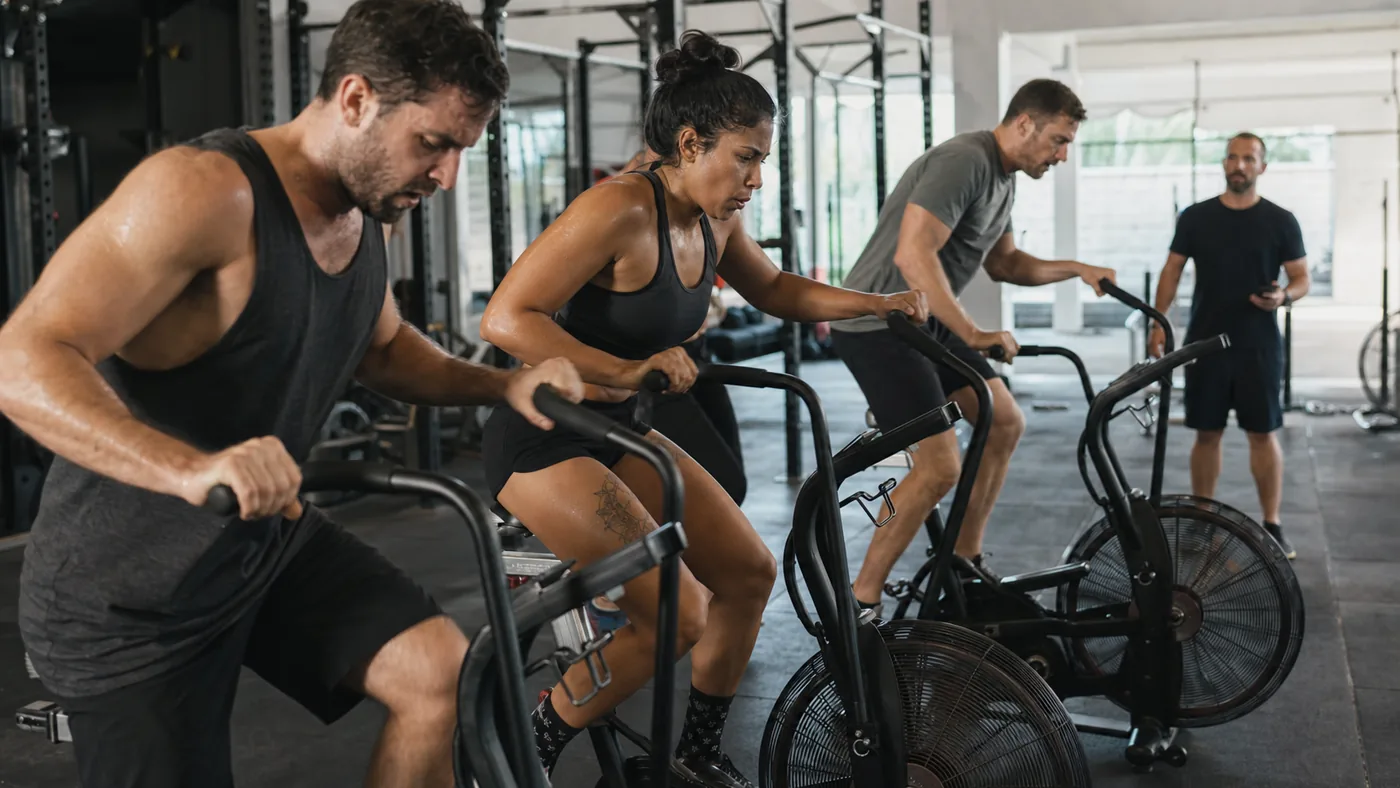
Common mistakes that make the bike worse
Most air bike mistakes are not technical in a dramatic way. They are pacing and posture mistakes that compound fast. One bad choice in the first round can make every burpee, carry, or barbell rep after it feel heavier.
- Opening at a sprint pace when the workout needs repeatable rounds.
- Letting the shoulders creep up and turning every pull into neck tension.
- Riding with the seat too low, then blaming the quads for burning out.
- Stopping completely after a hard push instead of easing down for a few seconds.
- Ignoring the transition after the bike and stumbling into the next movement.
When to scale air bike work
Scale the bike when the assigned calories or time cap no longer match the intended workout. That can mean fewer calories, shorter intervals, a lower target pace, or pairing athletes so nobody spends half the class buried on one machine. Scaling is not a soft option here. It is how you keep the workout from turning into a long sit-down with handles.
Newer athletes should leave the bike able to move to the next station with control. Larger athletes may accumulate calories faster but still need to manage recovery. Smaller athletes may need a calorie target that respects output differences. A smart CrossFit scaling plan keeps the stimulus intact instead of forcing every athlete to chase the same number on the screen.
What to test in your next bike workout
Pick one number before the workout starts. It can be RPM, watts, calories per hour, or simply the time you want each bike piece to take. Hold that number for the first half instead of spiking early. If you still have legs near the end, then push. The air bike is brutal either way, but it feels a lot less random when you decide the pace before the fan decides it for you.