The plan
- What a double under actually asks from your body
- Rope length matters more than most athletes admit
- The timing cue that makes double unders click
- Common mistakes and the fix that usually works
- Three drills that build the skill without frying your calves
- How to practice double unders inside a CrossFit week
- What to do when double unders show up in a workout
- The small mental shift that helps
- Watch the timing before you add speed
- Bottom line
Double unders look small from across the gym. Then the workout starts, the rope catches your toes twice, and suddenly the simplest piece of equipment in the room feels personal.
That is why this CrossFit skill gets so much attention. A double under is not just a faster single under. The rope passes under your feet twice during one jump, which means your jump, wrists, posture, breathing, and patience all have to line up. When one piece is off, the rope tells you immediately.
- Double unders are mostly a timing skill, not a test of how high you can jump.
- The biggest mistakes are donkey kicks, wide arms, tense shoulders, and changing the rhythm after every miss.
- Short practice sets beat long frustration sets, especially if you use singles, penguin taps, and small EMOM blocks.
What a double under actually asks from your body
The jump is only one part of the skill. Good double unders usually come from a tall, repeatable bounce, quick wrists, and a rope length that does not force you to fight the cable on every rep.
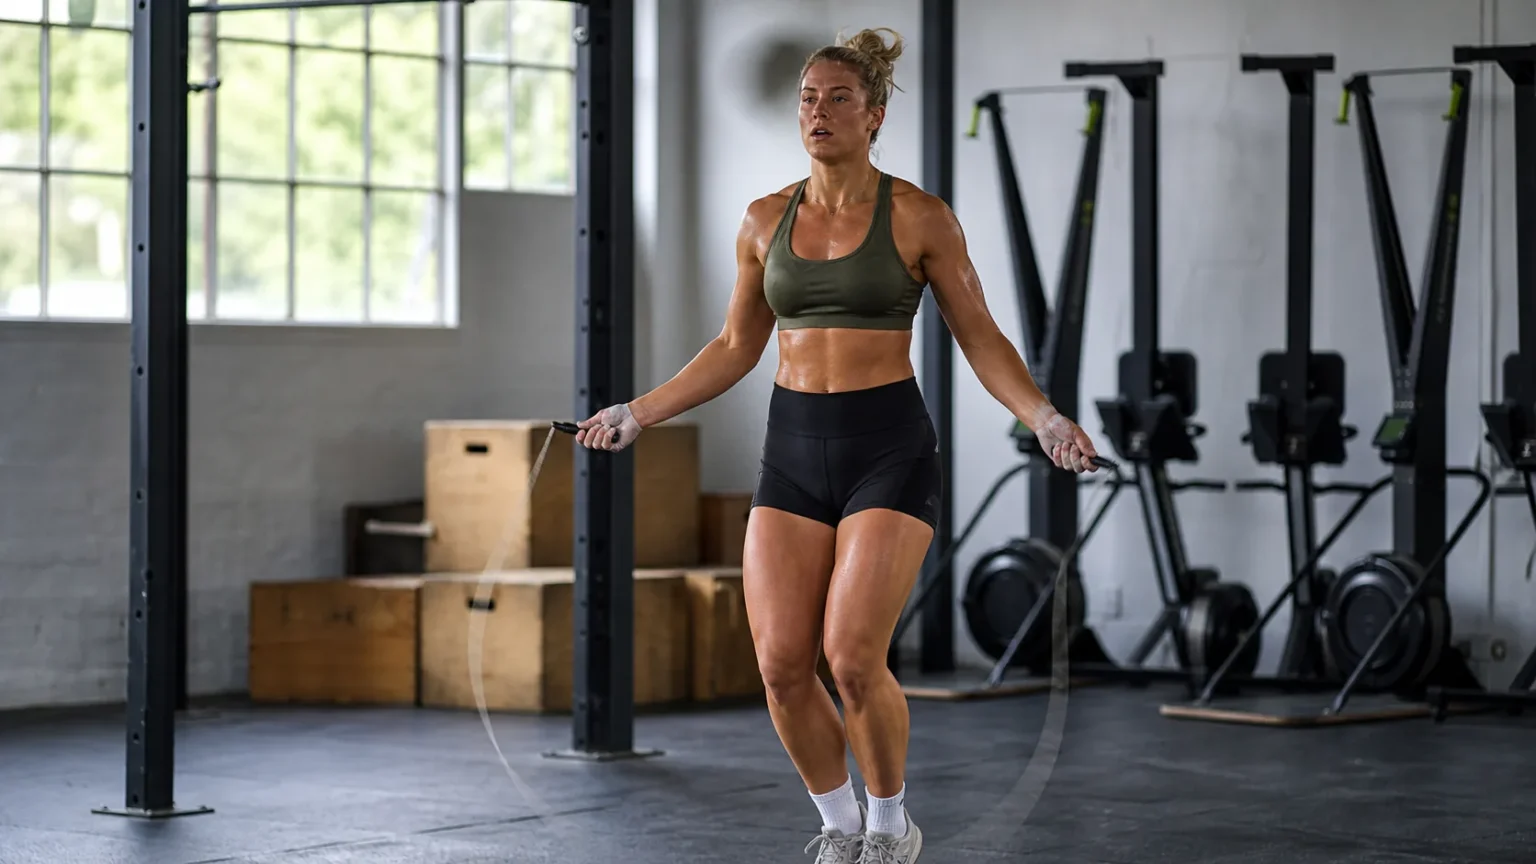
Most beginners try to solve the problem by jumping higher. That works for one or two reps, then the legs stiffen, the shoulders climb toward the ears, and the rope starts drifting. The better goal is a slightly higher version of your normal jump rope rhythm. Think quiet feet, soft knees, ribs stacked over hips, and hands just outside the pockets.
If your workout also includes pull-ups, toes to bar, or barbell cycling, grip fatigue can make the rope feel worse than it did in warm-up. That is where small gear details matter, including rope handles and even choosing CrossFit grips that do not make your hands feel bulky between movements.
Rope length matters more than most athletes admit
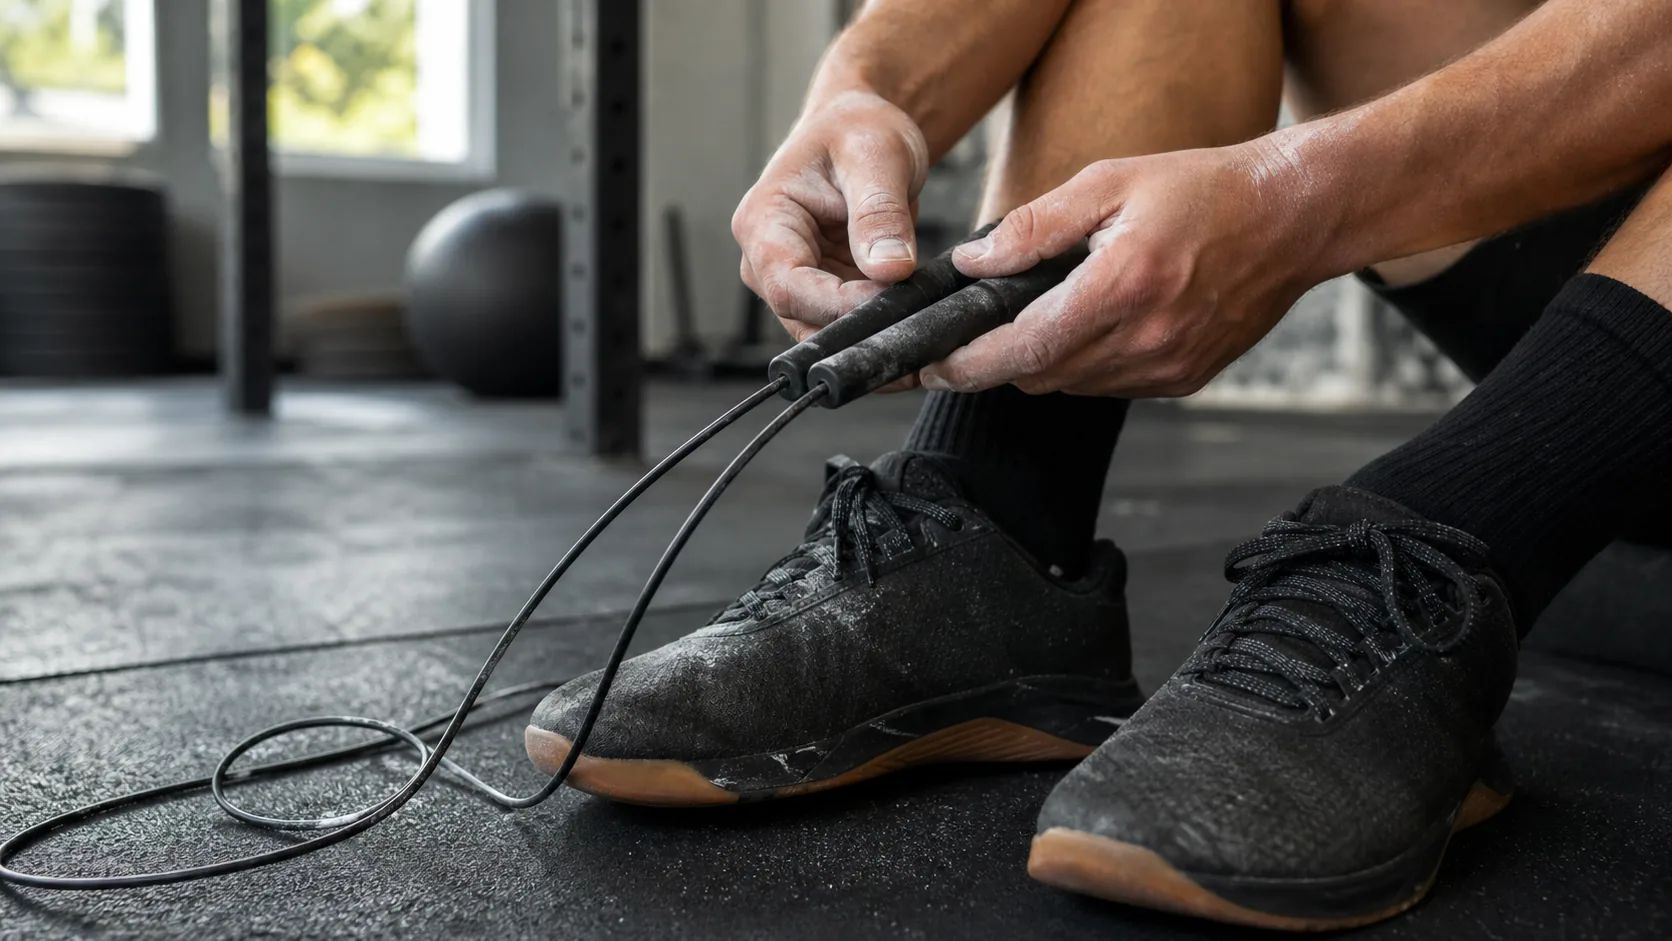
A bad rope setup makes good timing harder. If the rope is too long, it slaps the floor and slows down. If it is too short, you have to pull your elbows back or pike your feet to survive the rep. Neither habit helps.
A simple starting point: stand on the middle of the cable and pull the handles up. For many athletes, the handles should land somewhere around the lower chest or armpit area. That is not a perfect rule, because height, arm position, rope type, and skill level all change the feel. But it gives you a sane place to begin.
The real test is not standing still with the rope. It is whether the rope clears cleanly while your hands stay low and slightly forward. If you need to flare your elbows or jump like you are dodging a puddle, adjust before blaming your coordination.
The timing cue that makes double unders click
Here is the cue I like because it is boring and it works: jump first, then speed the wrists. A lot of athletes spin too early. The rope races ahead, the feet panic, and the second pass clips the shoes.
Try this rhythm out loud: jump, flick-flick. Not jump and hope. Not spin as hard as possible. Jump, then two quick wrist turns while your body stays tall. The rope should feel fast. Your body should not.
That separation is the whole game. Your wrists do the speed work. Your legs provide the repeatable bounce. Your shoulders stay quiet enough that the rope path does not widen with every rep.
Common mistakes and the fix that usually works
| Mistake | What it feels like | Fix to try |
|---|---|---|
| Jumping too high | You get one rep, then your calves burn fast. | Practice lower jumps with fast wrists for sets of 3 to 5 attempts. |
| Donkey kicking | Your heels kick back and the rope catches your toes. | Think toes under hips and land in the same spot. |
| Hands drifting wide | The rope gets shorter mid-set. | Keep hands near your front pockets, slightly forward. |
| Shoulders tense | The rope feels heavy and your neck tightens. | Shake out the arms, breathe, and restart with singles. |
| Changing rhythm after a miss | Every attempt feels different. | Use the same setup each time: tall stance, eyes forward, jump, flick-flick. |
Do not try to fix five mistakes at once. Pick the one that shows up first. If your feet kick back, work on your jump. If your arms drift, forget the feet for a moment and put your hands back where they belong.
Three drills that build the skill without frying your calves
Start with penguin taps. Jump without a rope and tap your thighs twice while you are in the air. The goal is not noise. The goal is learning that one jump can hold two quick beats.
Then use single-single-double. Do two relaxed single unders, then one double under. Stop after the double, even if it went well. That forced stop keeps you from turning every practice set into a sloppy survival test.
Finally, try small clusters. One double, reset. Two doubles, reset. Three doubles, reset. You are teaching the body to repeat the same rep, not begging for a miracle set of 30.
How to practice double unders inside a CrossFit week
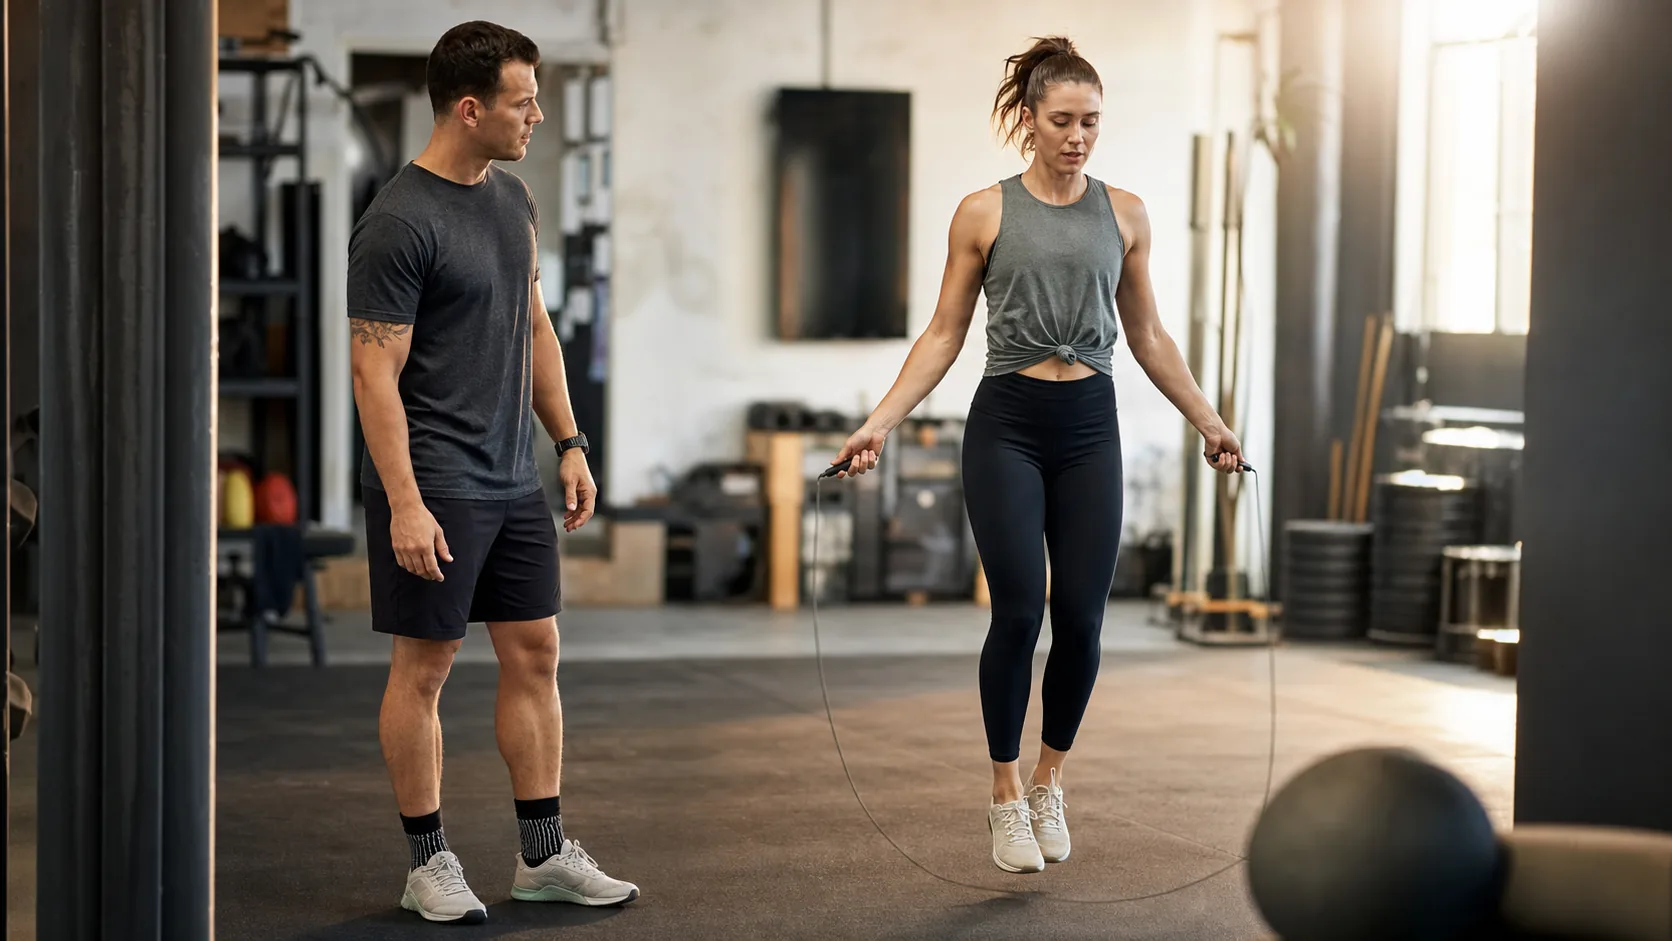
The fastest way to hate double unders is to practice them only when they appear in a workout. By then your heart rate is up, the clock is loud, and the people next to you seem unfairly smooth.
Use short, clean practice blocks instead. Five minutes before class can be enough if the work is focused. You can also borrow the discipline of using EMOM training: every minute for six minutes, do 10 to 20 seconds of quality rope work, then rest. The rest is not laziness. It keeps the reps crisp.
A simple progression looks like this:
- Week 1: singles, penguin taps, and single-single-double attempts.
- Week 2: sets of 2 to 5 double unders with full resets.
- Week 3: small unbroken sets, then calm singles when timing breaks.
- Week 4: short workout pieces where double unders appear under light fatigue.
If your calves or Achilles feel cranky, pull back. Rope volume sneaks up quickly because each rep feels tiny until the next morning. Athletes coming back from ankle, calf, or foot issues should treat double unders like plyometrics, not harmless cardio.
What to do when double unders show up in a workout
During a WOD, your choice should match the goal of the day. If the coach wants high intensity conditioning, spending eight minutes whipping your shins may miss the point. Scale to singles, line hops, or a lower double under number so you can keep moving.
If the workout is built partly to challenge the skill, keep the doubles but cap your attempts. For example, give yourself 20 seconds to get the prescribed reps. If the timing is gone, switch to the agreed scale and move on. That keeps the workout honest without turning it into rope therapy.
The same logic applies in an EMOM format. If double unders eat the whole minute, the dose is wrong. Reduce the number until you can finish with time to breathe.
The small mental shift that helps
Double unders punish anger. The harder you chase the next rep, the more your shoulders tighten and the more the rope path changes. Most athletes need the opposite approach: miss, pause, reset, repeat the same setup.
That sounds too simple, but it is the part people skip. They miss once, change the jump. Miss again, change the arms. Miss again, change the rope speed. After five attempts, they have practiced five different skills.
Keep one rhythm long enough to learn from it. If the rope hits your toes, ask why. Were your hands wide? Did you kick back? Did you spin before you jumped? The rope gives clear feedback if you are calm enough to read it.
Watch the timing before you add speed
This CrossFit video is a useful visual reference because it shows the progression from single-unders to double-unders and keeps the focus on rhythm, jump height, and rope timing. Watch it before increasing volume in a workout.
Bottom line
Double unders in CrossFit are a clean test of timing. They reward relaxed posture, quick wrists, and patient practice. They also expose every shortcut, which is why they feel so annoying before they feel fun.
Start small. Fix one mistake at a time. Keep the sets short enough that your best reps show up more often than your panic reps. That is usually when the skill starts to move.