The plan
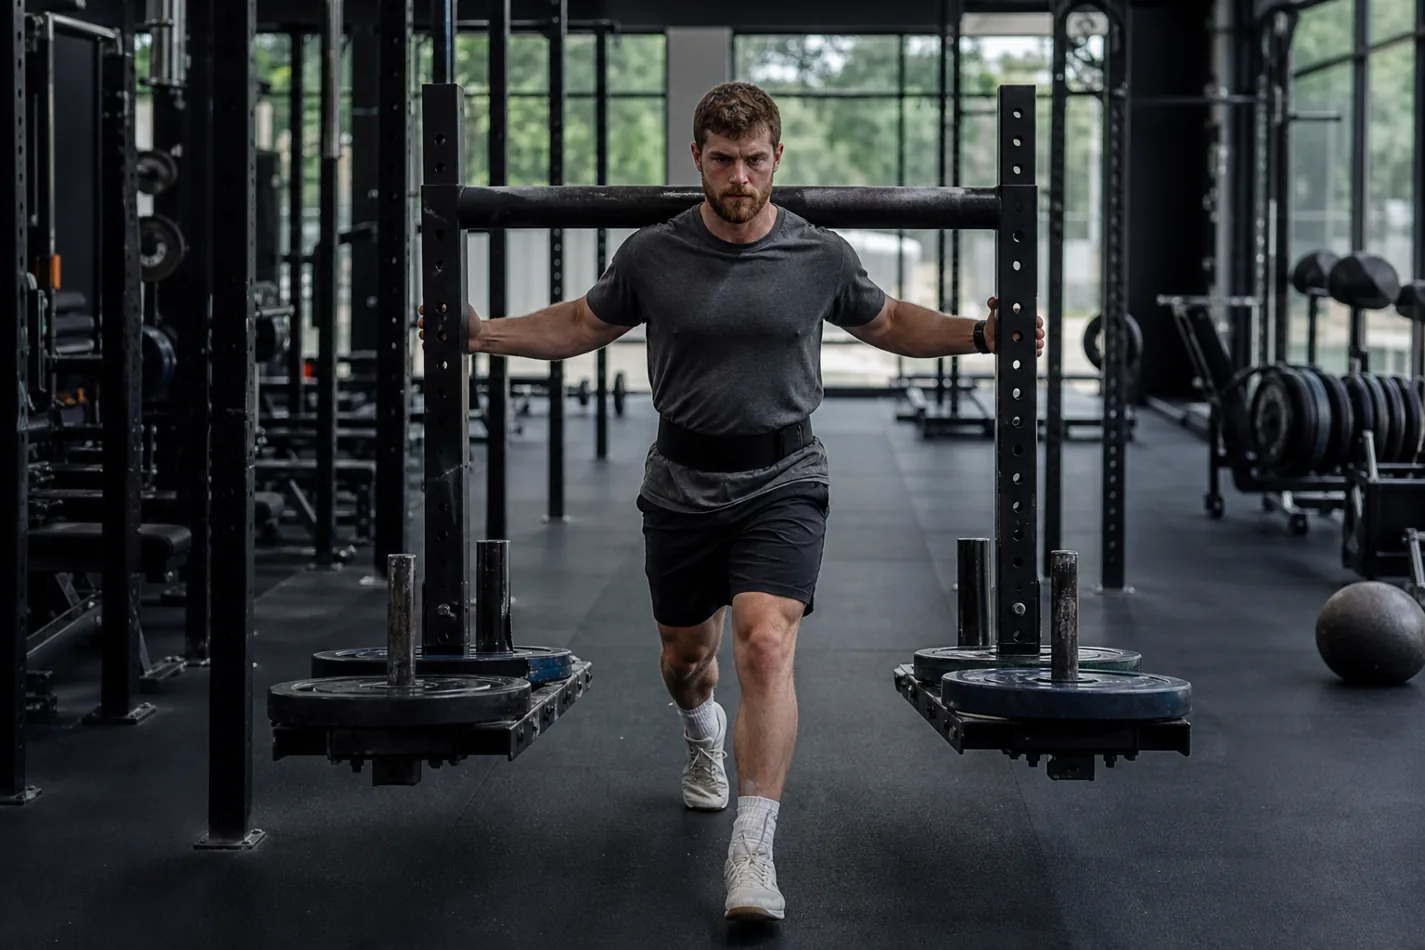
A yoke carry feels honest fast. The weight sits across the upper back, the frame sways a little, and every sloppy step shows up through the ribs. If the athlete starts loose, the yoke does not forgive it. It starts choosing the direction.
In CrossFit, the yoke carry is usually less about one maximal strongman attempt and more about moving heavy under fatigue. The best athletes brace before they lift, walk with short steps, and resist the urge to sprint a load they cannot steer.
- Set the crossbar high enough to stand tall, but low enough that unracking does not become a half squat.
- Brace before the first step. A soft trunk makes the frame swing and turns the walk into damage control.
- Short, quick steps usually beat long strides once the load gets heavy.
What the yoke carry actually trains
The yoke carry trains bracing, posture, footwork, and the ability to stay calm when a heavy frame is moving with you. It is not the same as farmer carry posture, where the hands are the limiter. With the yoke, the upper back, trunk, hips, and feet have to agree before speed matters.
That is why the movement fits CrossFit well. It exposes the same midline discipline athletes need for deadlift bracing, heavy squats, and loaded carries, but adds a walking problem. The load is not just heavy. It is alive enough to punish late corrections.
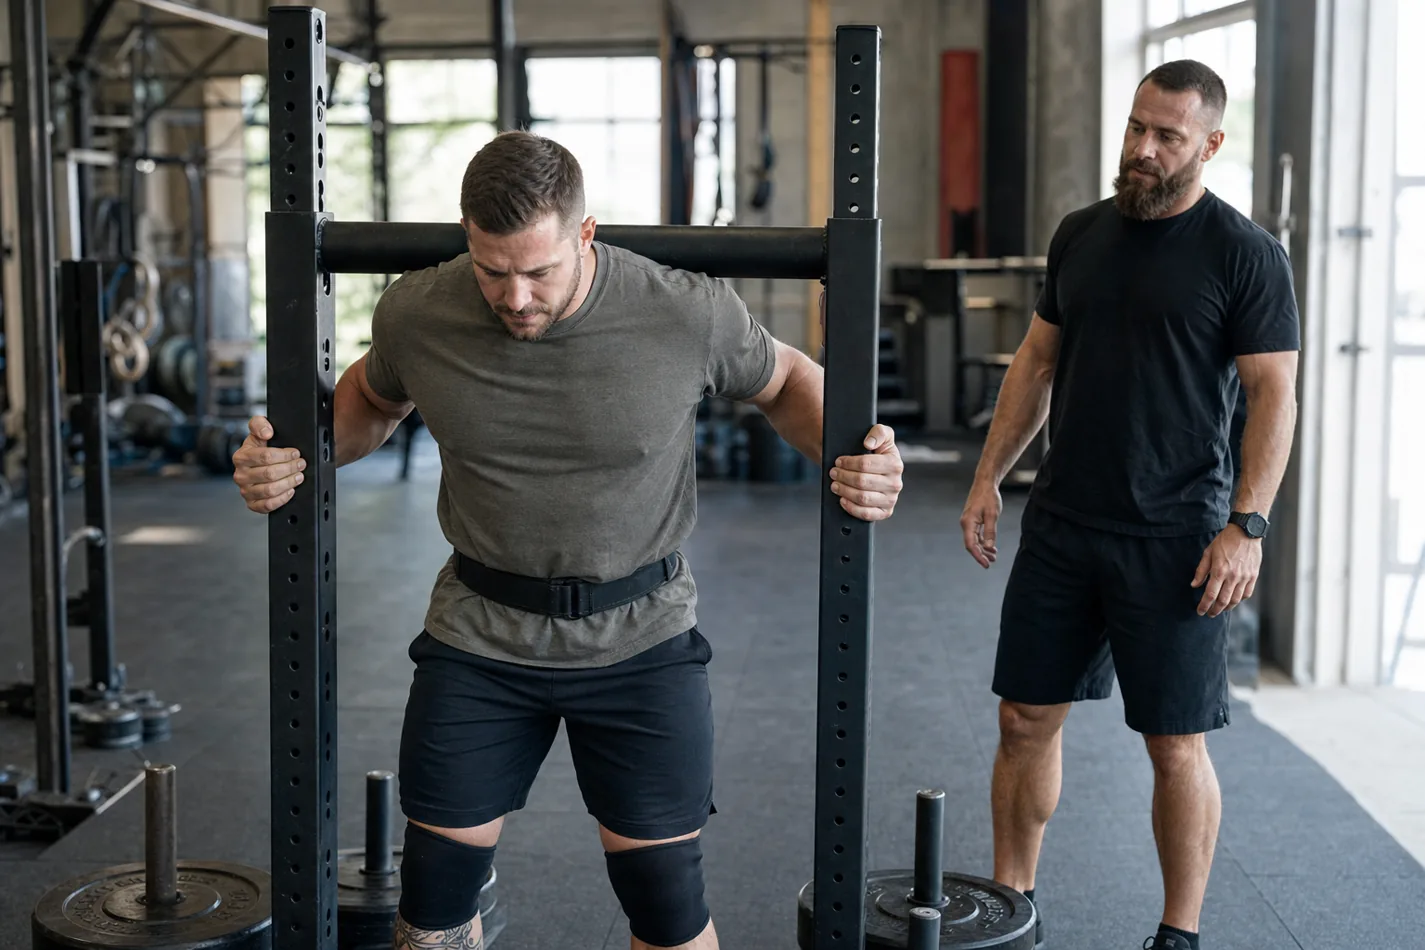
Start with the right setup height
A yoke set too low makes every pickup feel like a max effort squat. A yoke set too high forces the athlete onto the toes and steals control before the first step. The sweet spot lets the athlete wedge under the bar, breathe, brace, and stand without a circus act.
Use the same respect you would give a heavy back squat setup. Feet under the body, ribs down, eyes forward, hands steady on the uprights. Before moving, the athlete should feel pressure through the whole foot, not just the toes.
| Fault | What it looks like | Fix to try |
|---|---|---|
| Setup is too low | The athlete grinds just to stand the frame up | Raise the crossbar one notch and save effort for the walk |
| Steps are too long | The frame swings and pulls the athlete forward | Use shorter steps and let speed build gradually |
| Torso softens | Ribs flare and the yoke starts wobbling | Rebrace before pickup and keep the chest quiet |
| Turns are rushed | The athlete loses balance near the cone or line | Slow slightly before the turn, then accelerate after the frame is straight |
Brace before the frame leaves the floor
The first two seconds decide a lot. If the athlete unracks with a loose belly and bent posture, every step becomes a correction. Take the breath before standing. Lock the trunk. Stand tall. Then move.
The goal is not to freeze the body like a statue. The goal is to keep enough tension that the legs can work underneath a stable frame. Athletes who understand sled push drive often pick this up well because they already know how to push through the floor without wasting motion sideways.
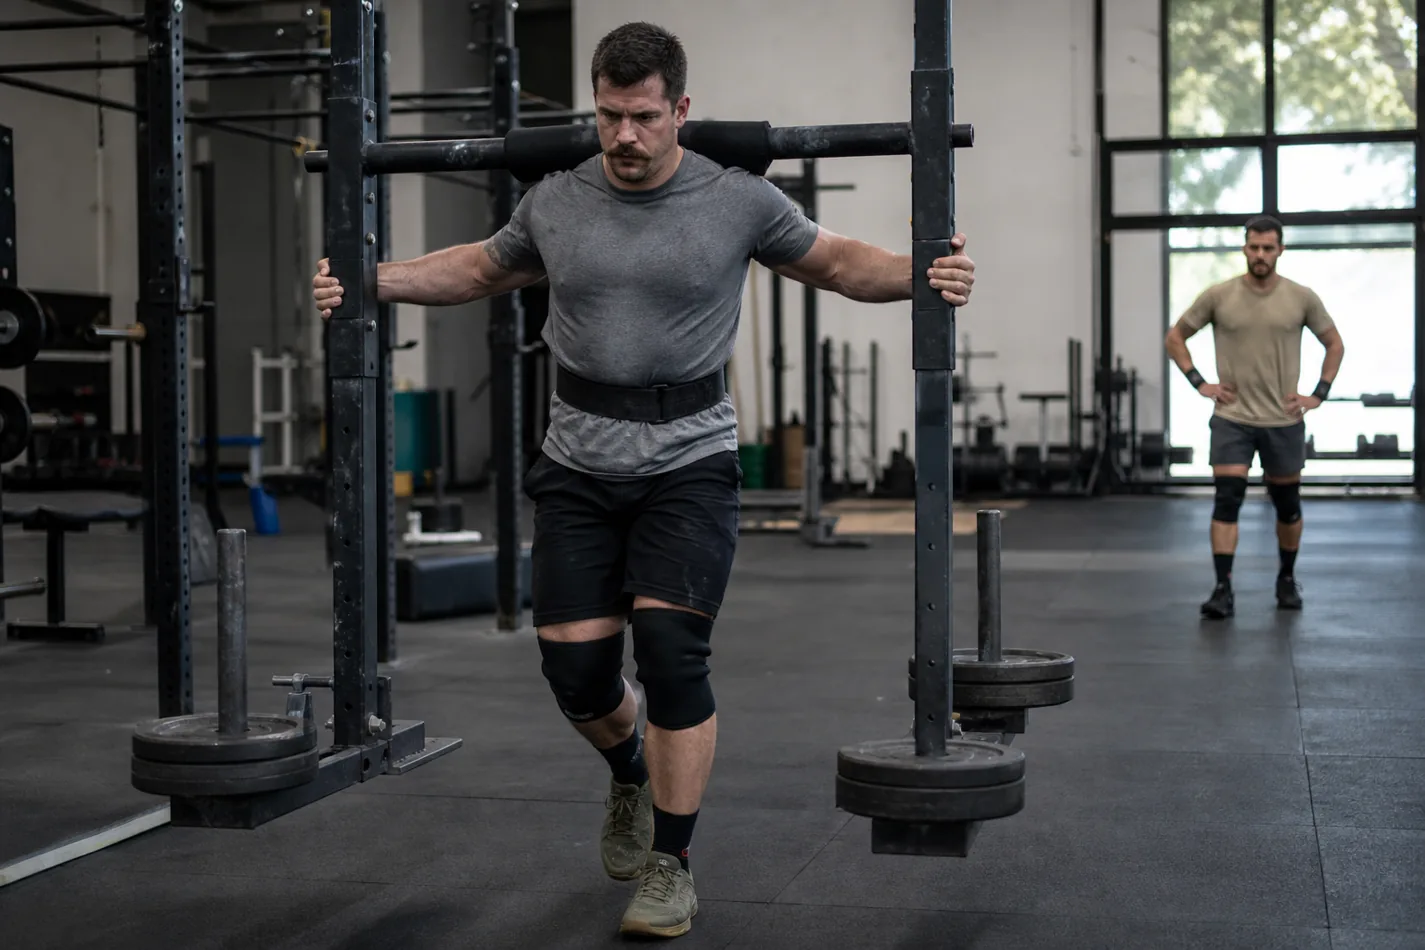
The demo below is useful because it treats the yoke carry as loaded walking, not just a strength stunt. Watch the small steps, the calm torso, and how the athlete avoids chasing the frame once it starts moving.
Walk with short steps first
Long strides look faster until the yoke starts rocking. A shorter step keeps the feet underneath the athlete and makes it easier to adjust. Once the frame is steady, cadence can rise. If the frame is already swinging, more speed usually makes it worse.
This is where workout pacing matters. In a short event, a strong athlete might push the yoke hard and accept the cost. In a mixed WOD with burpees, lunges, or cleans, losing the midline on the yoke can leak into everything that follows. Heavy carries have a way of making simple movements feel expensive.
How to scale the yoke carry
Good CrossFit scaling keeps the main task intact: carry a load while walking with posture. Reduce the weight before letting the athlete fold forward for the whole distance. If the yoke frame is not available, heavy farmer carries, front rack carries, sandbag bear hugs, or prowler work can train pieces of the same problem.
For newer athletes, start with shorter distances and cleaner turns. A 25 foot carry with a good pickup and a steady finish teaches more than a long stagger where the athlete is fighting for survival. If the athlete cannot keep the rib cage stacked over the pelvis, lower the load.
Where it fits in a CrossFit workout
The yoke carry pairs well with movements that test legs and breathing, but it can also bury the trunk before technical lifts. Be careful placing it right before heavy sandbag clean control, cleans, or overhead work. If the workout includes walking lunge pacing, expect the legs to feel strange after the yoke comes down.
Coaches should decide what the stimulus is. If the point is heavy, make the distance short and the standard clean. If the point is conditioning, use a load the athlete can move without turning every step into a near miss.
What to check before adding load
Add weight only after the athlete can pick up smoothly, walk without the frame swinging hard, and set the yoke down under control. The rep does not need to look pretty, but it should look owned.
If the yoke pulls you forward, shorten the step. If the frame keeps bouncing, recheck the brace and setup height. If your back takes over before your legs even get moving, the load is too ambitious for today. The yoke will tell you the truth. Listen early.