The plan
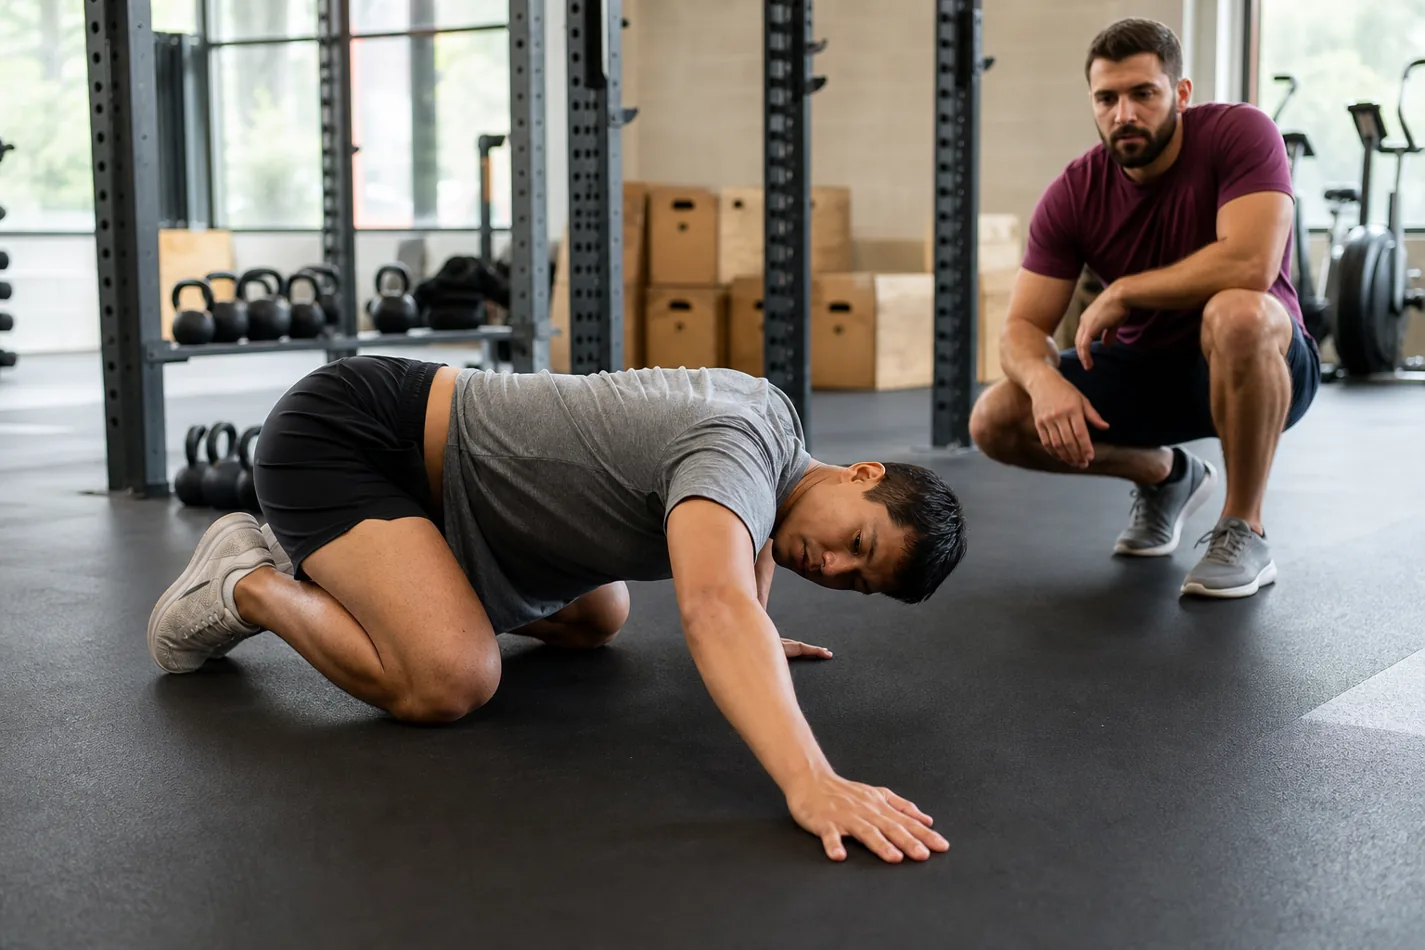
Thread the needle looks simple until the first rushed rep. An athlete starts on all fours, slides one arm under the body, drops the shoulder toward the floor, and tries to rotate through the upper back. When it goes well, the drill opens the T-spine without making the hips chase every inch of motion.
When it goes badly, the hips roll, the neck cranks, the shoulder gets jammed, and the stretch turns into a loose twist on the mat. In a CrossFit warm-up, that matters. You want a cleaner overhead position, a better front rack, or easier rotation before the workout, not five reps of pretending the low back is a thoracic spine.
- Use thread the needle to check upper-back rotation before overhead, front rack, gymnastics, and floor-based warm-ups.
- Keep the hips quiet at first. If the pelvis rolls right away, the drill stops telling you much about the T-spine.
- Scale with a smaller reach, a pad under the shoulder, or hands elevated if the floor position feels aggressive.
What thread the needle is trying to teach
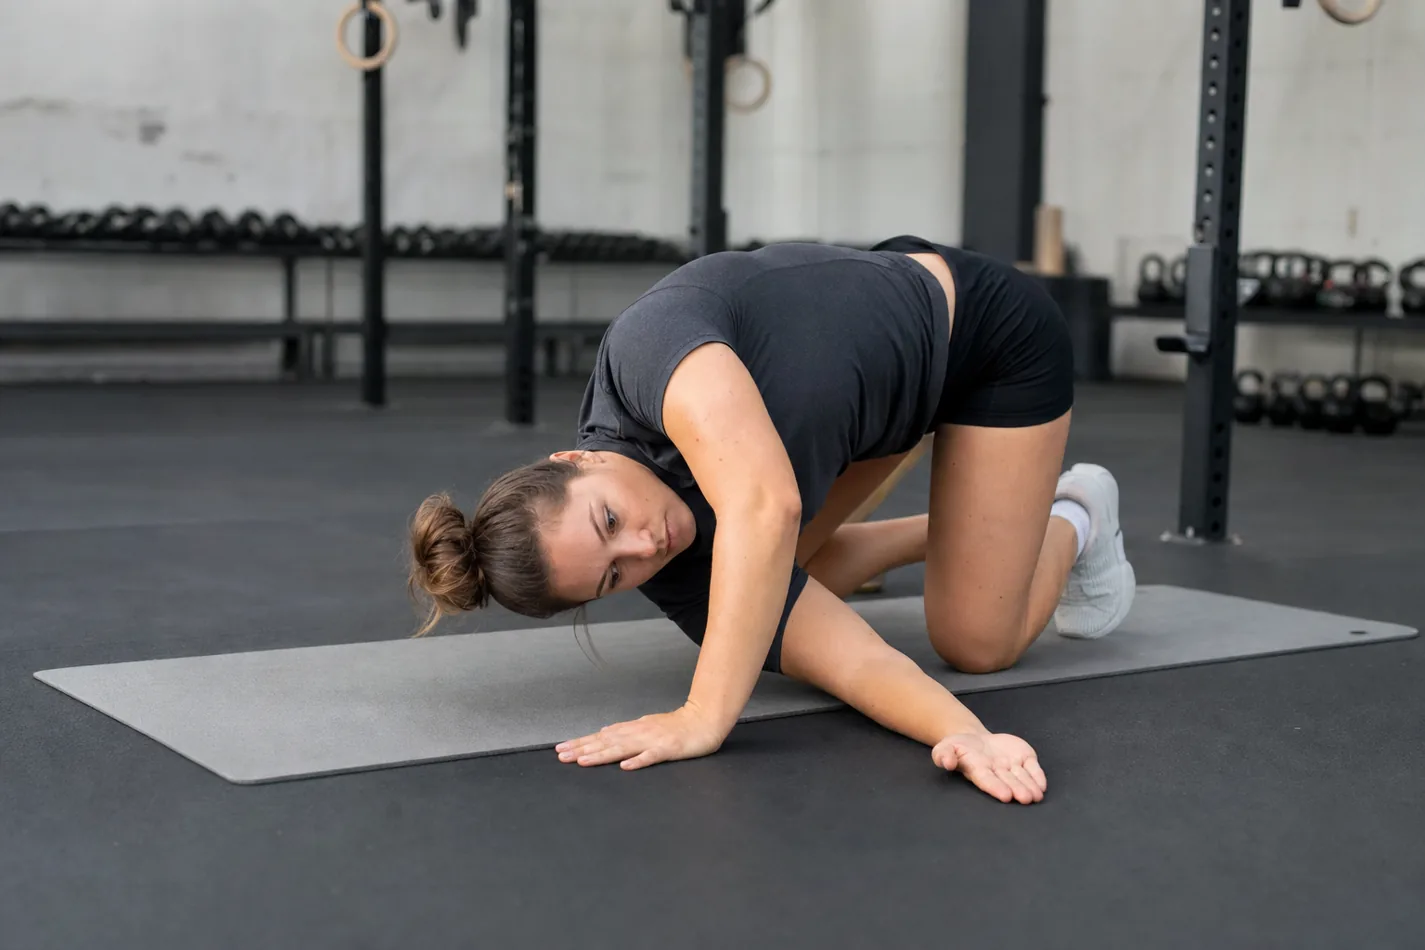
The drill asks the upper back to rotate while the athlete keeps a stable base on the floor. Start in a quadruped position. One hand stays planted. The other arm reaches under the chest like it is sliding through a tunnel. The shoulder moves toward the floor, but the hips should not immediately dump to the side.
That makes it a different tool from the scorpion stretch, where the hip and trunk rotate together from a prone position. Thread the needle is more specific. It tells a coach whether the athlete can separate upper-back rotation from hip movement long enough to build a better position.
Set the base before chasing range
Put the knees under the hips and one hand under the shoulder. Reach the working arm across the floor, palm facing up or down, whichever lets the shoulder relax. Let the head follow the turn, but do not bury the neck into the mat. The neck is along for the ride, not the driver.
The first few inches are the honest part. If the hips slide, knees drift, or planted elbow bends right away, the athlete is dodging the rotation. The same issue shows up in bigger drills such as world's greatest stretch: a bigger shape is not automatically a better warm-up.
| Fault | What it usually means | Fix on the next rep |
|---|---|---|
| Hips roll open immediately | The athlete is borrowing motion from the pelvis | Narrow the range and keep both knees heavy |
| Neck twists hard | The head is trying to create the rotation | Look where the arm reaches and keep the jaw relaxed |
| Shoulder feels pinched | The arm path or floor pressure is too aggressive | Use a pad, reach less, or keep the shoulder higher |
| Planted arm collapses | The base is not stable enough | Press the floor away before sliding the arm under |
Where it fits in a CrossFit warm-up
Thread the needle works well after general heat and before positions that ask for rotation, shoulder flexion, or front rack comfort. Use it before PVC pass-throughs when the shoulders feel stiff, before overhead squats when the bar keeps drifting forward, or before wall work when the ribs and upper back need a quick check.
It also pairs well with banded pull-aparts because the two drills solve different problems. One asks the upper back to rotate. The other wakes up the scapula and rear shoulder. Together, they can clean up a warm-up without turning it into a long mobility class.
The demo below is useful because it does not make the drill look dramatic. Watch how the athlete reaches under, lets the shoulder come toward the floor, and keeps the hips from rolling away too early. That is the part most athletes miss.
How to scale it for stiff athletes
Some athletes do not need more range. They need a version that does not irritate the shoulder. Put a folded mat or ab pad under the reaching shoulder if the floor feels too far away. Move the planted hand slightly forward if the wrist is cranky. Keep the reach short enough that the hips stay quiet for most of the rep.
If the athlete still cannot find the position, skip the floor version. A hands-elevated setup on a box can give enough room to rotate without loading the shoulder as much. Before a workout with wall walks, that small adjustment can be the difference between useful prep and a shoulder position that feels worse after the warm-up.
What it should feel like
A good rep feels like a slow turn across the upper back and back side of the shoulder. You may feel a stretch between the shoulder blades, along the lat, or across the rear shoulder. You should not feel a sharp pinch in the front of the shoulder, pressure in the neck, or a hard twist in the low back.
After a few reps, stand up and retest the thing you care about. Front rack a light bar, reach overhead, or move through a push-up position. If the upper back opens and the next position looks cleaner, keep the drill. If it changes nothing, choose another tool instead of adding more reps.
How to test it before the WOD
Use four to six slow reps per side, then move on. Thread the needle is not the workout. It is a quick check for athletes who need rotation without turning every warm-up into stretching for stretching's sake. If it helps your front squat rack, overhead line, or hollow body control on the floor, it earned its spot. If it only makes the shoulder cranky, take it out and coach the next option.