The plan
- Why wall walks expose weak positions so fast
- The setup: start before your feet touch the wall
- A cleaner wall walk rep, step by step
- How to scale without losing the point
- Video: a useful look at advanced wall walk details
- Warm-up drills that make the rep feel safer
- Mistakes to fix first
- What to check before your next WOD
Wall walks look simple until the workout starts. Then the shoulders get hot, the hips sag, and the last few inches toward the wall feel a lot farther than they did in warm-up.
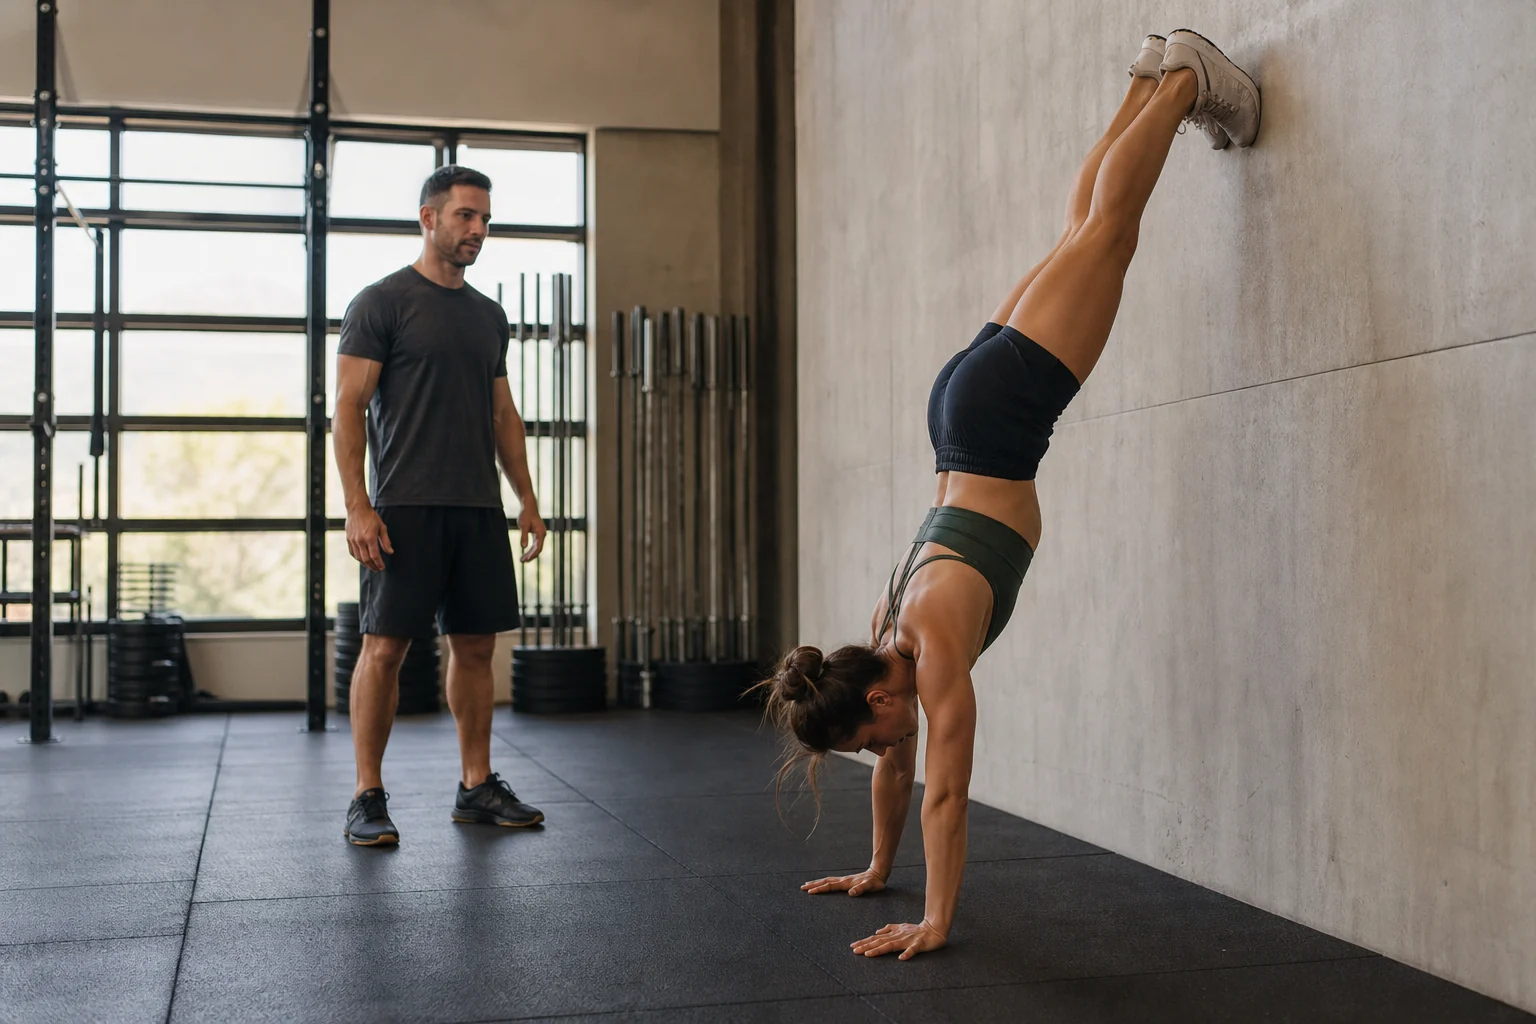
The goal is not to survive the rep. A good wall walk teaches you to move upside down with a tight midline, patient hands, and enough shoulder control to come back down without crashing. That matters for handstand push-ups, handstand walks, and any WOD that asks you to stay calm while your upper body is under load.
- CrossFit wall walks are a control drill first and a conditioning piece second.
- Most bad reps come from loose hips, rushed hand steps, or climbing too close to the wall too soon.
- Scale the range of motion before you scale the intent. A shorter clean rep beats a full messy one.
Why wall walks expose weak positions so fast
A wall walk forces two jobs at the same time. Your arms have to support body weight while your trunk keeps the ribs, hips, and legs from folding into a banana shape. If either piece disappears, the rep gets heavy in the wrong places.
The mistake is treating the wall like a ladder. Athletes often walk the feet up quickly, then drag the hands underneath them in panic. That works for a few reps, but it burns the shoulders and leaves no control for the descent. In a workout, that usually shows up as long breaks, shaky lockouts, or sloppy no-reps near the wall.
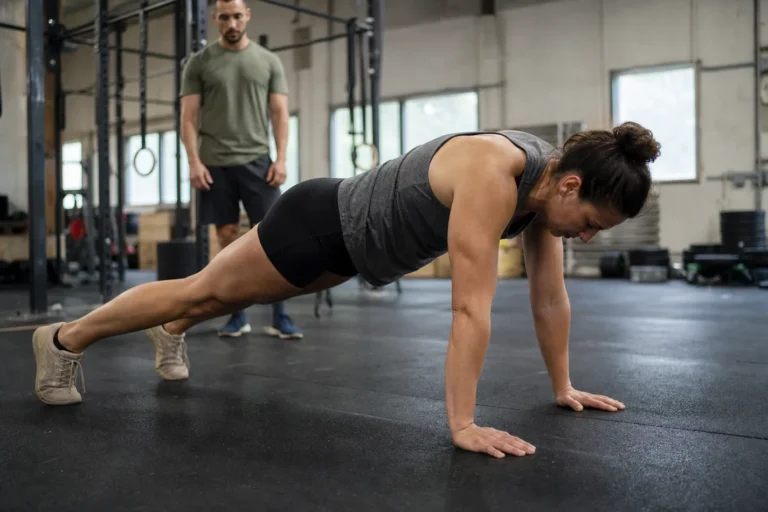
Think of each rep as a moving plank. If you would not accept that midline in a push-up, do not accept it upside down.
The setup: start before your feet touch the wall
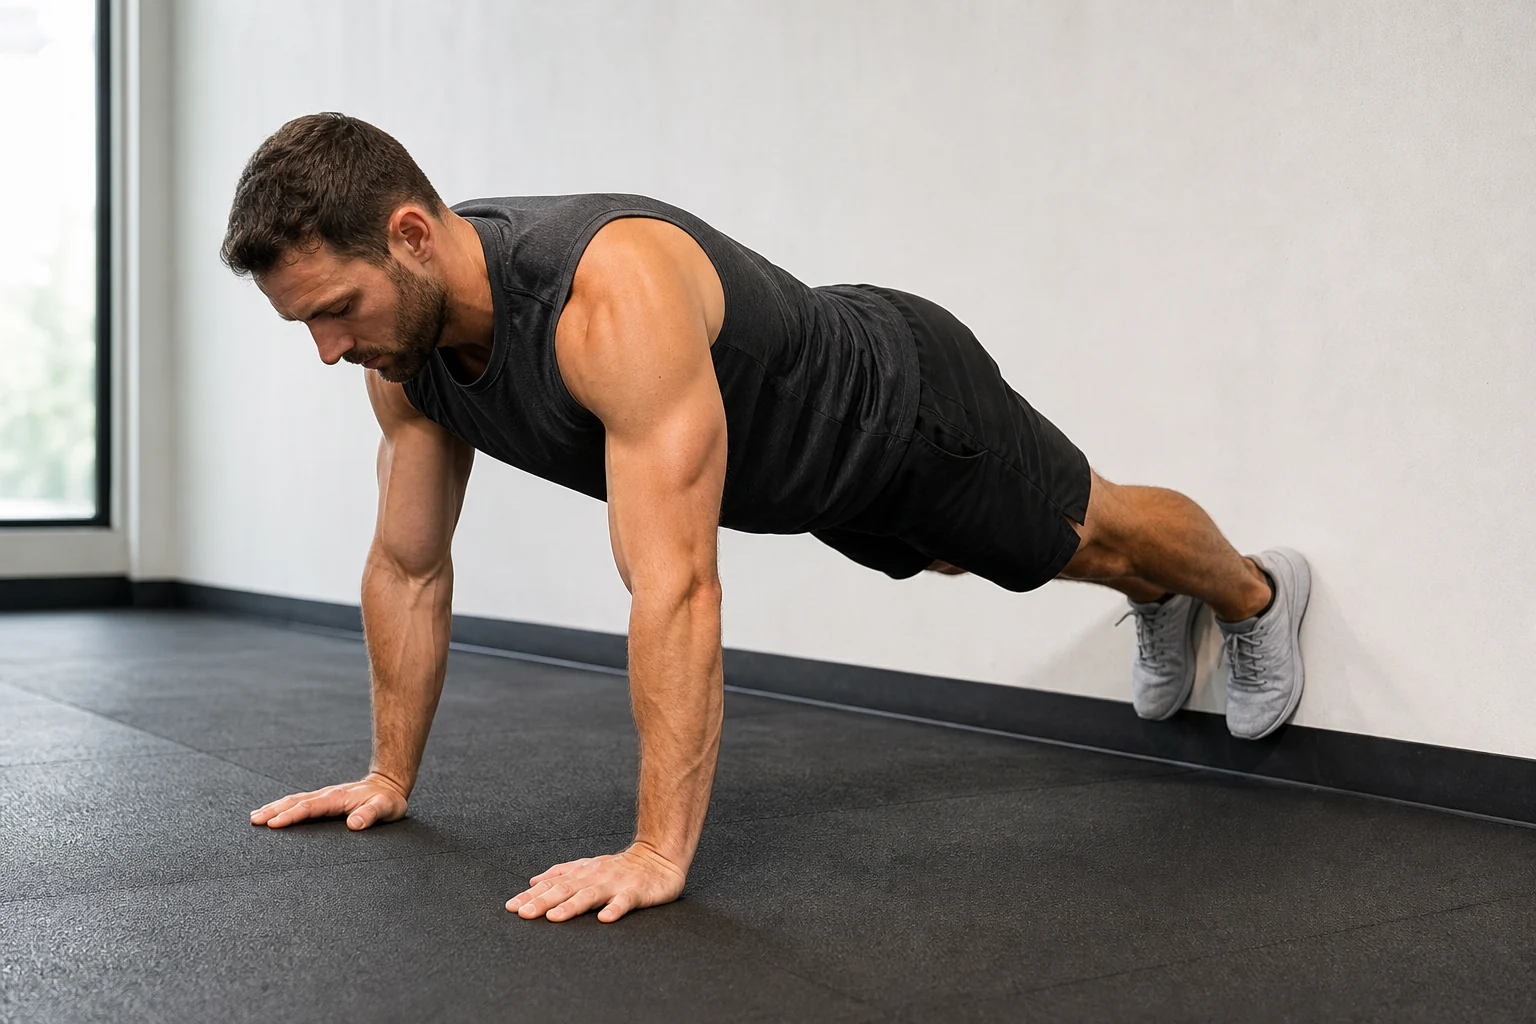
Start chest down with the feet against the wall and the hands under the shoulders. Before moving, squeeze the glutes, pull the ribs down, and press the floor away. This gives you a stable base instead of a soft push-up position.
Your first few steps should be small. Walk the feet up while the hands move back only as much as needed. Bigger hand steps usually mean the athlete is trying to finish the rep quickly rather than keep tension. That is where the hips start to sag.
A cleaner wall walk rep, step by step
| Phase | What to feel | Common fix |
|---|---|---|
| Start | Hard plank, active shoulders, feet set on the wall | Reset the ribs before the first step |
| Climb | Small hand steps, hips rising with the feet | Slow down if the lower back arches |
| Top | Hands inside the target line, arms locked, eyes between hands | Stop one step earlier if the lockout breaks |
| Descent | Same control on the way down | Walk down, do not slide down |
If your gym uses a tape line, treat it as a standard, not as a dare. Touching the line with a soft back and bent elbows does not build much. A slightly shorter rep with clean lockout will carry over better.
How to scale without losing the point
The best scale keeps the same lesson: pressing strength, shoulder stability, and trunk control. For newer athletes, that might mean walking only halfway up the wall. For someone with shoulder irritation, it might mean an elevated plank shoulder tap or a pike hold on a box.
If the workout includes high volume, use the same logic as a smart CrossFit scaling plan: preserve the stimulus before protecting your ego. You should finish with better positions than you started with, not just a bigger number on the whiteboard.
Useful options include partial wall walks, inchworm walkouts, pike holds, box handstand holds, or slow wall-facing handstand holds. The right choice depends on what breaks first. If your shoulders collapse, reduce time under tension. If your midline fails, shorten the range and rebuild the plank.
Video: a useful look at advanced wall walk details
This video is worth watching if you already understand the basic rep but want cleaner control near the wall. Pay attention to the hand placement and the way the athlete keeps tension instead of rushing the climb.
Warm-up drills that make the rep feel safer
Do not discover your first tight overhead position during round one. A short prep works better: wrists, scap push-ups, hollow holds, bear crawls, and a few controlled inchworms. Then add one or two partial wall walks before the clock starts.
That warm-up does not need to be long. The point is to teach the shoulders to press and the trunk to stay locked. If your general prep already includes a focused CrossFit warm-up, plug wall-specific pieces into the final two minutes rather than adding a whole extra routine.
Mistakes to fix first
Rushing the first half is the big one. Fast feet create a position your hands cannot support. Slow the climb until every step feels deliberate.
Letting the ribs flare is next. Once the ribs pop open, the lower back takes the load and the shoulders lose leverage. Exhale before you move and keep the belly tight as the feet climb.
Dropping from the wall might save a second, but it teaches the wrong skill. The descent is part of the rep. Control it, especially in training pieces where the goal is quality.
What to check before your next WOD
Before the workout, do three slow reps or three partial reps and watch what changes first. If the shoulders fade, scale volume. If the back arches, scale range. If the descent gets chaotic, slow the whole movement down.
Wall walks punish impatience, but they reward clean practice quickly. Keep the steps small, keep the plank honest, and leave the wall with enough control to do the next rep on purpose.