The plan
A sandbag over shoulder rep looks like a simple brute force job from across the gym. Then you try to do ten of them under a clock and the bag starts folding, sliding, and pulling you out of position.
In CrossFit, the lift rewards athletes who use a two-step rhythm instead of one long tug from the floor. Break the rep into a lap, a regrip, and a violent stand. That small pause is often the difference between a smooth turnover and a back-saving scramble.
- Lap the sandbag first. The lap position gives you time to regrip and load the legs.
- Do not curl the bag from the floor. Use the hips, chest, and shoulder turnover.
- In workouts, consistent singles usually beat rushed reps that fall apart after the first round.
What the rep should feel like
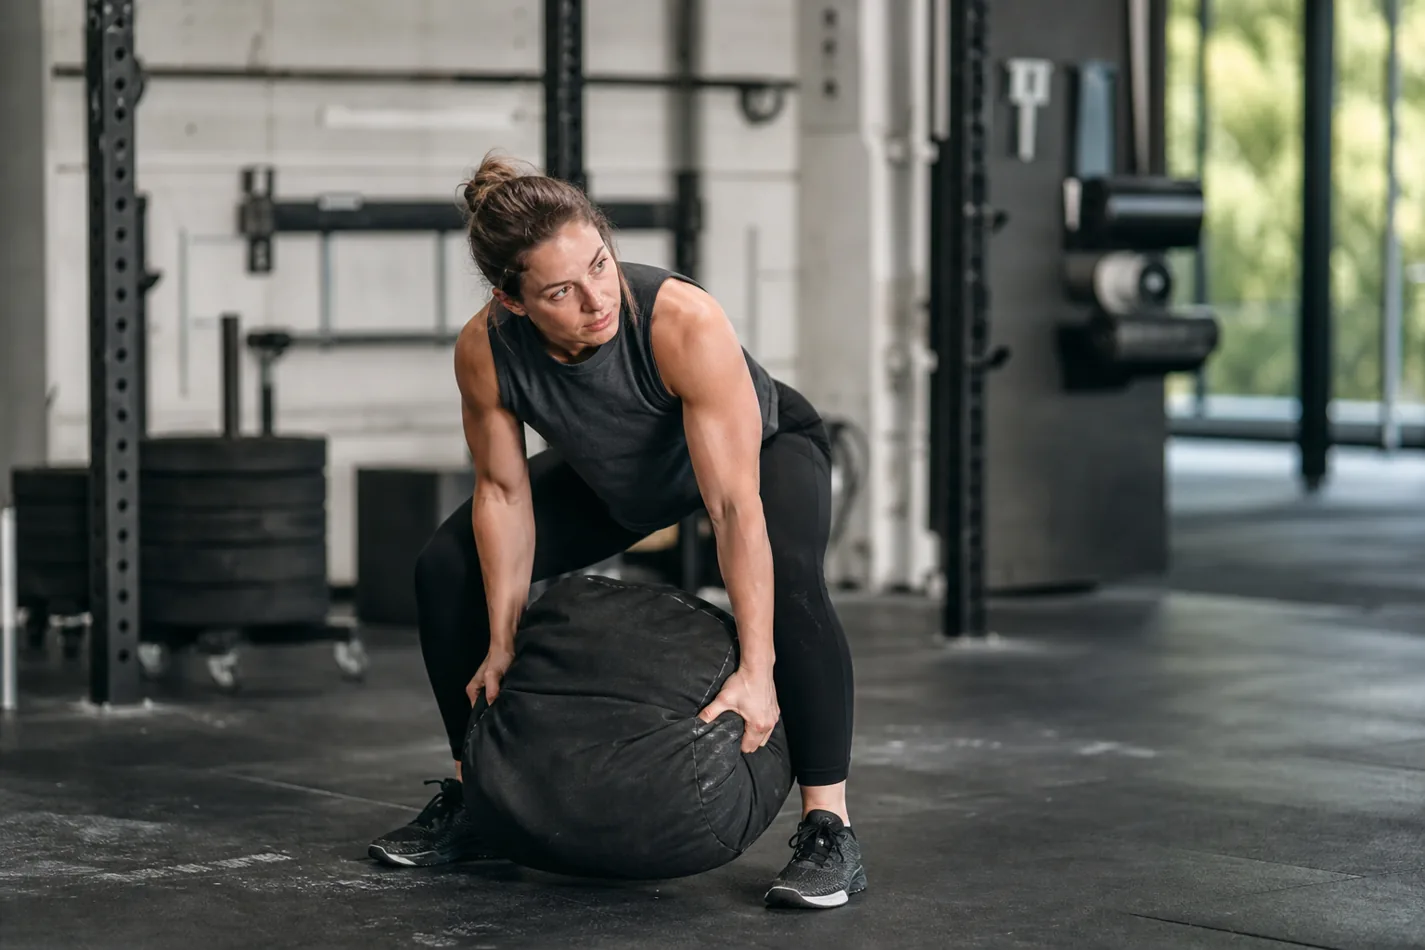
A good sandbag over shoulder rep has two clear moments. First, you pull the bag from the floor to the lap. Second, you stand and roll it over one shoulder. If those two moments blur together, the athlete usually ends up rounded, late, and fighting the bag with the arms.
The bag will not behave like a barbell. It bends around the body, shifts in the hands, and forces you to stay close. That is why the setup matters. Get your feet around the bag, pull it tight, and keep the chest over it long enough to bring it to the thighs.
Lap first, then launch
The lap is not a rest stop. It is the position that lets you win the rep. Once the bag is on the thighs, sit it high, pull it into the body, and adjust the hands before standing. The next move should feel like a leg drive with the bag pinned to your torso, not a biceps curl.
Athletes who already understand the deadlift setup will recognize the first pull. The difference is that the sandbag keeps changing shape. You still need tension through the floor, but the hands and forearms have to adapt as the bag moves.
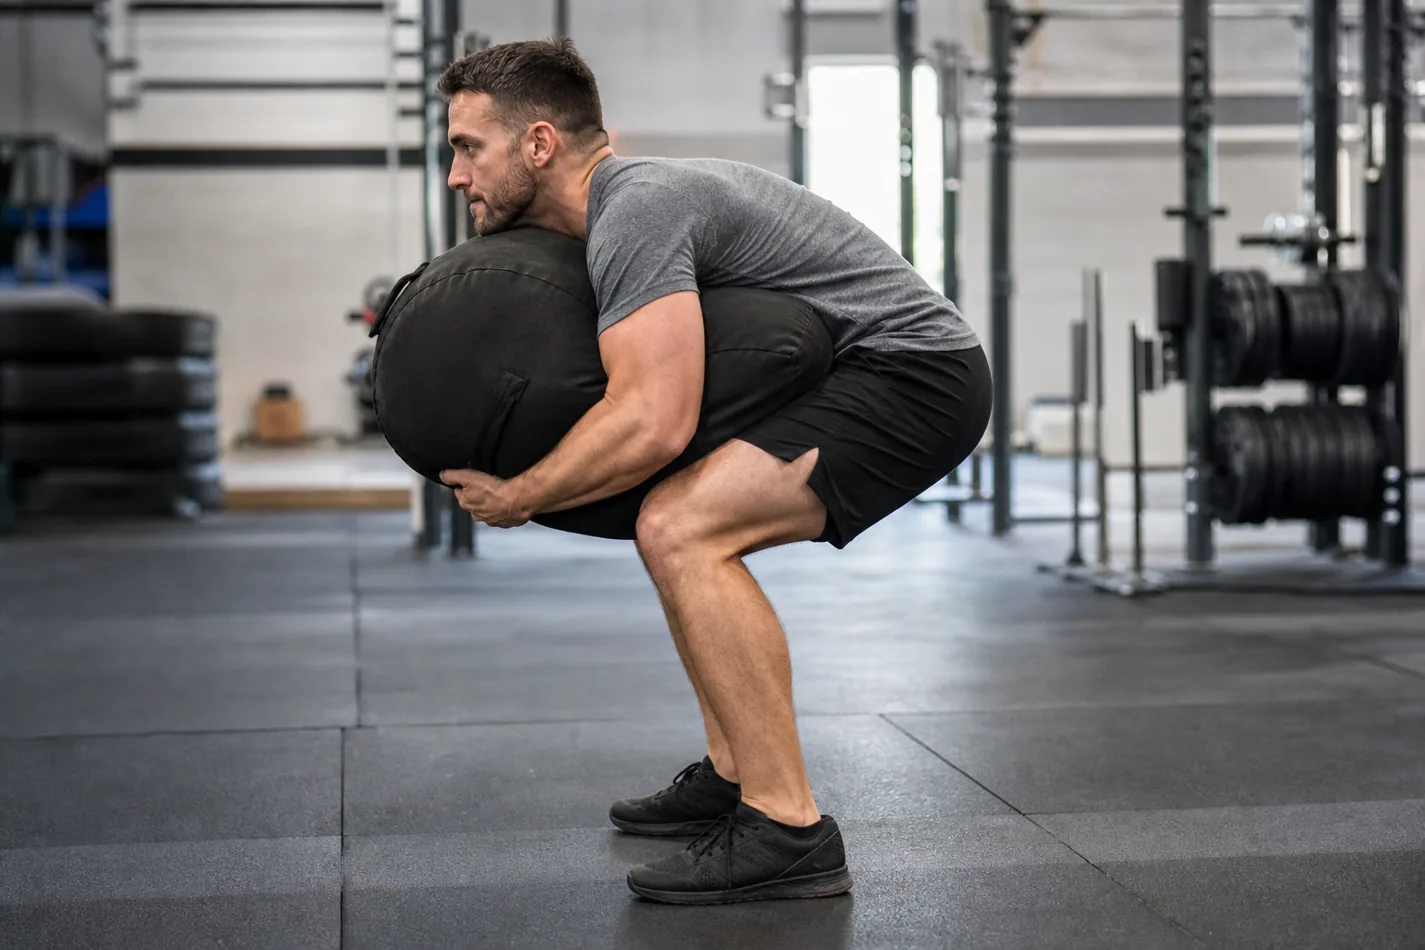
The grip problem most athletes miss
Trying to grab too much fabric can make the rep worse. A death grip locks the arms and slows the turnover. Instead, clamp enough material to pull the bag close, then let the body do the heavy part.
After the lap, slide the hands deeper if needed, squeeze the bag to the chest, and drive through the legs. The finish is not a press. It is a roll over the shoulder after the hips have already done most of the work.
| Fault | What it causes | Better cue |
|---|---|---|
| Pulling straight from the floor to the shoulder | Rounded reps and early back fatigue | Lap the bag, regrip, then stand hard |
| Standing too far from the bag | The bag swings away from the body | Step close and keep it against the thighs |
| Trying to curl the turnover | Biceps and grip fade before the lungs do | Use hips first, then roll the bag |
| Dropping the bag anywhere | Extra steps and wasted seconds | Let it fall close, reset the feet, repeat |
How to pace sandbag over shoulder in a WOD
Sandbag reps tempt athletes into ugly speed. The first few reps feel manageable, then the breathing spikes and the bag starts landing farther away every time. Once that happens, each rep costs extra steps before the lift even starts.
For most workouts, clean singles are the safer bet. Stand, roll, drop, step in, and repeat. If the bag is light, touch-and-go can work for a short burst, but only if the lap position stays intact. The moment the bag starts swinging or sliding, go back to singles.
The demo below is useful because it shows the part many athletes rush: getting the bag to the lap before trying to send it over the shoulder. Watch the pause, the regrip, and the hip drive.
Where it fits among other odd-object work
The sandbag over shoulder sits between strength and conditioning. It is heavier and messier than a sandbag carry, but it does not demand the same forward travel as a yoke carry or Zercher carry. It also shares a lesson with the sled push: the athlete who keeps tension and breathes usually lasts longer than the athlete who panics early.
Compared with power clean timing, the sandbag version is less about a clean rack position and more about getting a stubborn object close enough to move. That makes it useful for athletes who need odd-object practice, but it also means coaches should watch the spine, the reset, and the drop zone.
Scaling without losing the point
Scaling should keep the same pattern: floor, lap, stand, shoulder. If the prescribed bag is too heavy, reduce the load before the athlete starts yanking from a rounded position. If the athlete cannot lap the bag cleanly, use a lighter bag, a higher start, or sandbag deadlifts to practice the first pull.
For newer athletes, limit the volume and focus on repeatable reps. A set of six good lifts teaches more than twenty half-reps that turn into a wrestling match. If the workout includes running or gymnastics after the sandbag, choose a weight that lets the athlete leave the station with some control.
What to check before the next workout
Before adding speed, test one thing: can you place the bag in the same spot after every drop? If the answer is yes, the workout becomes much easier to manage. If the bag keeps rolling away, fix the reset before you chase faster splits. A clean rep starts before you touch the bag again.
Add a few light laps to your next CrossFit warm-up, then build to the workout weight. The goal is not to make the bag feel easy. The goal is to make every rep look like it has a plan.