The plan
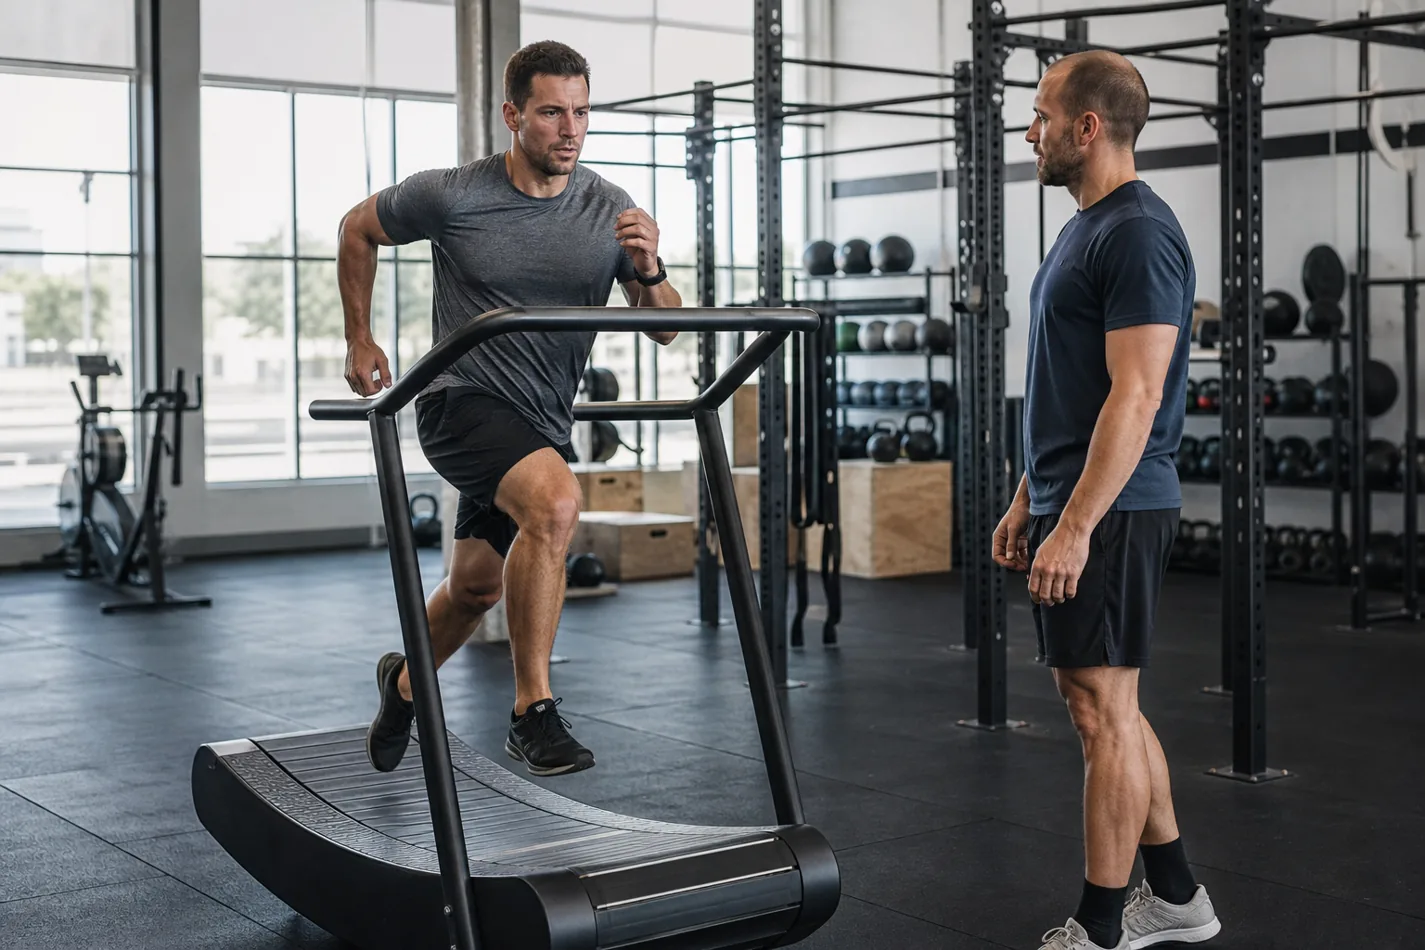
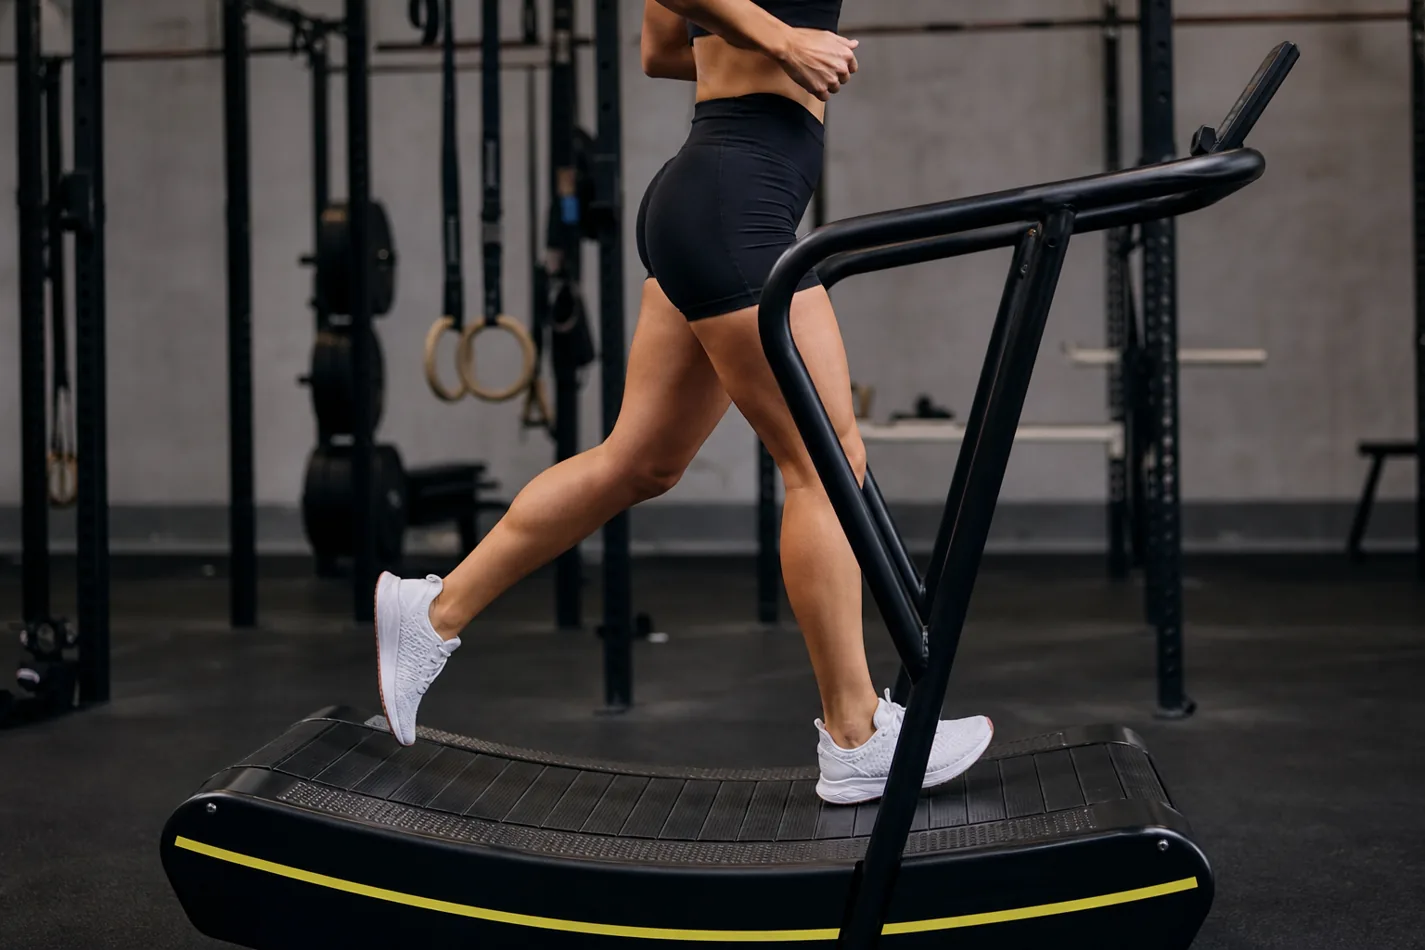
The Assault Runner looks simple until the belt answers back. There is no motor to save your pace. If you lean too far forward, the curve speeds up. If you drift back, the belt slows and every step feels sticky.
That is why the Assault Runner in CrossFit can feel harsher than a normal treadmill or an outdoor run. The machine makes you pay for sloppy posture, late foot strikes, and panic pacing. Used well, it is a clean conditioning tool. Used badly, it turns a short run into a leg tax you did not plan for.
- The Assault Runner is a manual curved treadmill, so your body position controls the belt speed.
- Most athletes go wrong by sprinting the first 20 seconds, overstriding, or standing too far back on the curve.
- For CrossFit workouts, treat it like a skill station: find a repeatable cadence before chasing calories or meters.
What makes the Assault Runner different
A motorized treadmill lets you choose a number and hang on. The Assault Runner does not. Your stride moves the belt. Step higher on the front curve and the belt accelerates. Drift backward and it slows down. That feedback is fast, which is useful, but it can surprise athletes who are used to locking in a speed.
In CrossFit, that matters because the run is rarely alone. It may sit between cleans, burpees, wall balls, or carries. If you burn your legs on the runner, the next station gets worse. The goal is not to look fast for five seconds. The goal is to leave the machine with a pace you can still use.
Start with belt position, not speed
Most problems start with where the athlete stands. Too far forward, and the belt can run away. Too far back, and each step becomes a grind. A better starting point is just ahead of the center of the belt, tall enough to breathe, with a slight forward lean from the ankles rather than a fold at the waist.
The first few steps should feel controlled. If the machine surges, shorten the stride and bring your feet back under you. If it feels dead, move a touch forward on the curve instead of reaching farther with the foot.
How to pace it in a WOD
The Assault Runner punishes fake confidence. A hard opening pace feels fine while the lungs are fresh, then the quads tighten and the belt starts dictating the rep. For most mixed workouts, pick a pace you could hold after the next movement, not just before it.
This is the same lesson athletes learn with Air Bike pacing, SkiErg pacing, and BikeErg work. Machines reward consistency more than drama. If the workout has repeated rounds, the best split is usually the one that does not make you stare at the floor before picking up the next implement.
| Workout setup | Runner mistake | Better choice |
|---|---|---|
| Short sprint intervals | Leaning forward until the belt jumps | Build speed for two or three steps, then hold cadence |
| Calories in a chipper | Opening like it is the last station | Settle into a pace that lets you step off and work |
| Run plus barbell | Overstriding and loading the hamstrings too early | Use shorter steps and keep the feet under the hips |
| Team workout | Waiting until the handoff to start thinking | Know your target pace before you step on |
Stride cues that actually help
Think quiet feet first. Loud, heavy steps usually mean the athlete is reaching in front or bouncing too much. A cleaner stride lands under the body, keeps the shoulders relaxed, and lets the belt move without a fight.
The arms matter too. If the hands cross the body or the shoulders climb toward the ears, breathing gets tight. Keep the elbows moving back and the hands relaxed. You do not need a perfect track stride. You need one you can repeat while tired.
The demo below is worth watching before you try to sprint on a curved treadmill. The useful part is not hype. Watch where the athlete stands on the belt and how small changes in lean change the speed.
How it compares with outdoor running and other machines
The curved treadmill is not just outdoor running indoors. The belt feedback changes the feel, especially when you accelerate or slow down. It can also make athletes more aware of posture because poor position shows up right away.
Compared with rowing technique, the Assault Runner has less technical setup but more impact. Compared with sled push, it taxes breathing without the same heavy push position. Compared with shuttle run turns, it removes the turn but exposes pacing. None of these tools is better in every workout. The right one depends on the training goal.
Warm up before the belt bites
Do not step on cold and treat the first round as the warm-up. Spend two minutes walking, jogging, and testing where the belt responds. Add a few short pickups, then step off and see how your legs feel before the workout starts.
A good CrossFit warm-up should include calves, hips, and breathing, but the runner itself needs a few practice steps. Athletes who only warm up on the floor often get surprised by the first acceleration.
Scaling and substitutions
If the Assault Runner makes the workout unsafe or too disruptive, scale the distance, reduce the calorie target, or swap to another machine with a similar time domain. For newer athletes, a shorter run at a steady pace is usually better than a full distance that turns into walking and frustration.
For sore calves, Achilles irritation, or poor control on the curve, choose the bike or rower for the day. That is not weakness. It is matching the tool to the athlete so the workout keeps its purpose.
What to test next time
On your next workout, pick one number before you start: a pace, calories per minute, or a distance split you can repeat. Step on, find the same place on the belt, and hold the rhythm for the middle of the piece. If you can step off and move straight to the next station, you paced it well. If you need a hands-on-knees reset, the runner won the first round.