The plan
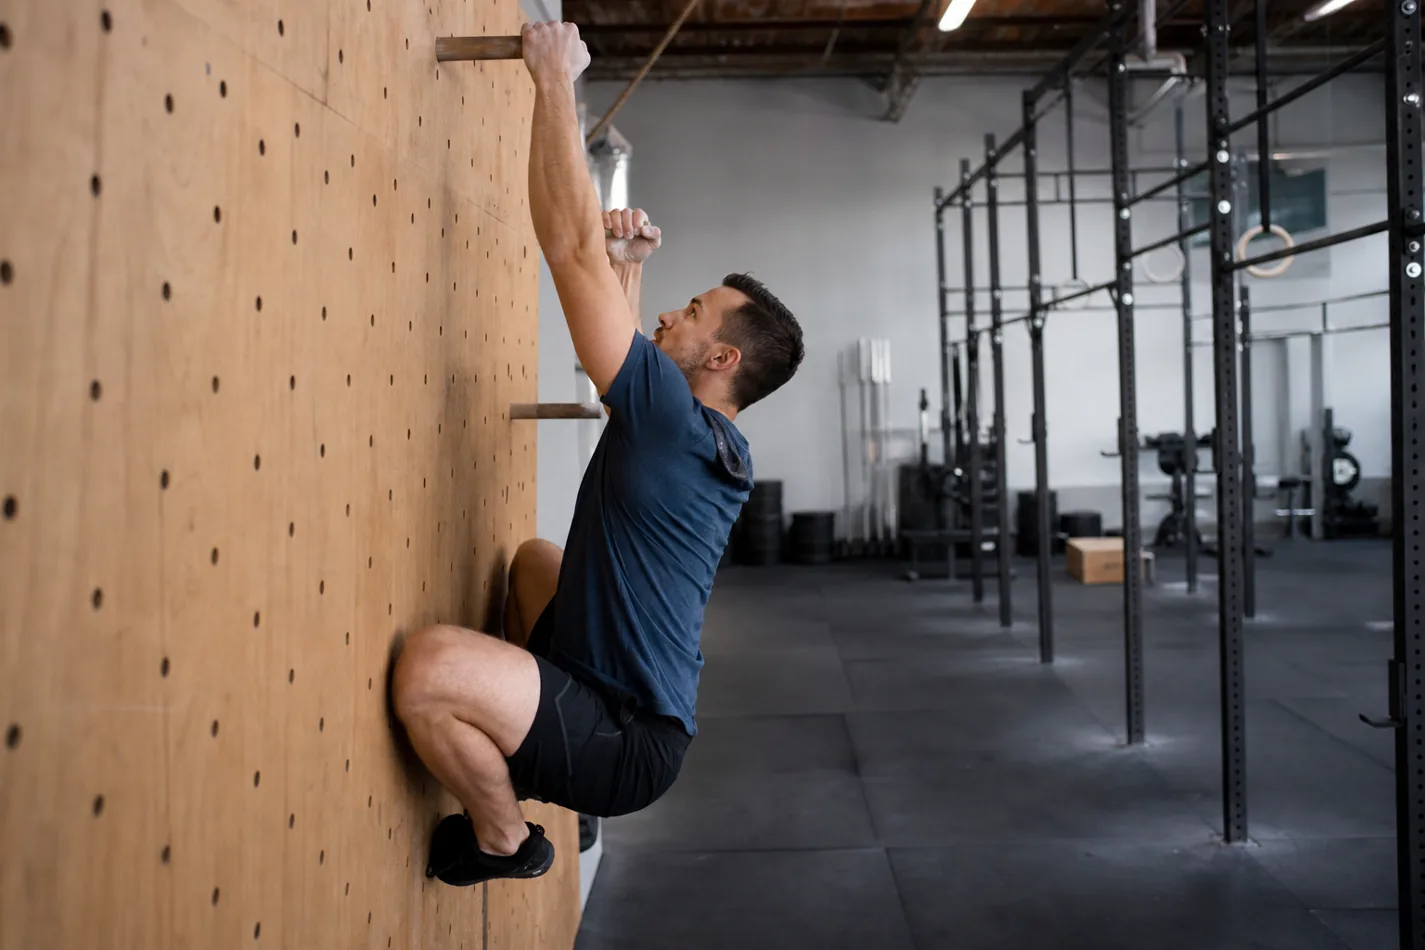
The pegboard looks simple from the floor. Two pegs, a wall, and a short climb. Then the first hand slips, the shoulders jump toward the ears, and the whole thing turns into a very public grip exam.
In CrossFit, the pegboard rewards athletes who can pull with control, manage tension through the trunk, and move one hand while the other arm stays honest. Strength matters, but bad rhythm can burn out a strong athlete in three holes.
- Start with packed shoulders and a tight midline before moving the first peg.
- Each peg placement should feel deliberate. Rushed hands usually mean loose lats and wasted grip.
- Scale the climb with feet support, negatives, and strict pulling work before chasing full-height reps.
What the pegboard actually tests
A pegboard climb is not just a harder pull-up. The athlete has to create tension with one arm, place the free peg accurately, then shift weight without swinging away from the wall. That is why the movement feels different from strict pull-up strength. One arm is always buying time for the other.
The best reps stay close. The ribs stay down, the legs do not kick wildly, and the athlete keeps enough pressure through the peg to make the next reach clean. If the body starts drifting backward, the shoulder has to fight a longer lever and the hand starts death-gripping the wood.
Set the shoulder before you move the peg
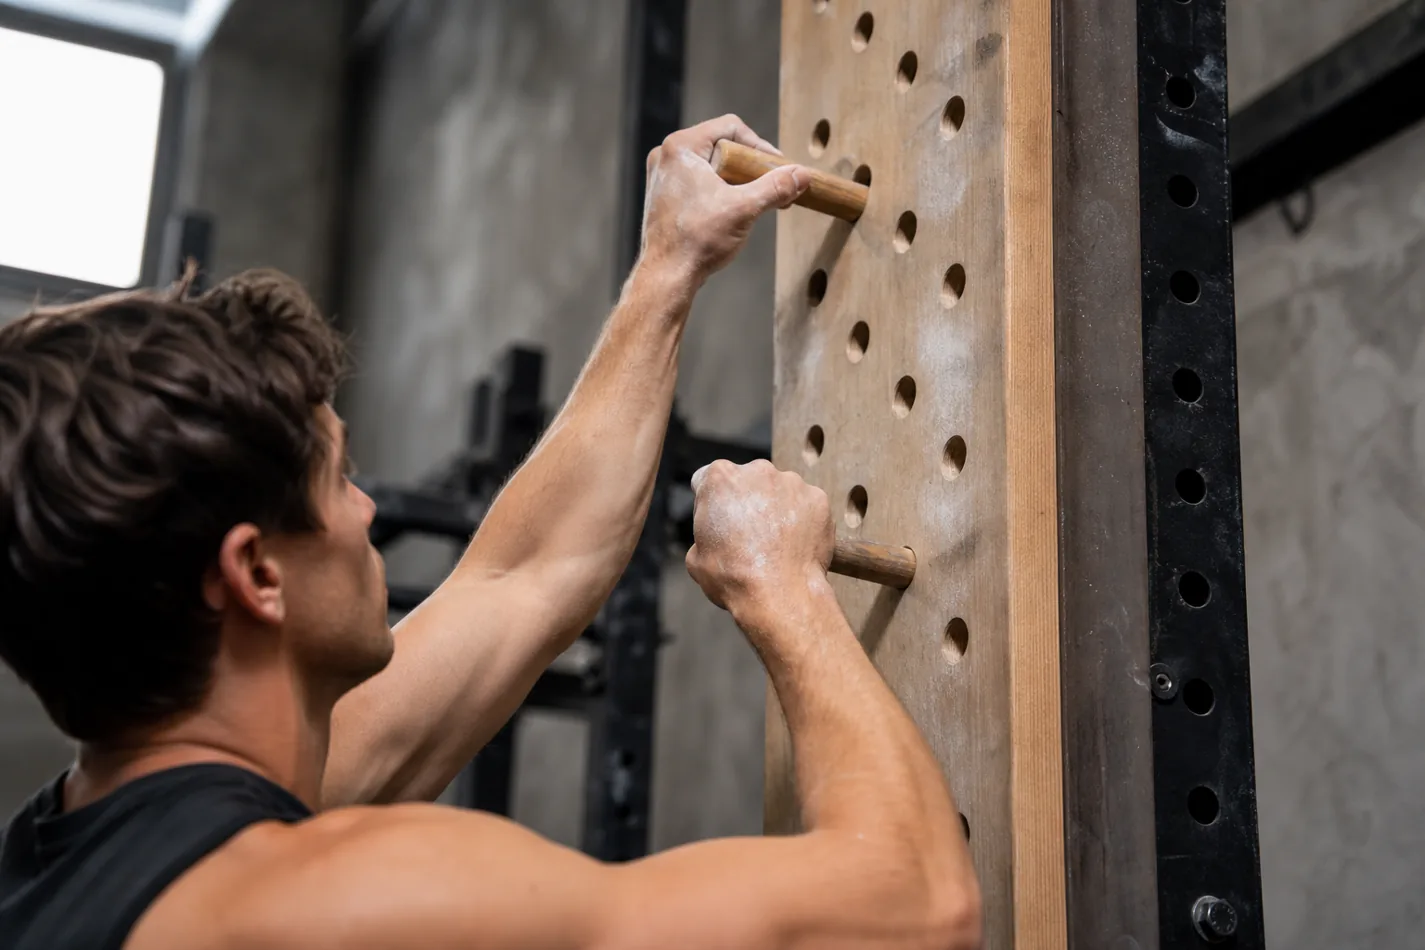
The first mistake is trying to climb with shrugged shoulders. That position feels powerful for a second, then the neck and forearms take over. Before moving a peg, pull the shoulder blade down and back enough to make the hanging side feel stable.
Think of the peg as a handle you own, not a rung you are barely holding. The working arm should feel connected to the lat. That same idea shows up in ring row control, but the pegboard gives less room for sloppy timing because one hand is often off the wall.
| Problem | What it looks like | Fix to try |
|---|---|---|
| Shoulders shrug early | The athlete climbs with the neck tight and elbows bent | Pause before each move and pack the hanging shoulder |
| Pegs go in shallow | The hand panics and the peg wobbles | Place the peg fully before shifting bodyweight |
| Legs kick away | The body swings off the wall after each reach | Squeeze the glutes and keep the ribs down |
| Grip fails after two moves | The athlete overgrips every placement | Use shorter sets and practice clean resets |
Use your legs as a brake, not a distraction
Some athletes try to keep the legs perfectly still. Others kick hard and hope momentum helps. Neither option works well for most CrossFit workouts. The legs should help control swing, almost like a brake, while the upper body does the pulling and placing.
If the workout includes pegboard climbs near rope climb footwork, heavy carries, or bar work, grip fatigue becomes the real limiter. Smooth legs and a calmer trunk save the hands for later stations. Wild legs make every placement feel like a save.
The video below is worth using because it breaks the climb into pieces instead of treating the pegboard like a raw strength test. Watch how the athlete sets one peg, locks position, then moves the next hand without rushing the shoulder.
How to scale pegboard climbs without faking the skill
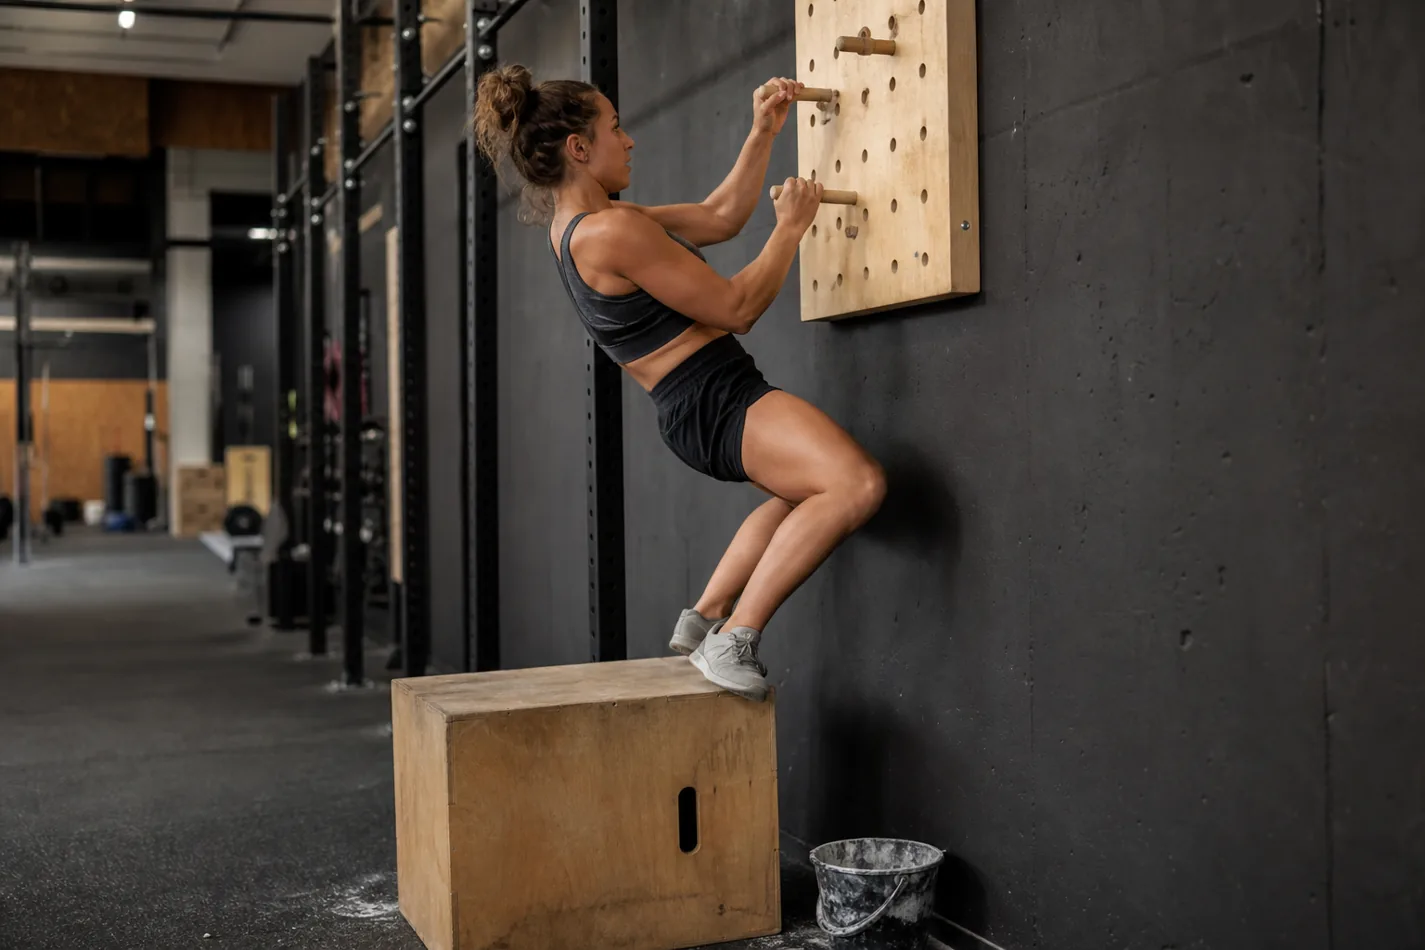
Good CrossFit scaling keeps the main demand in the movement: one arm stabilizes while the other hand moves. Feet-assisted climbs are usually the cleanest scale. Put the feet on a box or wall support, reduce bodyweight, and practice accurate peg placement without turning the rep into a max hang.
Negatives also help. Start near the top with a safe setup, lower one peg at a time, and stop before the shoulder position falls apart. For athletes who are not ready for the board, build the pieces with strict pulling, slow ring rows, towel hangs, and carries. That is not glamorous work, but it transfers.
Where pegboards go wrong in workouts
The pegboard gets risky when athletes treat every rep like a dare. Missed placements, tired shoulders, and slippery hands do not mix well. If a peg does not seat cleanly, reset. If the athlete cannot hold position for a second, the next reach is probably too expensive.
Coaches should watch the descent as closely as the climb. Dropping off from fatigue may be fine from a low height in training, but it is not a plan. A controlled down-climb or a clear dismount standard keeps the station from turning into guesswork.
When to practice it
Practice pegboard work before conditioning, not after your forearms are already cooked. Start with a few clean placements, then step away while the reps still look sharp. If the goal is fitness, two controlled climbs beat five ugly attempts that teach panic.
The simple test is this: can you move one peg without your body peeling away from the wall? If yes, build height slowly. If not, stay with feet support, strict pulls, and grip under fatigue until the position holds. The board will still be there next week, and it rewards patience more than ego.
That patience also carries into muscle-up pulling strength. Athletes who can stay connected on the pegboard usually understand how to pull without flailing, which makes the skill useful even on weeks when it is not written on the whiteboard.