The plan
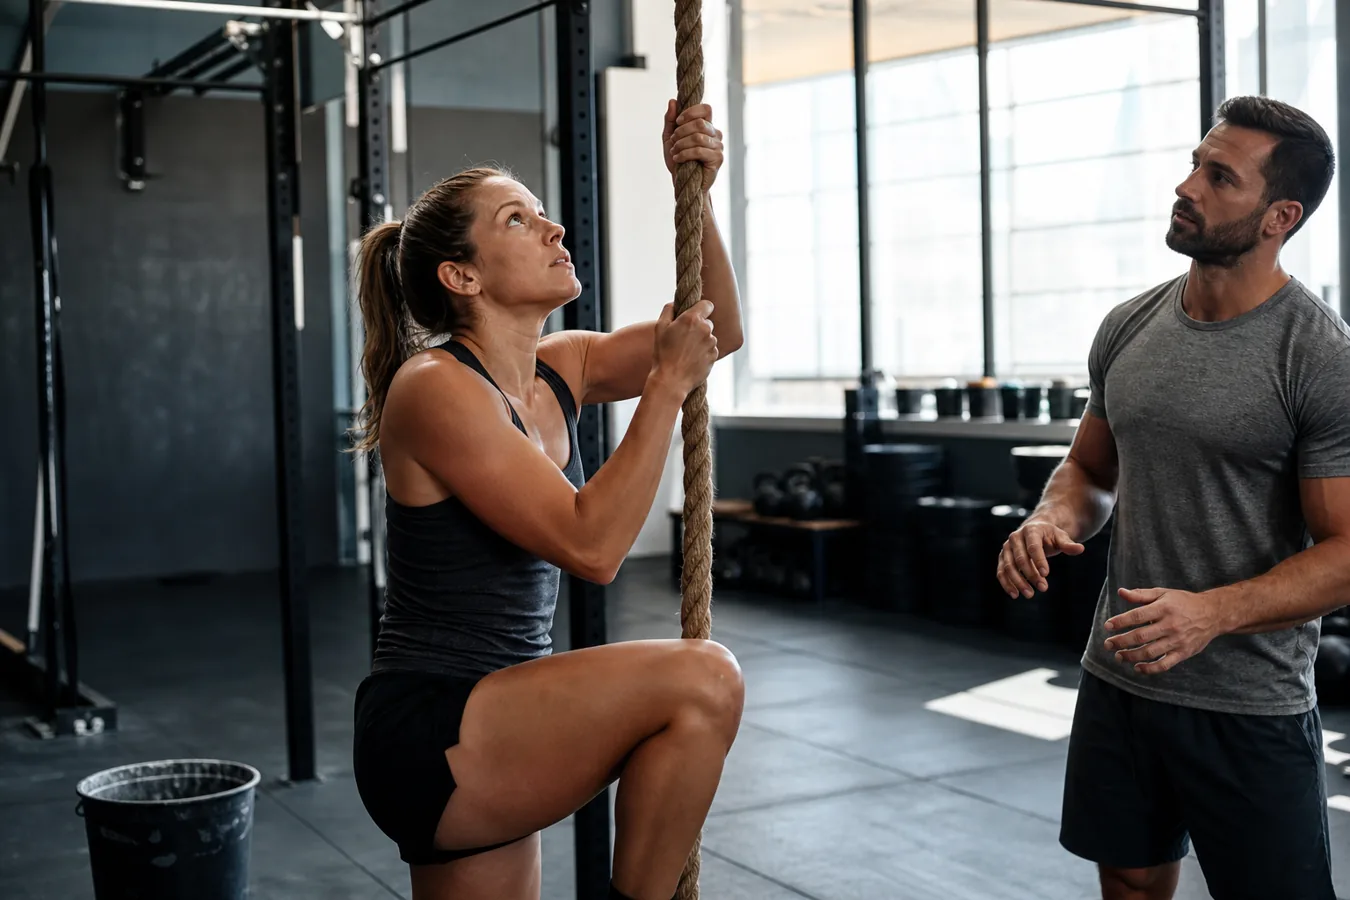
Rope climbs punish athletes who try to win the movement with their arms. You can get away with it once or twice. Then the forearms lock up, the descent gets sloppy, and the next round feels twice as high.
The better answer is less dramatic: learn a foot lock you trust. In CrossFit workouts, a clean J-hook or secure wrap lets the legs do most of the work while the hands guide the climb. That keeps the movement safer, faster, and easier to repeat under fatigue.
- Most rope climb problems start with a weak foot lock, not weak arms.
- The J-hook is usually the fastest skill to learn for WODs because it gives a clear clamp and release.
- Scale the movement before grip fatigue turns the descent into the riskiest part of the rep.
Why the foot lock matters more than the pull
A good rope climb starts before you leave the floor. Jump or reach high, bring the knees up, trap the rope with the feet, then stand tall on the clamp. The arms pull just enough to reset the hands. The legs create the height.
When the feet do not hold, the athlete turns every rep into a strict pull-up with a rope in the hands. That might work for a strong gymnast for a few climbs, but it is a rough plan for a long workout. It also makes the descent worse because tired hands have to control everything.
This is why grip management connects directly to movements like toes-to-bar in CrossFit. The athlete who hangs on too hard early usually pays for it later.
How to build a cleaner J-hook
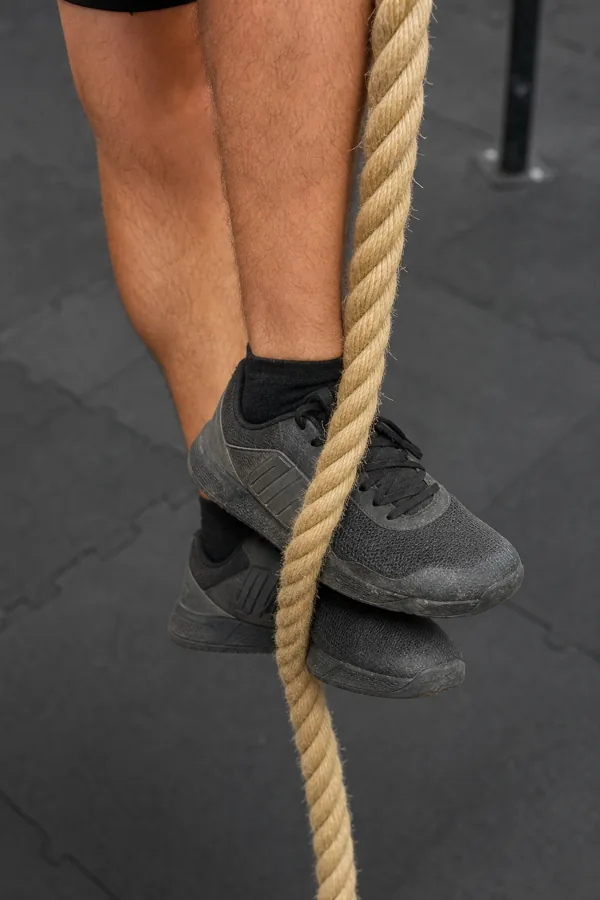
The J-hook is popular because it is simple enough to practice on the floor. Let the rope run down the inside or outside of one leg, sweep the other foot under it, then step down to clamp the rope between the shoes. The exact foot path can vary by coach, but the test is simple: can you stand on the lock without death gripping the rope?
Start seated or standing low on the rope. Make the clamp, put weight into it, relax the hands slightly, then reset. If the rope slips, slow down. Chasing speed before the lock works is how athletes learn a frantic version of the skill.
| Drill | What it teaches | What to watch |
|---|---|---|
| Seated foot lock | Finding the rope with the feet without panic | The hands should not be doing all the work |
| Stand and hold | Trusting the clamp under bodyweight | The rope should not slide through the shoes |
| One pull, one lock | Timing the hands and feet together | Stand before reaching again |
| Controlled descent | Coming down without burning the hands | Small releases beat fast slides |
A short video to check your foot position
This CrossFit coaching clip is worth watching because it focuses on the part most athletes skip: the feet. Look at how the rope gets trapped before the athlete tries to move higher. That is the piece to copy in practice.
Common rope climb mistakes in CrossFit workouts
The first mistake is pulling too early. If the feet are still searching for the rope, the arms are already spending energy. Pause long enough to make the clamp, then stand.
The second mistake is reaching with soft shoulders and a loose midline. A rope climb is not only a grip skill. You still need tension through the ribs, hips, and legs. Athletes who rush upside-down skills often recognize the same problem in CrossFit wall walks: position leaks first, strength disappears second.
The third mistake is sliding down too fast. That looks efficient until the hands get hot, the rope burns the skin, or the athlete lands poorly. Come down in short, controlled steps. In a workout, a safe descent is part of the rep.
When to scale rope climbs
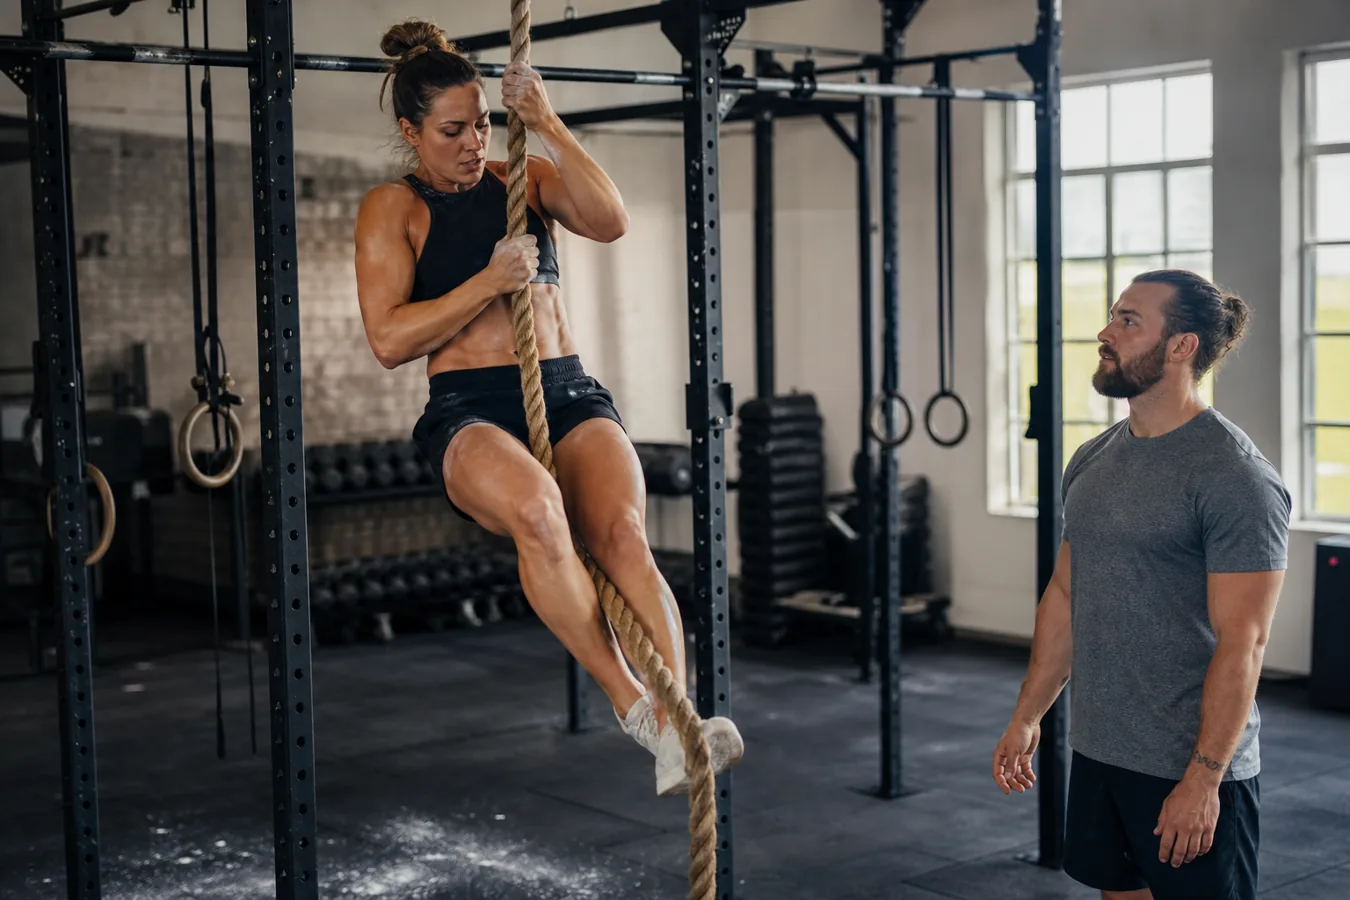
Scale rope climbs when the athlete cannot lock the feet, cannot descend under control, or loses grip after the first few reps. The goal is not to pretend the rope is easy. The goal is to train the pattern without turning the workout into a safety problem.
Good options include seated rope pulls, lying-to-standing rope pulls, partial climbs, strict pull-ups, ring rows, or towel pull-ups when a rope is not available. The right choice depends on the workout and the athlete. A practical CrossFit scaling plan keeps the pulling stimulus without forcing a bad climb.
What to check before your next WOD
- Can you make the foot lock from the floor without looking down for five seconds?
- Can you stand on the rope and briefly relax your hands?
- Can you descend in small steps instead of sliding?
- Do your shoes help the clamp, or do they make the rope slip?
- Can you repeat the skill after your heart rate is up?
If one of those answers is no, build the rope climb lower before you chase height. The athlete who trusts the feet gets to save the arms. In a real WOD, that is usually the difference between steady climbs and standing under the rope shaking out the forearms.