The plan
Wrist mobility rarely gets attention until the first front rack hurts or the first handstand warm-up feels like a bad idea. Then athletes start shaking their hands out between sets, blaming the barbell, the floor, or the chalk. Sometimes the problem is simpler. The wrist was never warmed up for the position the workout asked for.
CrossFit asks the wrists to do a lot in one hour: front squats, cleans, push-ups, burpees, wall walks, handstand push-ups, overhead carries, and ring work. A short wrist prep can make those positions feel cleaner. It will not fix an injury or replace coaching, but it can stop a stiff joint from turning the whole session into a compensation pattern.
- Warm up the wrists for the exact position coming next: front rack, plank, handstand, or pressing.
- Use gentle pressure, slow angle changes, and quick retests instead of forcing painful end ranges.
- If wrist pain is sharp, numb, or keeps getting worse, scale the movement and get it checked.
Why wrists get exposed so fast in CrossFit
The wrist is small, but it often sits between heavy loading and poor shoulder or trunk position. In a front squat, limited wrist extension can make the elbows drop. In a wall walk or handstand push-up, the same stiffness can push the athlete onto the heel of the hand and make the shoulder feel jammed.
That does not mean every wrist complaint starts in the wrist. Tight lats, a weak front rack, poor pressing mechanics, and fatigue all change where pressure lands. Still, the wrist needs a few minutes of preparation before it is asked to support bodyweight or hold a barbell against the shoulders.
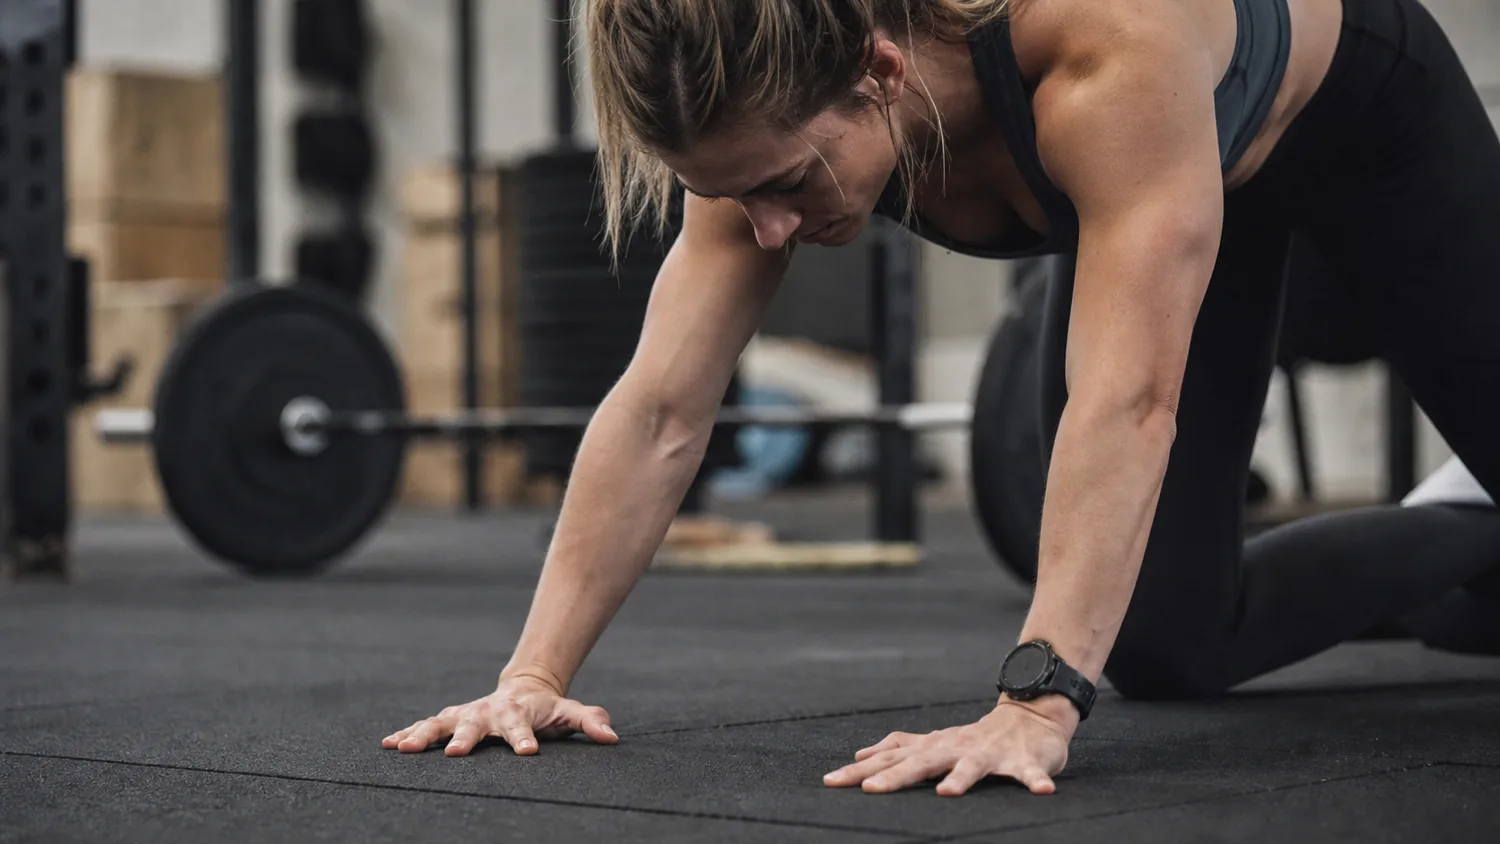
Start with pressure you can control
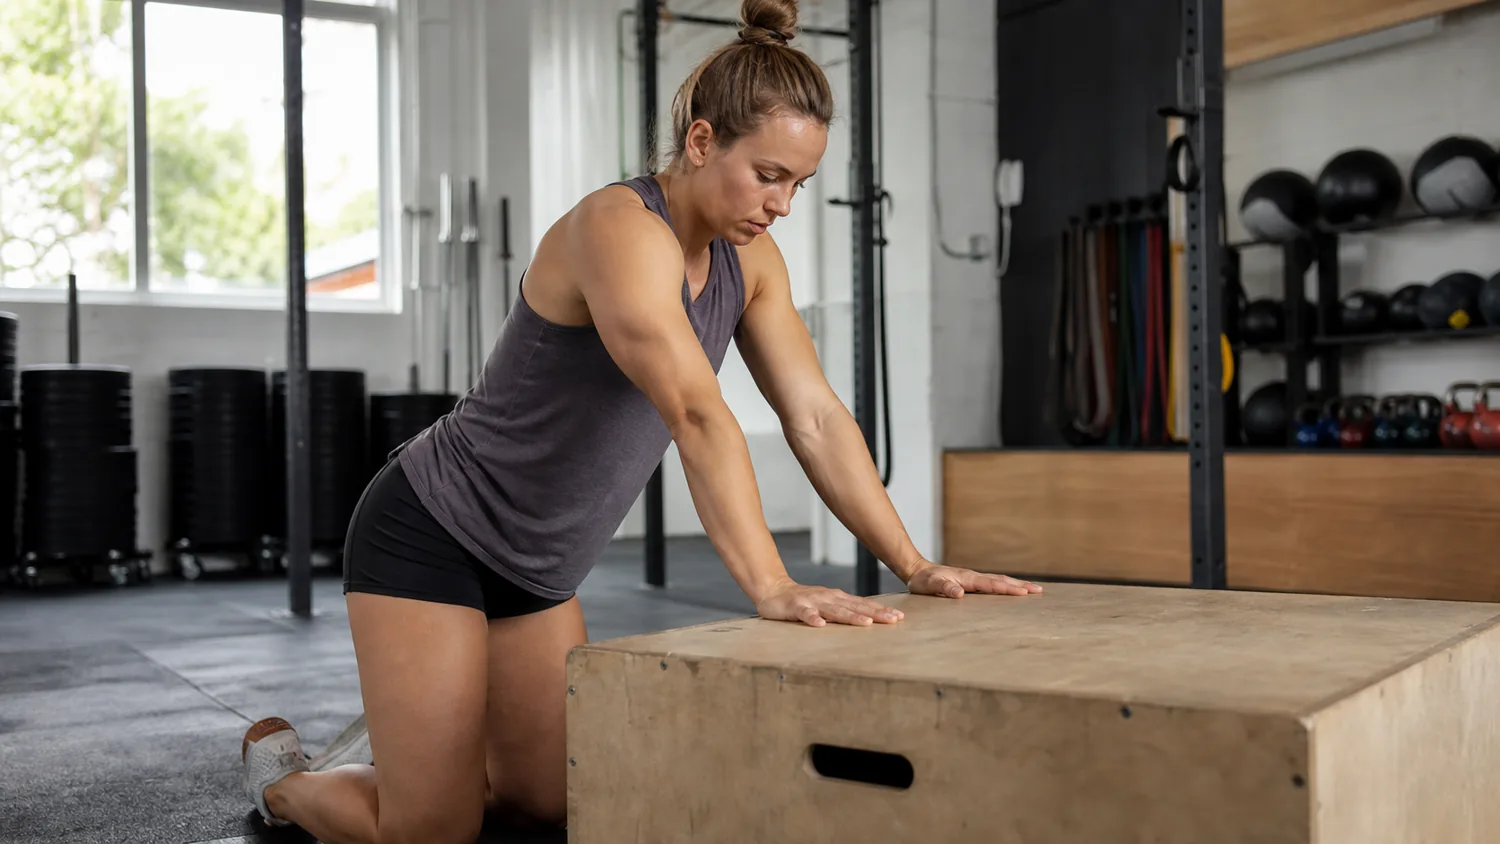
Begin on all fours with the palms flat and fingers spread. Shift a little weight forward, then back. Keep the elbows soft. The first goal is not to stretch as far as possible. It is to learn how the hand contacts the floor and where the wrist starts to complain.
After 20 to 30 seconds, turn the fingers slightly out and repeat. Then try fingers back toward the knees with much less pressure. Most athletes should keep this version small. If the front of the wrist feels sharp, back off. The drill should make the next movement clearer, not leave the athlete guarding the hand for the rest of class.
| Workout position | Wrist prep that matches it | Quick retest |
|---|---|---|
| Front rack for cleans or squats | Palm pressure, fingers back gently, then elbow lifts with an empty bar | Can the elbows stay higher without crushing the grip? |
| Handstand or wall walk | All fours rocks, fingers spread, light plank holds | Can the athlete stack over the hands without dumping into the wrist? |
| Push-ups or burpees | Short plank rocks and slow hand release reps | Can the palm stay flat without the elbows flaring hard? |
| Overhead pressing | Wrist circles, light front rack holds, then barbell presses | Does the bar sit better before the first working set? |
Front rack mobility is not only about the wrist
A painful front rack often makes athletes attack the wrist first. That helps sometimes, but not always. If the bar is sitting in the hands instead of on the shoulders, the wrist pays for a rack position the upper back and elbows did not create.
Use the wrist drill, then grab an empty bar. Let the bar rest on the shoulders, open the hands slightly, and lift the elbows. If that feels better, the wrist prep earned its spot. If it still feels awful, add shoulder work such as PVC pass-throughs or a light push press progression before loading. Do not keep cranking on the wrist while the rest of the rack stays unchanged.
This demo is worth using because it keeps the focus on small wrist positions that actually show up in class. Watch the hand placement, the pressure through the palm, and how the athlete changes the angle without turning the drill into a pain test.
Handstand days need a different warm-up
For wall walks, handstand holds, and pressing from the floor, the wrist has to tolerate bodyweight. That asks for more than a few circles in the air. Build pressure gradually: all fours rocks, high plank holds, short shoulder taps, then the first wall-facing position. This sequence lets the athlete feel whether the hand is ready before the workout gets loud.
Bodyweight pressing also exposes poor hand placement. A very narrow hand, collapsed arch, or fingers barely touching the floor will usually make the wrist angrier. Spread the fingers, press through the whole palm, and let the shoulder share the load. If the workout includes ring push-ups or parallettes, those tools can reduce wrist extension while keeping the pressing stimulus.
When wrist mobility should become scaling
There is a clear line between useful tightness and a warning sign. Mild stiffness that improves after a warm-up is normal for many athletes. Sharp pain, numbness, swelling, or pain that worsens as the workout continues is different. That is the day to scale, change the grip, or pick a tool that keeps the joint out of the angry position.
Good scaling still trains the workout. Front rack pain can move to straps, dumbbells, or a lighter bar while the athlete works on elbows and torso. Handstand work can move to box pike holds, plank variations, or inchworms if loading the wrist vertically is too much. Crawling work such as a bear crawl can stay short and controlled instead of turning into a long grind on sore hands.
What to test before loading your wrists
Before the next wrist-heavy WOD, run a simple check. Can you put your palm flat on the floor without flinching? Can you hold a plank for 10 seconds with even pressure through the hand? Can you rack an empty bar without squeezing it like a deadlift? Those answers tell you more than a long mobility routine.
If the wrist feels better after two minutes, keep the drill and move on. If nothing changes, look upstream at the front rack, shoulder, trunk, or movement choice. Wrist mobility works best when it is short, specific, and honest about what the workout is about to demand.