The plan
Crab walks look like a kids' warm-up until the shoulders start talking. The athlete sits on the floor, plants the hands behind the body, lifts the hips, and travels on hands and feet. Simple setup. Harder to keep clean once the pace picks up.
In CrossFit, the drill can be useful before gymnastics, crawling, pressing, running warm-ups, and odd-object days. It asks for shoulder extension, hip drive, trunk tension, and coordination. It also exposes athletes who let the ribs flare, hips sag, or hands land wherever they happen to fall.
- Keep the hips lifted enough that the drill trains the posterior chain, not just the wrists.
- Hands should land close enough to support the shoulders without forcing a cranky angle.
- Use short distances and clean steps before adding speed, races, or workout volume.
What a crab walk should train
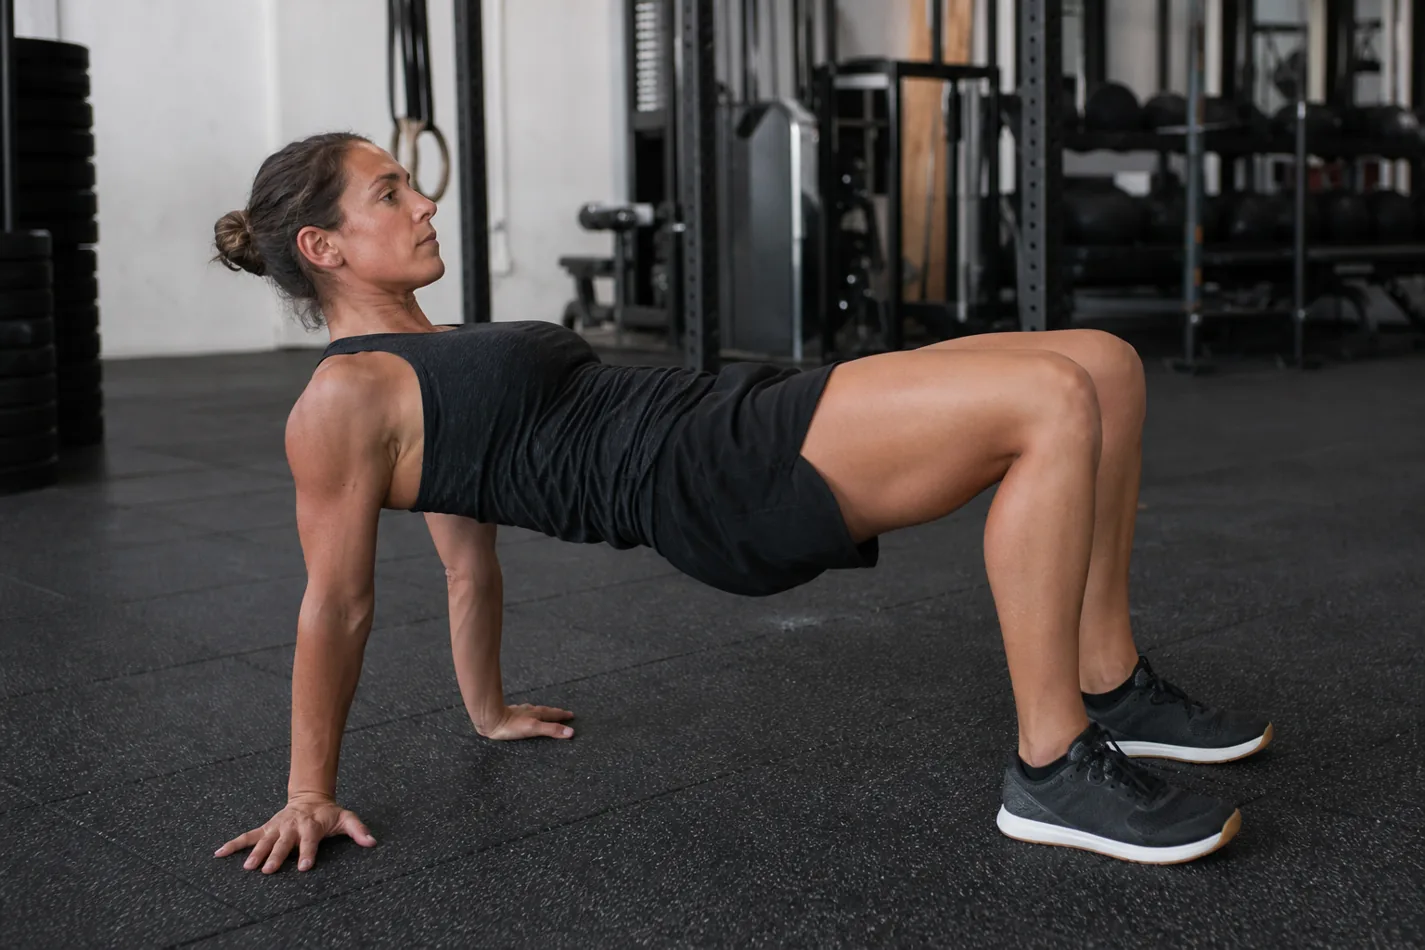
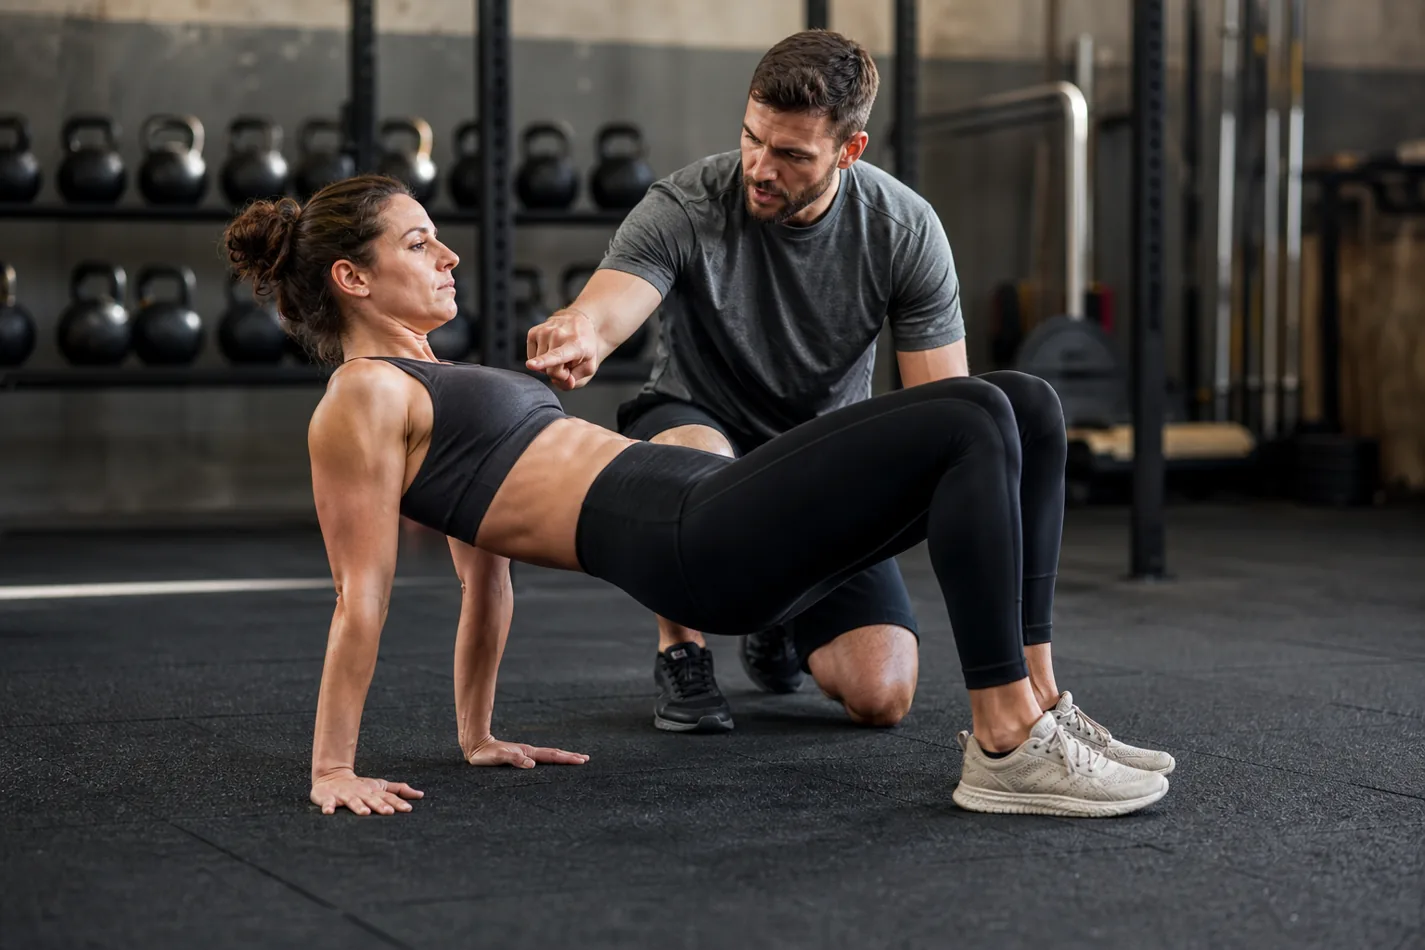
A good crab walk is a moving bridge. The hips stay up, the feet keep pushing, and the hands support the body without turning every step into a shrug. If the athlete drops the hips after two steps, the drill stops looking like locomotion and starts looking like a tired crawl across the floor.
That is why crab walks pair well with glute bridges and side planks. One teaches hip extension from the floor. The other teaches the athlete to keep the trunk stacked. Crab walks ask for both while the body is moving.
Set the hands before you move
Start seated with the knees bent and feet flat. Place the hands behind the body, fingers turned slightly out if that feels better on the wrists. Press through the full hand, lift the chest without dumping the ribs, and raise the hips until the athlete can feel the glutes working.
The first step should be small. Move one hand and the opposite foot, then switch. If the hands land too far behind the shoulders, the athlete may feel a hard stretch in the front of the shoulder. If the hips drop, shorten the distance or swap the drill for a simpler bridge variation before trying again.
| Fault | What it usually shows | Fix before adding speed |
|---|---|---|
| Hips sag after a few steps | The athlete is losing hip extension and trunk tension | Use shorter sets or return to glute bridge holds |
| Shoulders feel pinched | The hands are too far back or the chest is flaring open | Bring the hands closer and turn the fingers out slightly |
| Steps get loud and rushed | The drill has become a race instead of coordination work | Slow the tempo and match opposite hand to opposite foot |
| Wrists take all the load | The athlete is sitting into the hands instead of pushing the floor | Lift the hips higher and spread pressure through the palms |
Where it fits in a CrossFit warm-up
Crab walks make sense after general heat and before drills that need a strong floor position. Use ten to twenty feet at a time, then reassess. If the athlete can keep the hips up and shoulders quiet, a few controlled passes are enough.
They work well beside bear crawls because the two drills challenge opposite body positions. Bear crawls ask for a braced face-down crawl. Crab walks ask the athlete to move while facing up. On pressing days, they can also sit near plank shoulder taps or ring push-ups as part of a shoulder prep circuit.
The demo below is useful because it shows the drill at a coachable speed. Watch the hip height and hand placement first. If those two pieces fall apart, the crab walk turns into a backward shuffle with irritated shoulders.
How to scale crab walks without turning them sloppy
The easiest scale is distance. Do less, but do it cleanly. Five controlled steps forward and five back are better than forty feet with dropped hips. Athletes with cranky shoulders can keep the hips lower at first, place the hands on low boxes, or use reverse tabletop holds before traveling.
If wrists are the limiter, change the drill instead of fighting the position. A forearm-based core drill, a short hollow body hold, or a slower inchworm can prepare the body without loading the wrist in extension. The drill should make the next movement cleaner, not create a new problem before the clock starts.
What coaches should watch
Watch the hips from the side. If the athlete starts tall and then slowly sinks, the set is too long. Watch the shoulders from the front. If the neck disappears between the traps, cue a stronger floor press and shorter steps. Watch the rhythm too. The drill should look controlled enough that the athlete could stop on command.
Crab walks are also a useful screen before movements that demand shoulder support under fatigue. If an athlete cannot keep the shoulder organized here, that same pattern may show up later in scap pull-ups, handstand prep, or ring work.
What to check in the next warm-up
Use crab walks when they improve the next piece of training. Retest a push-up position, a bridge hold, a crawl, or the first pressing drill of the day. If the hips feel more awake and the shoulders feel ready, keep the dose small and move on. If the drill turns into shoulder pinching or wrist survival, scale it or choose another warm-up tool.