The plan
Dead bugs do not look like much from across the gym. That is part of the problem. Athletes often treat them like filler, move the arms and legs fast, then miss the one thing the drill is supposed to teach: keep the trunk quiet while the limbs move.
In CrossFit, that skill shows up everywhere. A calm rib cage and pelvis matter in gymnastics, barbell cycling, carries, and overhead work. The dead bug gives coaches a low-risk way to see whether an athlete can brace without holding the breath or borrowing motion from the low back.
- Start with the ribs down and the low back lightly connected to the floor.
- Move one limb at a time before using harder opposite-arm and opposite-leg patterns.
- Scale the range of motion when the back arches, the breath disappears, or the hips rock side to side.
What a good dead bug should feel like
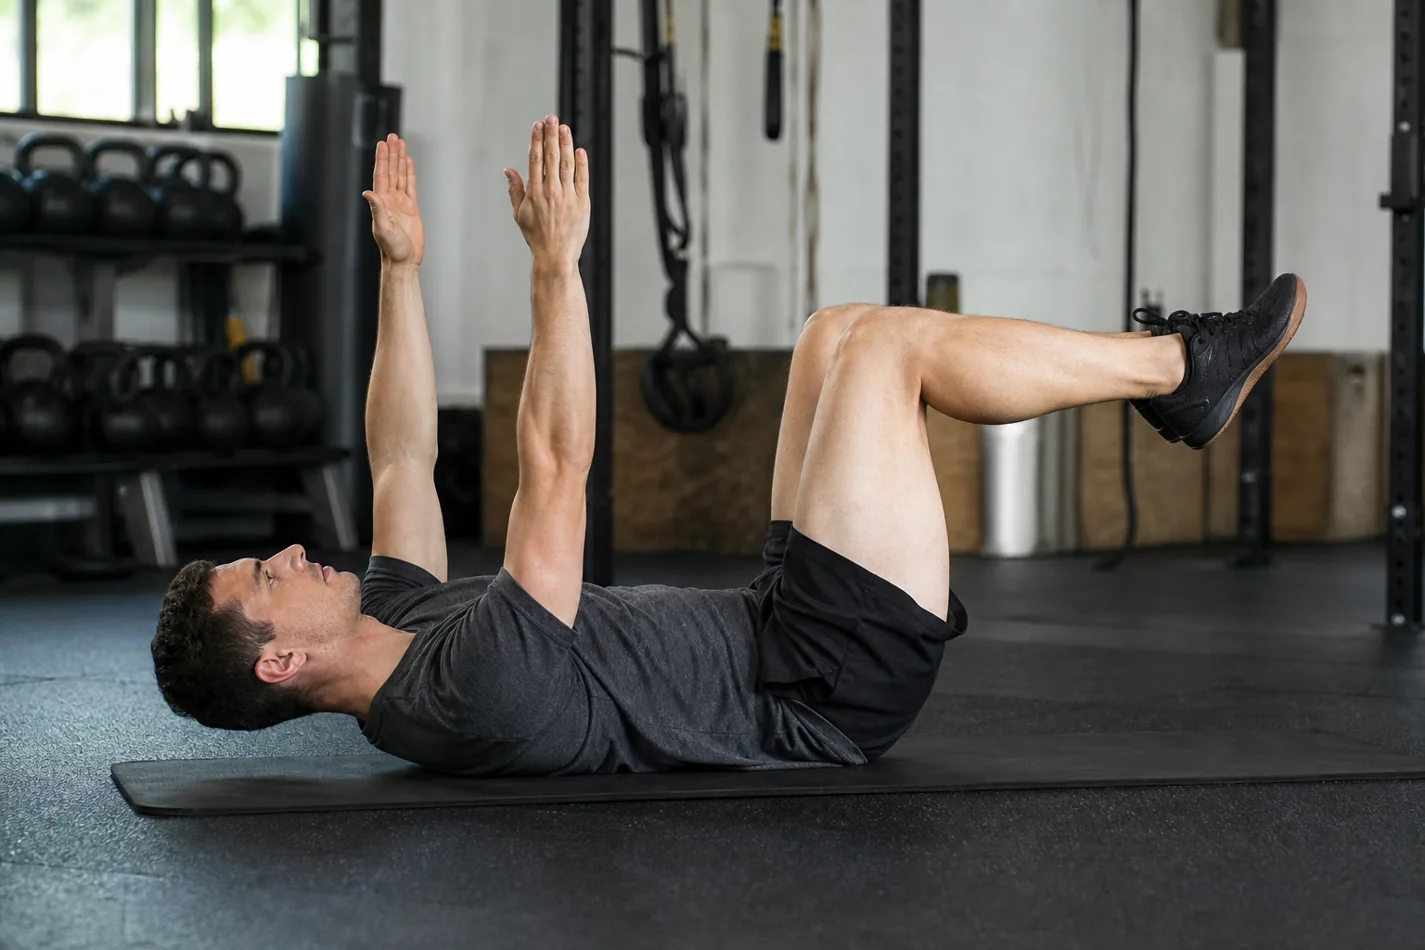
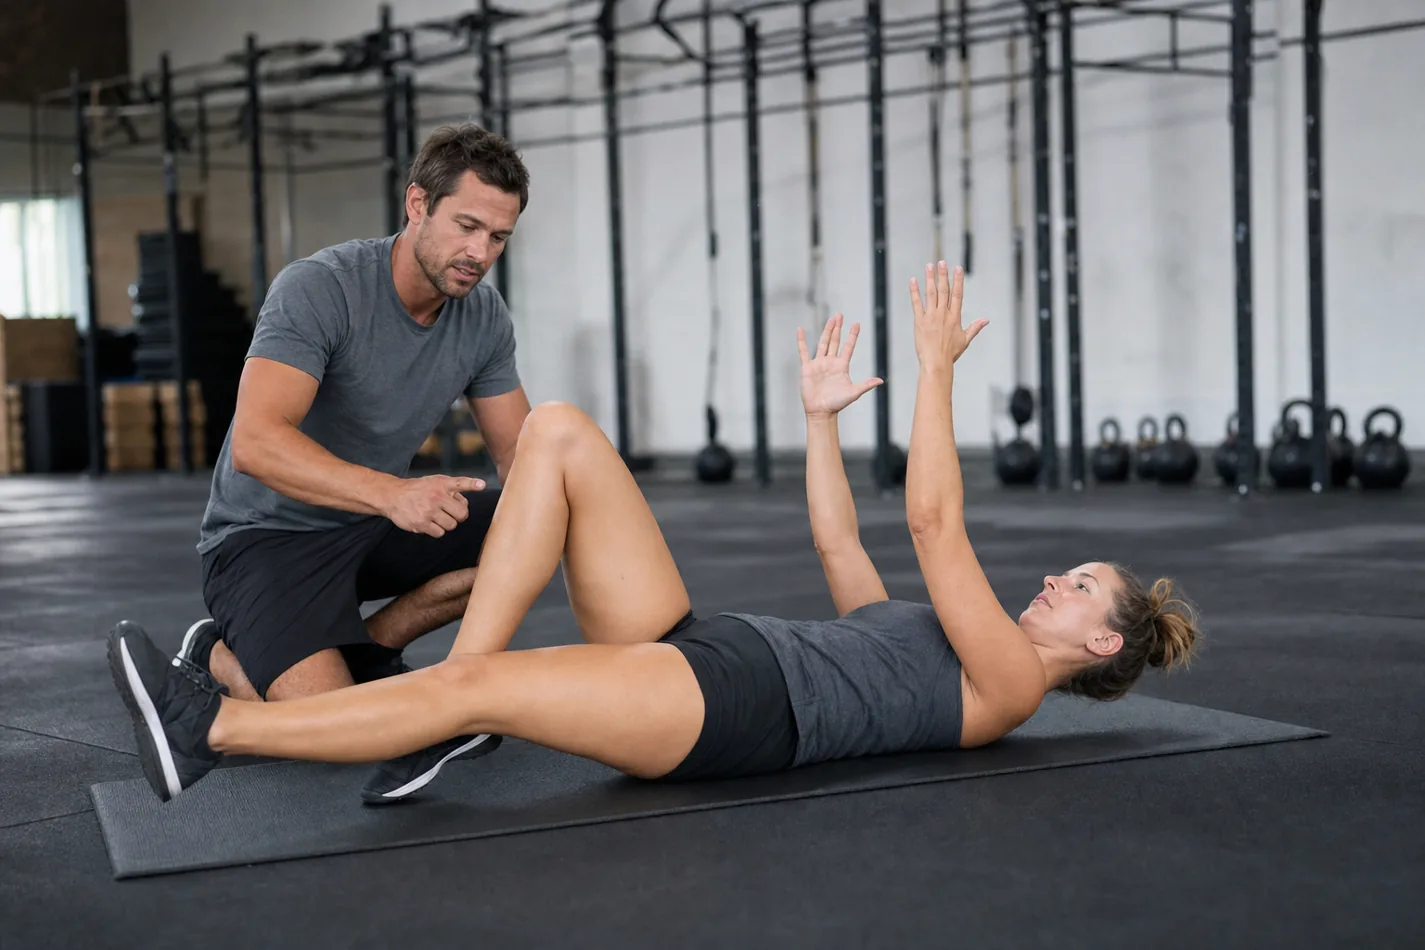
Lie on your back with the hips and knees bent to roughly 90 degrees. Reach the arms toward the ceiling. Before anything moves, exhale enough to bring the ribs down. The goal is not to smash the spine into the floor. It is to keep the trunk organized without using tension in the neck or face.
From there, move slowly. Lower one heel, one arm, or the opposite arm and leg only as far as you can keep the same trunk position. If the low back lifts, the range is too big. Shorter clean reps beat long sloppy reps every time.
The fault is usually rib flare, not weak abs
Most messy dead bugs start with the ribs. The athlete reaches long, the chest pops up, and the low back arches. It can look like a flexibility problem, but it is often a bracing problem.
Use a smaller reach and a slower exhale. Keep the shoulders relaxed. Think about making the waist heavy, then move the leg away from the body. This is the same body control athletes need in hollow hold work and side planks, just flipped onto the back with less noise.
| Fault | What you see | Fix |
|---|---|---|
| Ribs flare | The chest lifts as the leg reaches | Exhale first and shorten the reach |
| Low back arches | Space opens under the waist | Use heel taps or move only one limb |
| Neck strains | The chin lifts and the face tightens | Keep the head down and soften the shoulders |
| Hips rock | The pelvis shifts side to side | Slow down and reset between reps |
Why CrossFit athletes should not rush this drill
Dead bugs are useful because they remove speed. Nobody gets to hide behind momentum. That makes them a good prep piece before skills that punish a loose midline, like toes-to-bar timing or high-rep V-ups.
They also help athletes separate breathing from bracing. A lifter who can only brace by holding the breath will struggle when a workout asks for repeated reps. The dead bug gives that athlete a place to practice calm pressure before the barbell or rig makes the lesson more expensive.
The video below is worth watching because the drill is easy to cheat. Look for the quiet ribs and the slow leg reach. If the back pops off the floor, the athlete has already lost the rep.
How to scale dead bugs without making them pointless
The easiest scale is a heel tap. Keep both knees bent, tap one heel to the floor, then bring it back. If that stays clean, reach the leg farther. If that stays clean, add the opposite arm. Do not jump straight to long contralateral reaches if every rep turns into an arch.
For athletes who still cannot find the position, place the feet on a box and work only the arms. For stronger athletes, add a light plate or band only after the trunk stays calm. Load should make the drill clearer, not louder.
Where dead bugs fit in a CrossFit session
Use dead bugs in the warm-up before gymnastics, squats, hinges, overhead work, or anything that tends to pull the ribs open. Two sets of six to ten slow reps per side is usually enough. If the drill starts to burn but the position is gone, stop the set.
They also pair well with glute bridges when an athlete overuses the low back during hip extension. For higher-skill midline work, dead bugs can sit before GHD work as a reminder that the trunk should stay organized even when the movement gets bigger.
What to test before your next WOD
Try five slow dead bugs per side before the next workout that includes hanging, squatting, or overhead reps. If the low back stays quiet and the breath stays calm, move on. If the ribs flare on the third rep, that is useful feedback.
Fix that first. The drill is not there to tire you out. It is there to tell you whether your midline can stay honest before the workout starts asking harder questions.