The plan
Shoot-throughs look like a small gymnastics drill until the shoulders start to sag. Then every weakness shows up at once: soft elbows, loose ribs, feet clipping the floor, and a rushed swing that never really clears the bars.
In CrossFit, the shoot-through is useful because it trains more than coordination. It asks the athlete to press into the parallettes, move the hips with control, and switch between front support and reverse support without collapsing. Done well, it feels sharp. Done tired, it gets sloppy fast.
- Set the parallettes wide enough for the hips to travel through without twisting.
- Keep the shoulders active. If the athlete sinks, the swing gets heavier every rep.
- Scale the range before turning the drill into a frantic hop over the bars.
Set the bars before you start swinging
The first mistake is usually the setup. Bars too narrow make the hips scrape or twist. Bars too far apart make the shoulders work from a weak angle. A good starting point is just outside shoulder width, with enough room for the legs to pass through cleanly.
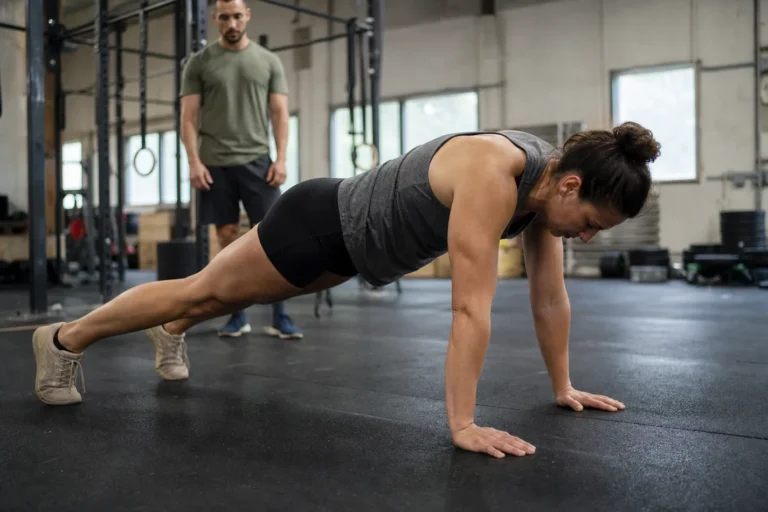
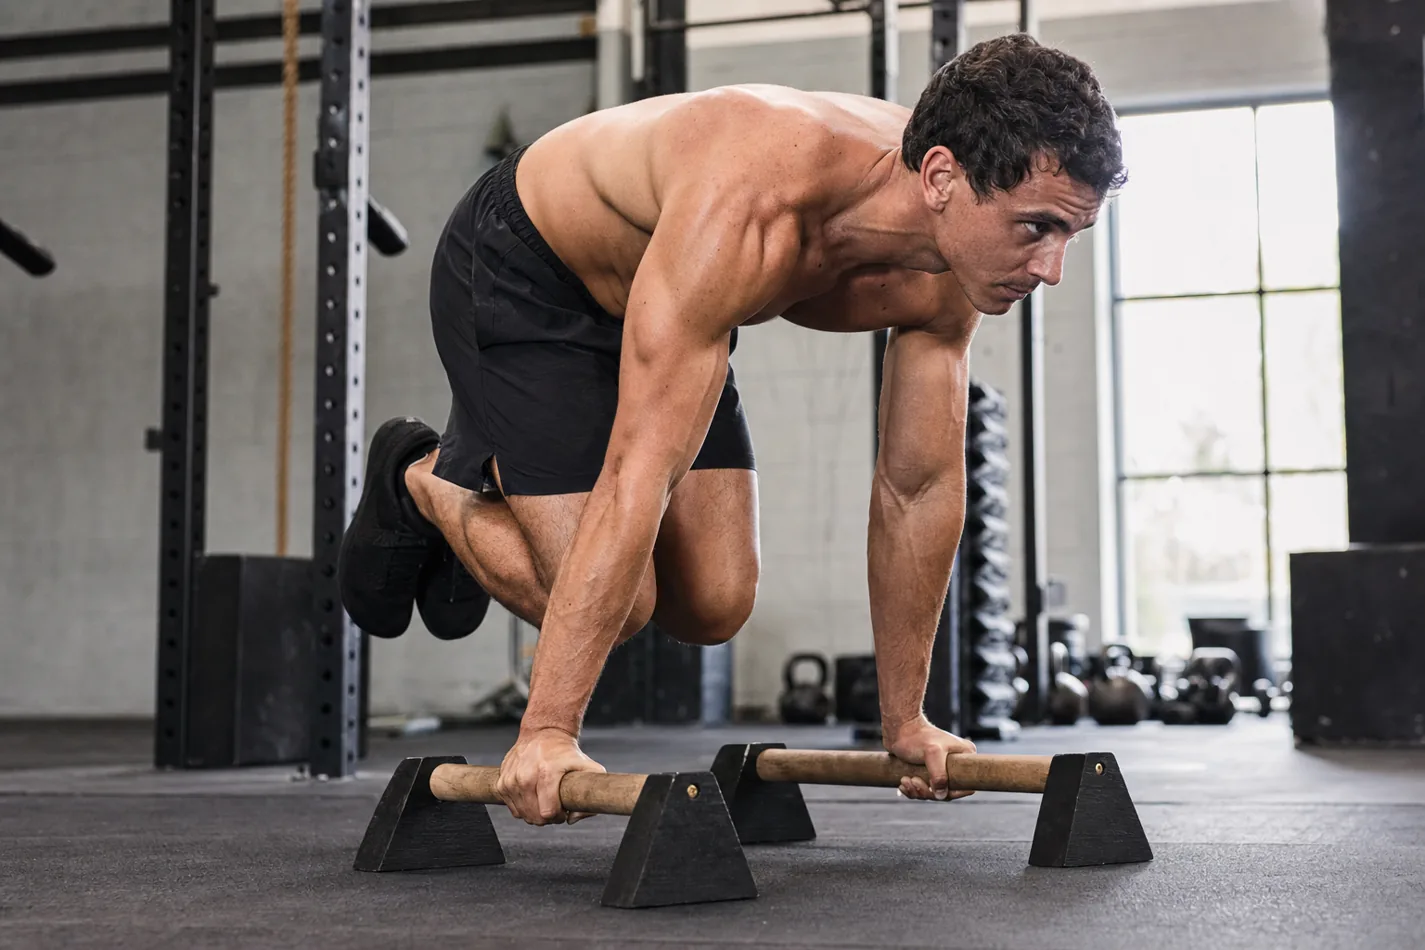
Start in a strong front support. Hands grip the parallettes, elbows locked without hyperextending, ribs pulled down, and shoulders pushing away from the floor. That press should feel familiar if the athlete has spent time on a ring support hold or hand-release push-up standards. The shape is simple, but it cannot be lazy.
The rep is a hip pass, not a wild kick
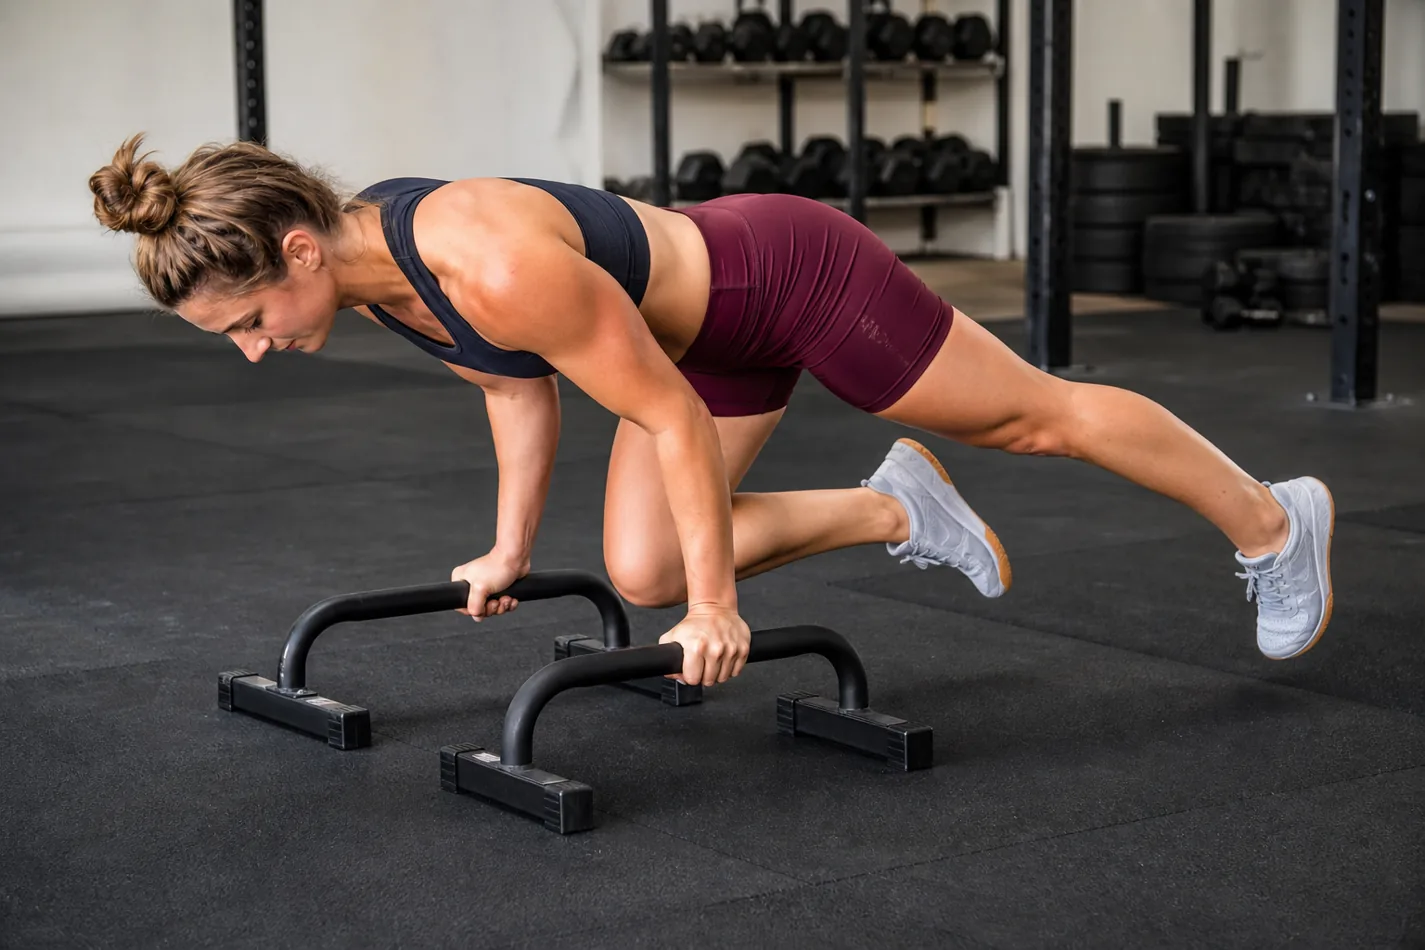
A clean shoot-through starts with pressure through the hands. From front support, tuck the knees, keep the arms long, and move the hips forward between the bars. The athlete lands in reverse support without dumping the shoulders behind the body. Then the same control brings the legs back through.
The movement connects well with hollow body control, V-up timing, and even L-sit compression. The legs need to move, but the trunk decides whether the rep stays organized. If the ribs flare and the head drops, the feet usually clip the floor or the hips stall between the bars.
| Fault | What it usually means | Fix to try |
|---|---|---|
| Feet hit the floor every rep | The athlete is not tucking early enough | Slow down and pull the knees higher before passing through |
| Shoulders sink between the bars | The press is gone before the hips move | Push the bars down and use a smaller range |
| Hips twist to one side | The bars are too narrow or the athlete is rushing | Reset the width and practice slow reps |
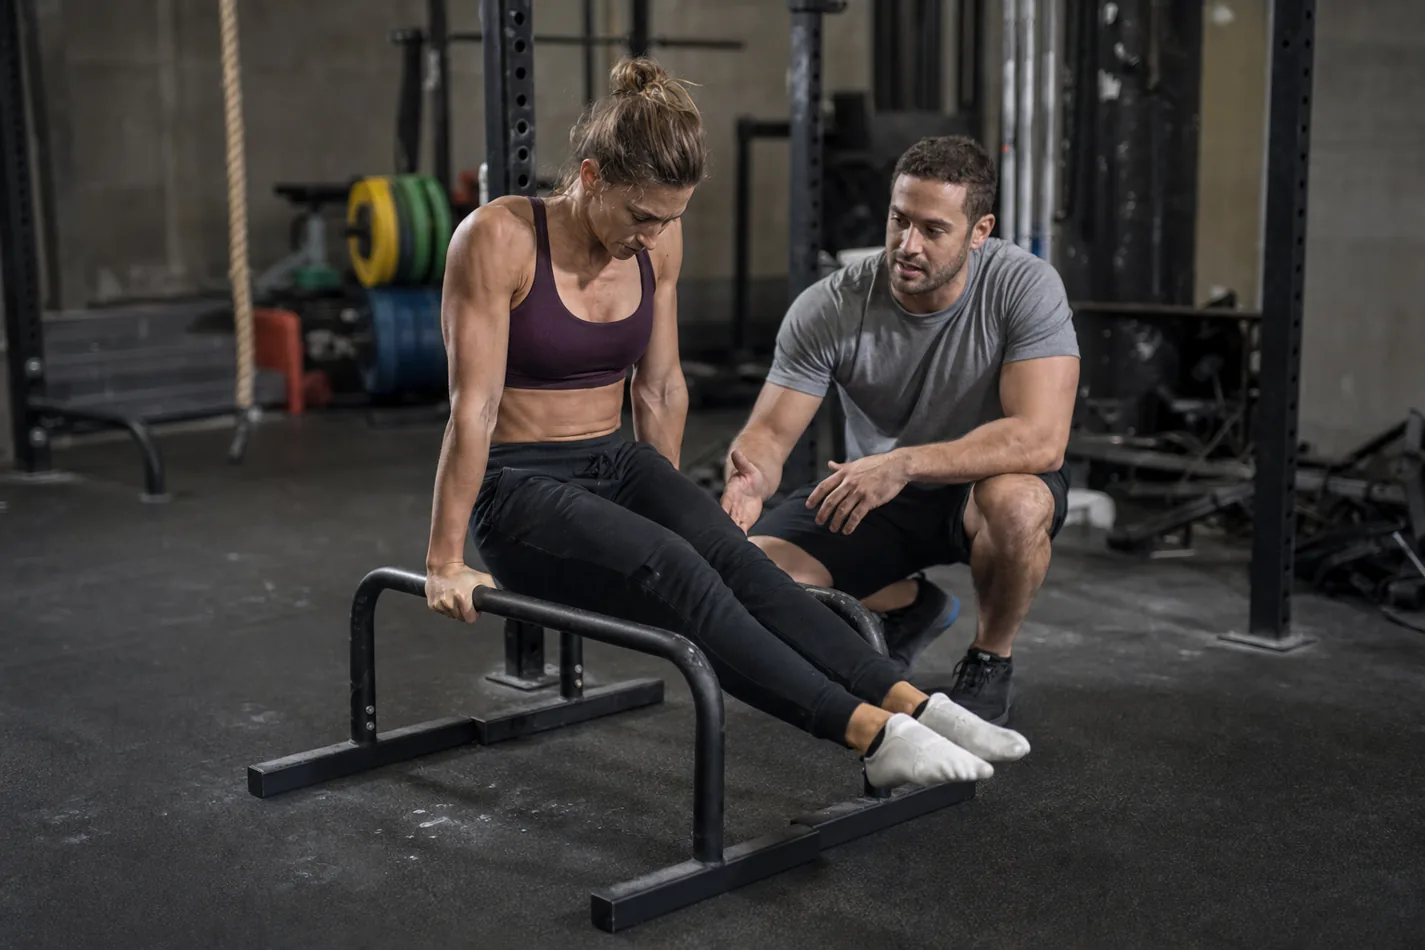
| Reverse support collapses | The athlete lands behind the hands with no shoulder control | Finish tall, then bring the legs back through |
Where shoot-throughs fit in CrossFit training
Shoot-throughs make sense in warm-ups, accessory circuits, gymnastics skill work, and bodyweight conditioning. They are not a max-strength movement. They are a control drill that gets harder when breathing rises and the shoulders are already tired.
They also bridge patterns that show up elsewhere. The press from the floor carries into ring dip shoulder control. The trunk position carries into hollow work. The crawling coordination has a cousin in bear crawl control. That is why coaches often use shoot-throughs when they want an athlete to feel connected from hands to hips without adding load.
The CrossFit demo below is short, but it shows the part most athletes miss: the hands stay planted while the hips pass through. Watch the shoulder position first. The feet are only part of the story.
How to scale without losing the drill
Good CrossFit scaling keeps the same idea: hands stay planted, shoulders stay active, hips move through. Raise the hands on taller boxes, shorten the range, let the toes brush lightly, or pause in each support position before linking reps. For newer athletes, that pause is often the fix. It forces them to own both ends of the movement.
Using no parallettes is also fine for some warm-ups. Hands on the floor, step one foot through, then the other. It is less demanding on the shoulders and wrists. But once the workout calls for parallettes, the athlete needs to respect the height. Trying to fake the rep with a tiny hop usually makes the shoulders pay.
Programming and pacing notes
In a conditioning piece, shoot-throughs should be repeatable. Sets of five to ten reps work better than long, ugly chunks. Once the athlete starts landing heavy or losing the lockout, the set has stopped teaching what it should teach.
Pair them with movements that do not immediately wreck the same shoulder position. Air squats, light bike calories, shuttle runs, and simple carries can work. Pairing them with high-volume pressing can be useful for advanced athletes, but it is rough on beginners. If the session already includes a long pressing block, keep shoot-through volume modest.
What to check before the WOD
Ask for three slow reps in the CrossFit warm-up. The athlete should show a steady front support, a clean hip pass, and a reverse support that does not cave in. If one of those pieces is missing, reduce the range or change the tool before the clock starts.
The best cue is not "go faster." It is "make the bars feel quiet." When the hands stay firm and the shoulders keep pressing, the legs can move through without drama. That is the rep worth keeping.