The plan
The L-sit looks quiet until you try to hold one. Nothing moves, but everything works. The triceps shake, the hip flexors cramp, and the abs have to keep the legs from folding back to the floor.
In CrossFit, the L-sit is not just a party trick on parallettes. It is a useful test of shoulder support, midline control, and compression. If an athlete cannot press down and keep a tight shape here, that same leak often shows up in gymnastics skills, hanging work, and high volume core training.
- A good L-sit starts with straight arms and active shoulders, not with forcing the legs higher.
- Tuck holds and one leg variations are better progressions than ugly full holds.
- Use short, clean sets. A five second hold with control beats a long hold with bent elbows and a rounded collapse.
What an L-sit should look like
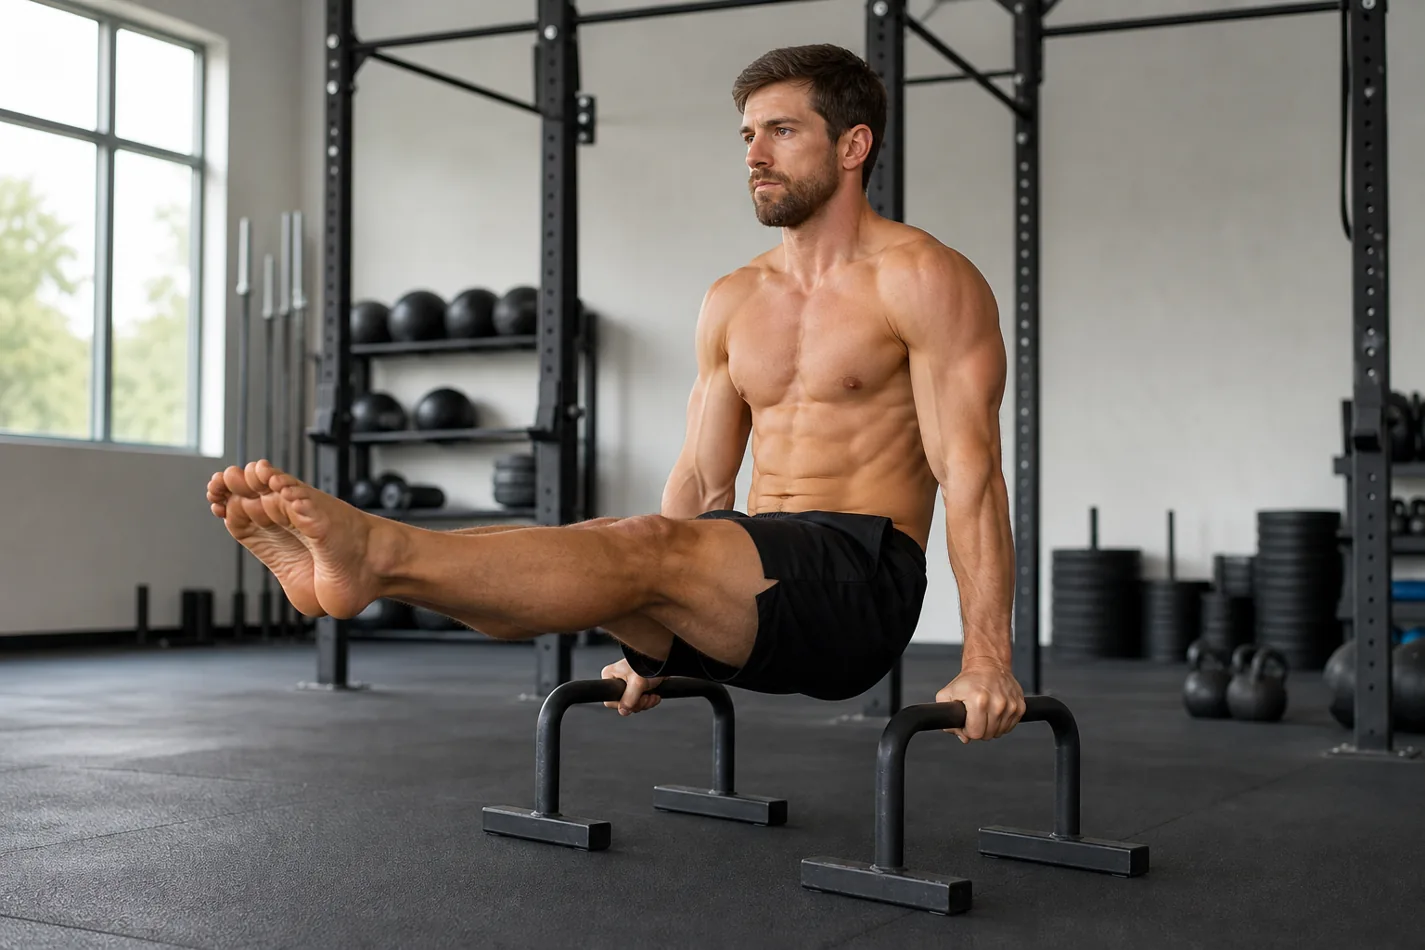
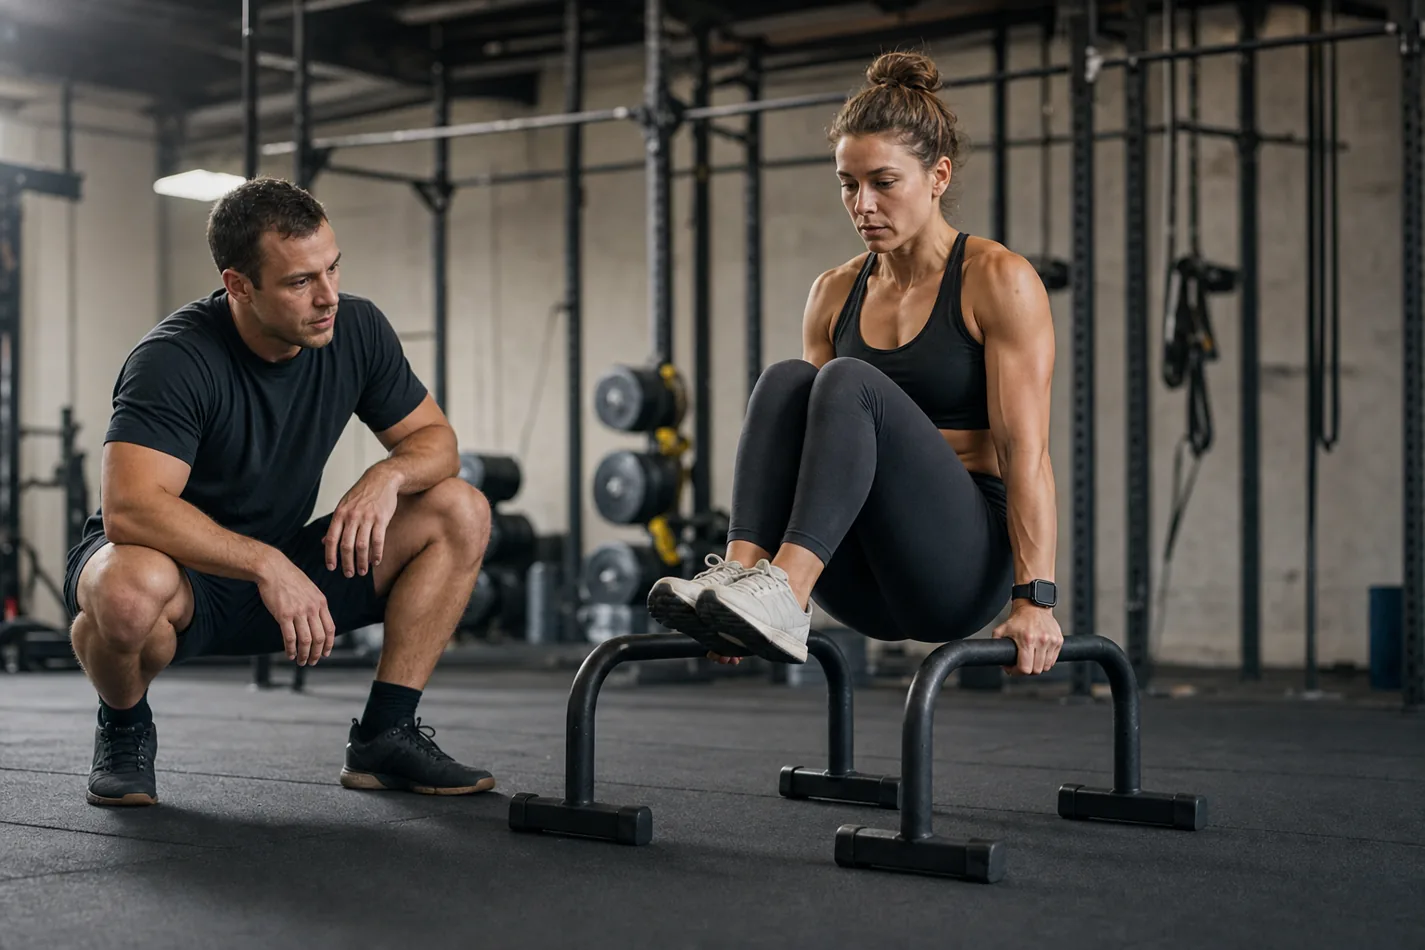
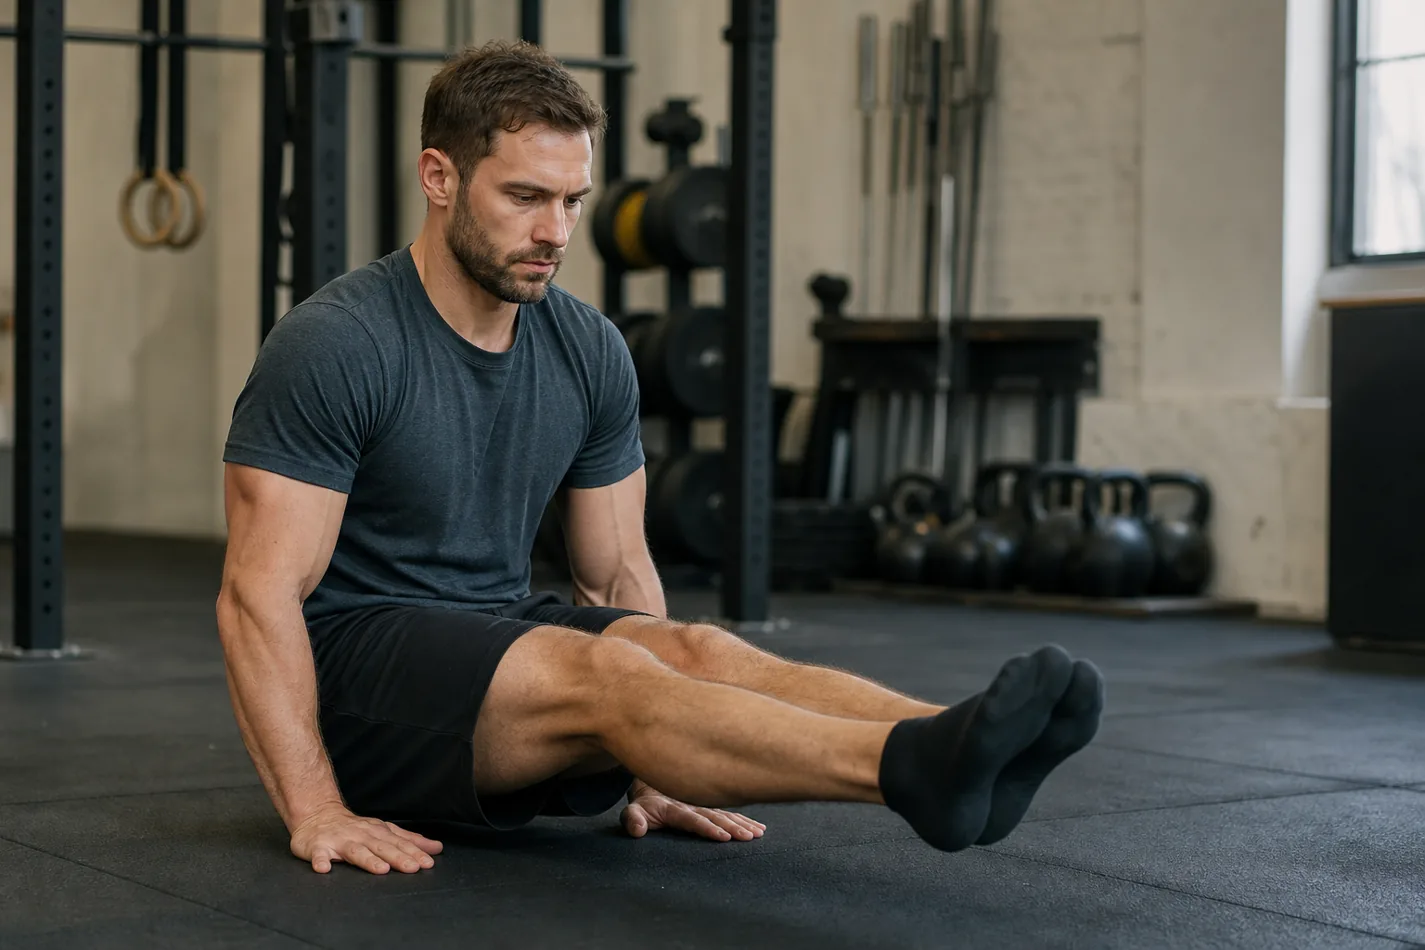
A clean L-sit has locked elbows, shoulders pressed down, hands planted firmly, and legs extended in front of the body. The hips may sit slightly behind the hands depending on arm length and equipment, but the athlete should not be hanging from loose shoulders.
The first checkpoint is simple: can you push the floor away? If the shoulders rise toward the ears or the elbows soften, the hold is already leaking. That support position carries over to ring dip support strength, dips, and other gymnastics work where the arms have to create space.
Why the shoulders matter before the abs
Most athletes blame weak abs when the L-sit falls apart. Sometimes that is true. More often, the shoulder position fails first. Once the athlete stops pressing down, the hips sink, the legs feel heavier, and the core has to fight from a bad angle.
Think about making the neck long and the arms heavy. The hands push into the parallettes or floor, the shoulders move away from the ears, and the ribs stay tucked. That is the same body awareness used in a strong hollow hold position, only now the athlete has to hold it while supporting bodyweight through the arms.
| Fault | What it usually means | Fix to try |
|---|---|---|
| Bent elbows | The athlete is pulling against the hold instead of supporting it | Lock the arms and shorten the hold |
| Shoulders near the ears | The body is sinking between the hands | Push down hard before lifting the feet |
| Knees slowly bending | Compression is fading | Use one leg extended or a tucked hold |
| Lower back rounding into a collapse | The athlete lost rib and pelvis control | Reset with hollow body work before another attempt |
Build the hold in pieces
The fastest way to make the L-sit worse is to chase the full version too early. Start with a tucked hold. Keep the knees close, press down, and hold a shape that does not shake apart after two seconds. Then extend one leg at a time before trying both legs.
That progression keeps the intent of the movement. It also connects well with V-up compression, because both skills ask the athlete to close the gap between ribs and thighs without turning every rep into a hip flexor cramp.
The CrossFit demo below is short, but it shows the piece most athletes miss: the shoulders stay pushed down while the legs lift. Watch the support position first. The legs only matter if the arms and shoulders keep the body off the floor.
How to program L-sits without wrecking the workout
L-sits work best in small doses. Try short sets in a warm-up, strict gymnastics accessory work, or as a midline piece after strength training. If the day already has heavy pulling, high rep toes-to-bar timing, or a lot of pressing, keep the holds crisp and stop before the support position gets sloppy.
For classes, set a target that lets most athletes win the correct version. Ten rounds of five to ten second holds with rest can teach more than one max hold where half the room folds into survival mode.
When to scale the L-sit
Scale the L-sit when the athlete cannot keep straight arms, when the hip flexors cramp immediately, or when wrist pressure becomes the limiting factor. Use parallettes if the floor version is blocked by arm length or mobility. Use boxes under the heels if the athlete needs to feel the support position first.
Good CrossFit scaling keeps the lesson intact. A tucked L-sit with strong shoulders still trains support and compression. A full L-sit with bent elbows, shrugged shoulders, and panic breathing mostly trains bad habits.
What to check on your next hold
Before lifting the feet, press down until the shoulders feel active. Then lift only as much leg as you can control. If the shape breaks, do not fight for five more ugly seconds. Rest, choose the right progression, and make the next hold look boring.
The boring hold is usually the one that builds the skill. Straight arms. Quiet shoulders. Legs where you can actually keep them. That is the L-sit worth carrying into the rest of your CrossFit training.