The plan
- Start with a handstand that does not panic
- The walk begins with tiny weight shifts
- Common faults that wreck handstand walks
- A short demo that shows the standard
- How to practice without turning every rep into a max effort
- How to pace handstand walks in a WOD
- Useful scales for different athletes
- What to check before your next WOD
A handstand walk gets treated like a party trick until it shows up in a workout. Then the same athlete who can kick upside down for a few seconds has to move across the floor, breathe, turn around, and keep going while the clock is loud.
The skill is not just balance. It is shoulder strength, body tension, small weight shifts, and the ability to stay calm when your feet are above your head. If you rush the walk before those pieces are in place, every step turns into a fall that happens slowly.
- A good CrossFit handstand walk starts with a stacked handstand, not with big steps.
- Most misses come from loose ribs, bent arms, looking too far ahead, or trying to walk before the shoulders can support the line.
- In WODs, scale the distance or drill before your handstand walk turns into repeated crashes and wasted time.
Start with a handstand that does not panic
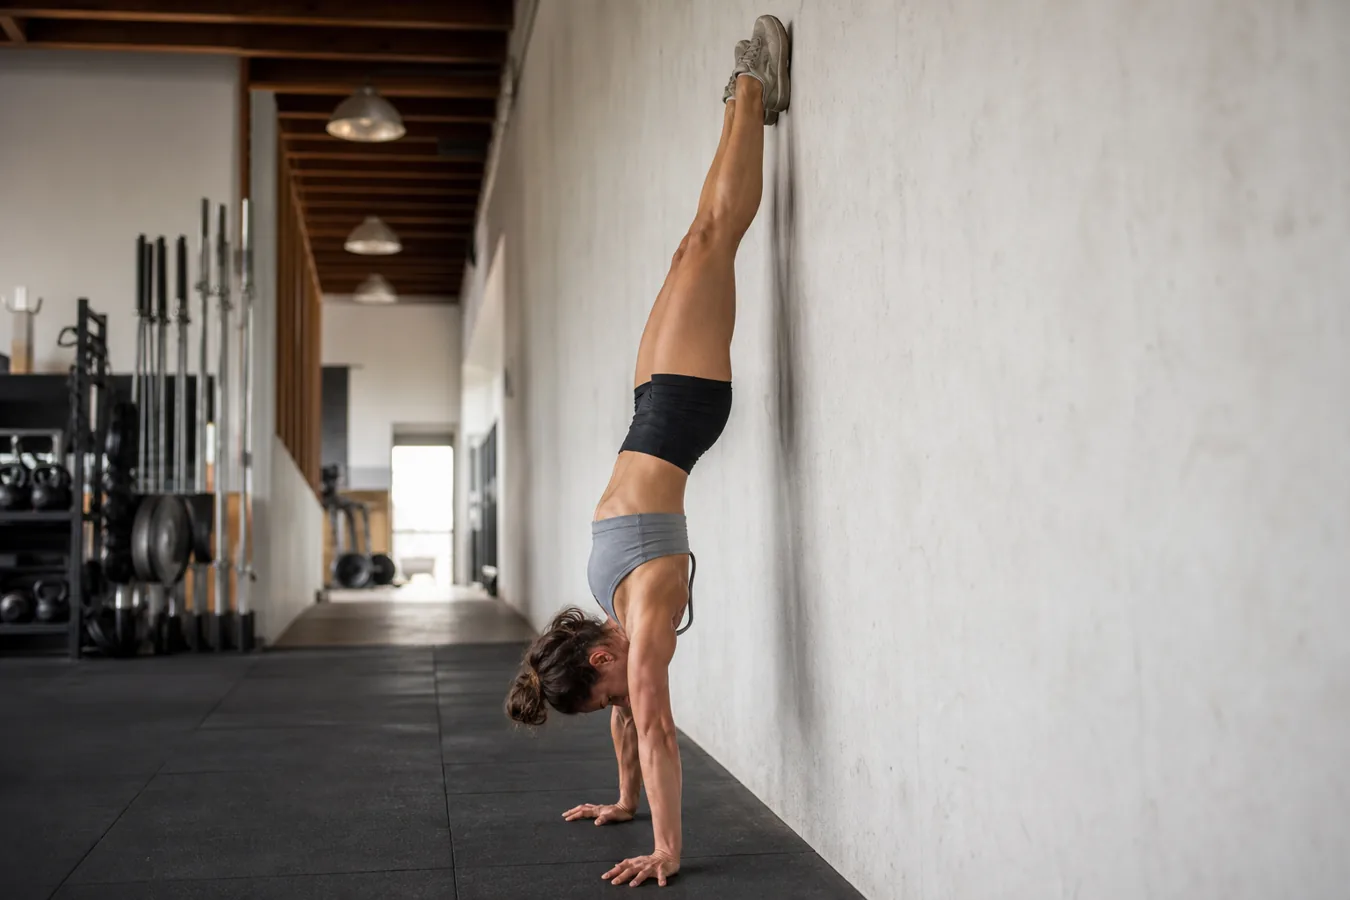
The first job is boring and non-negotiable: get comfortable upside down. Hands press into the floor. Elbows stay locked. Shoulders push tall. Ribs stay tucked enough that the lower back does not fold into a banana shape.
If that position disappears the second fatigue arrives, spend more time with CrossFit wall walks and wall-facing holds. They are not flashy, but they teach the line you need before you ask the hands to move.
The walk begins with tiny weight shifts
Walking on your hands is really a controlled transfer of weight from one palm to the other. The mistake is trying to take long steps because it feels more athletic. Long steps usually make the hips swing, the elbows soften, and the feet chase balance instead of helping you steer.
Use shoulder taps, hand lifts, and short line drills before you chase distance. Shift gently into the left hand, lift the right hand an inch, place it back down, then repeat. The goal is quiet control. If the feet crash off the wall or the hands slap the floor, the drill is telling you the step is too big.
Common faults that wreck handstand walks
| Fault | What it looks like | Fix to try |
|---|---|---|
| Soft elbows | The arms bend and every step feels heavy | Press tall through the shoulders and use shorter hand moves |
| Loose midline | The feet drift behind you and the back arches hard | Squeeze glutes, pull ribs down, and practice wall-facing holds |
| Head too high | You look across the room and the body tips over | Look between the hands or slightly ahead, not at the finish line |
| Huge steps | The hands reach far and the hips swing side to side | Use small steps and let distance build from control |
These faults show up in strict gymnastics too. Athletes who lose their lockout in CrossFit handstand push-ups often feel the same collapse when they try to walk. The fix is not always more courage. Sometimes it is more shoulder time under control.
A short demo that shows the standard
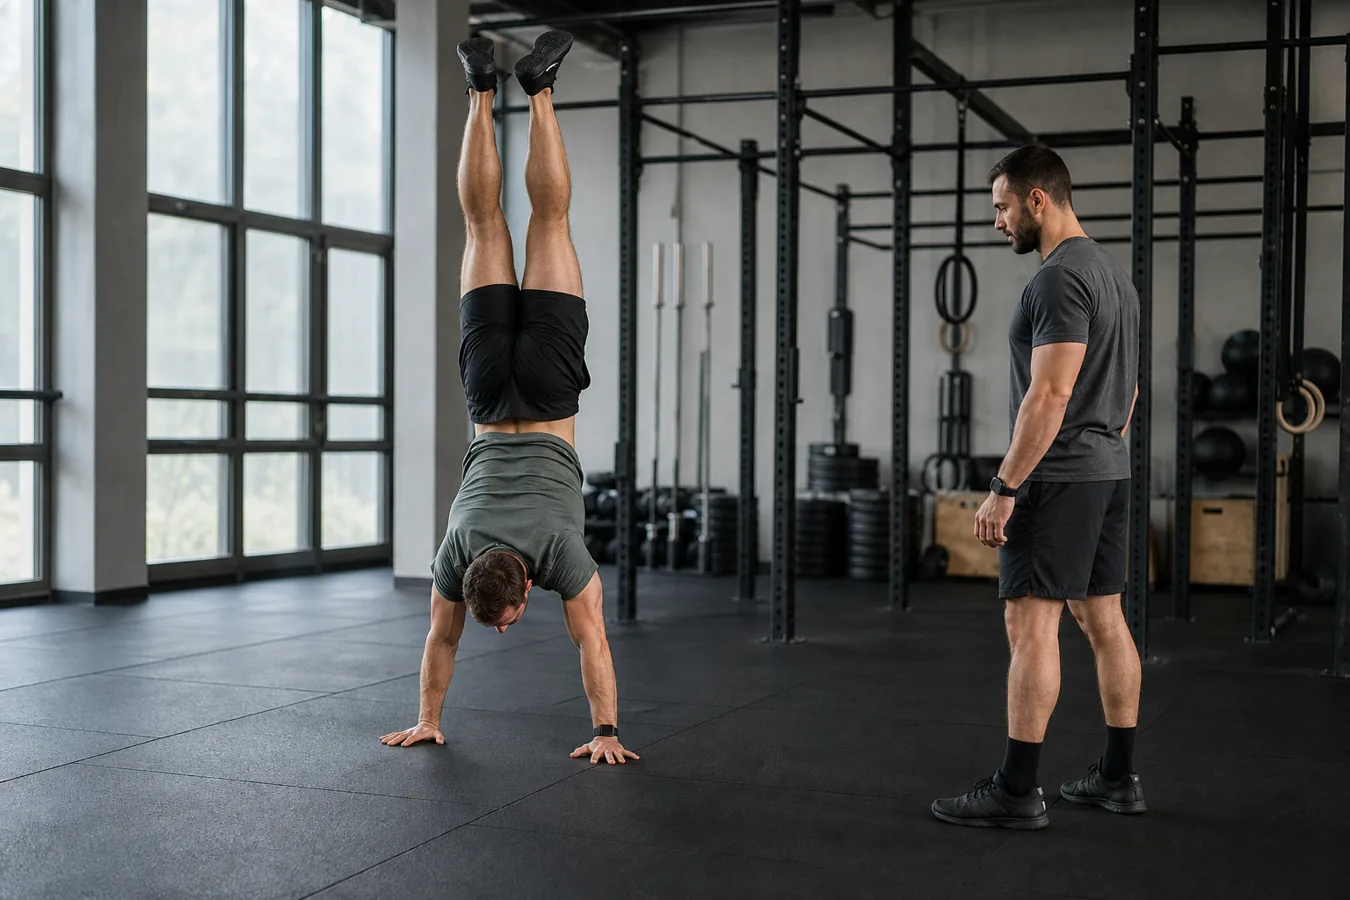
This CrossFit demo is brief, but that makes it useful. Watch the locked elbows, the small hand steps, and the steady body line. Nothing dramatic happens, which is exactly the point.
How to practice without turning every rep into a max effort
Handstand walks improve faster when the practice stays clean. Start with wall-facing holds for position, then shoulder taps for weight shift, then short freestanding attempts. Do not spend ten minutes throwing yourself across the floor and calling it skill work.
A useful session might be simple: three sets of a 20-second wall-facing hold, three sets of controlled shoulder taps, then five to eight short handstand walk attempts with full rest. Stop before your elbows start bending or your kick-up gets sloppy.
How to pace handstand walks in a WOD
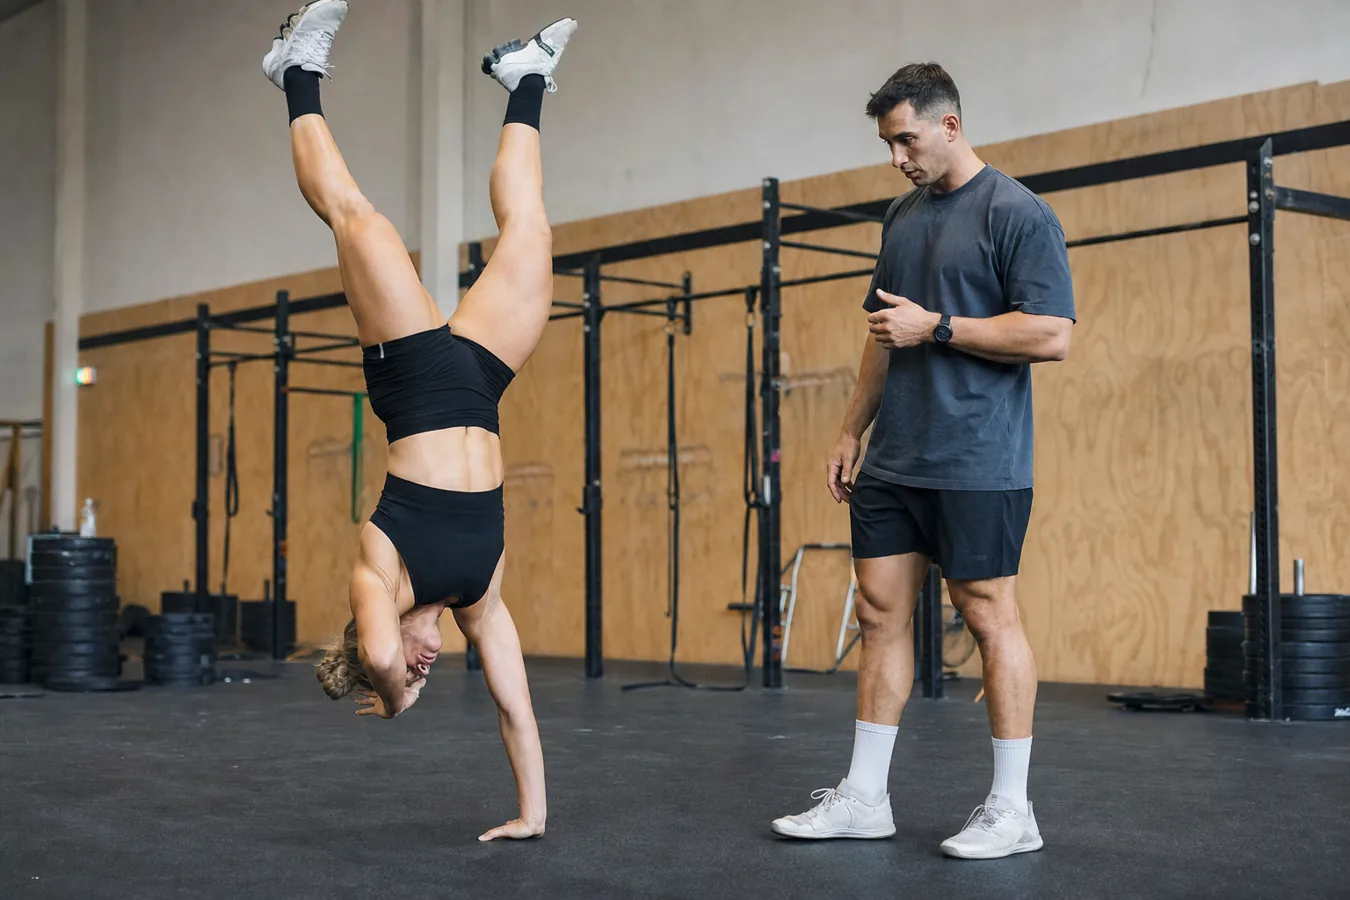
In workouts, the best handstand walk is the one you can repeat. If the standard is 25 feet and you can only make 10 feet when fresh, do not wait until round three to find out the skill is gone. Break the distance early, breathe before kicking up, and start each attempt with the same hand placement.
Fatigue changes the decision. After heavy overhead lifts, your shoulders may still press but lose fine control. After pulling work, your grip and forearms can make the floor feel unstable. That is when smart CrossFit scaling protects the stimulus instead of turning the workout into failed attempts.
Useful scales for different athletes
- New to inversion: bear crawls, box pike shoulder taps, or wall walks with a controlled descent.
- Comfortable upside down: wall-facing holds, shoulder taps, and small hand lifts near the wall.
- Close to walking: five-foot freestanding attempts, line walks, or partner-spotted steps.
- Good but inconsistent: shorter marked sections with planned breaks before fatigue breaks the line.
The scale should keep the shoulders loaded and the body inverted if that matches the workout goal. If the workout is meant to be fast and breathing-heavy, a shorter distance may be better than a harder drill that stops the whole class.
What to check before your next WOD
- Can you hold a wall-facing handstand with locked elbows and calm breathing?
- Can you shift weight from hand to hand without the hips swinging?
- Can you take small steps instead of reaching for distance?
- Can you kick up the same way when tired?
- Can you choose a scale before repeated misses burn the shoulders out?
Chase the cleanest version first. Distance comes later. A handstand walk that stays quiet for five feet teaches more than a messy 25-foot save that only worked because you were willing to fall forward.