The plan
The push press is where a strict press stops being honest. The bar still finishes overhead, but the legs are supposed to do the first hard part. When athletes miss that timing, the movement turns into a shaky shoulder press with a knee bend attached.
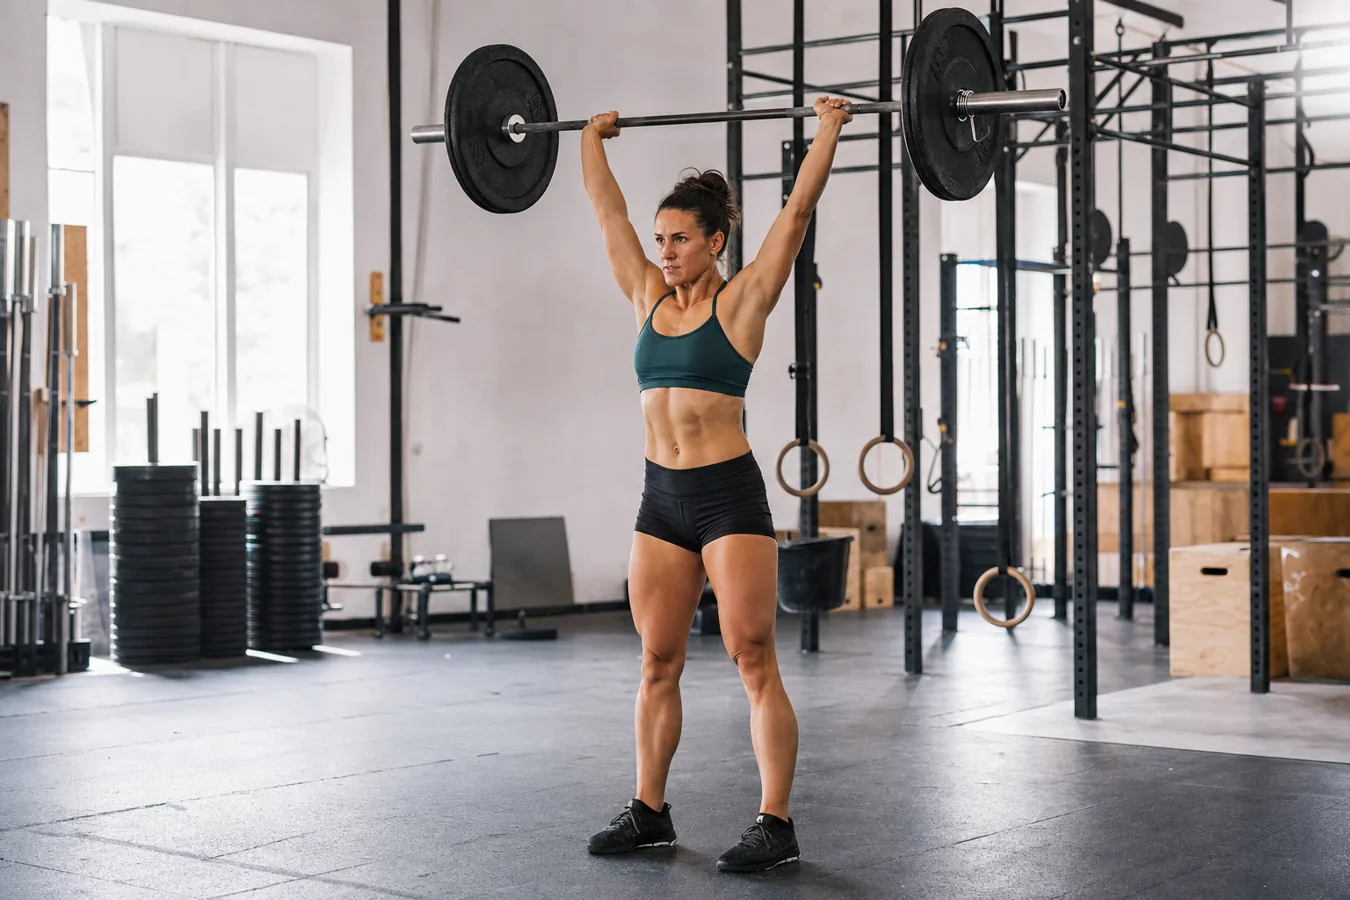
In CrossFit workouts, that mistake gets expensive fast. A clean push press should feel like a short dip, a sharp drive, then a patient lockout. The goal is not to make the rep look dramatic. The goal is to move the bar with less shoulder fatigue so you can keep cycling when the workout starts to bite.
- A good CrossFit push press uses a vertical dip and aggressive leg drive before the arms finish the rep.
- The most common faults are dipping forward, pressing too early, and overextending the lower back at lockout.
- Scale the load or switch to strict press work if the dip and drive disappear under fatigue.
What the push press is actually training
The push press trains force transfer. Legs drive into the floor, the torso stays stacked, and the bar leaves the shoulders because the whole body moved together. If the legs dip and the arms wait too long, the bar stalls. If the arms press too early, the legs never get a chance to help.
That timing is why the push press sits between the CrossFit strict press and the jerk. The strict press exposes raw overhead strength. The push press adds leg drive without asking you to re-bend under the bar. It is still simple enough to learn, but not so simple that you can ignore the details.

The setup: front rack, ribs down, feet rooted
Start with the bar on the shoulders, not floating in the hands. The grip can be slightly wider than a strict press grip, but the bar should still feel connected to the body. Elbows sit a little in front of the bar. They do not need to be as high as a front squat, but they cannot drop so low that the bar rolls forward during the dip.
Brace before you dip. A soft midline usually shows up as a big lean back at the top, especially when the workout includes cycling from the shoulder. If your ribs flare every rep, the lockout might look complete on paper while your lower back pays for it.
Dip straight, drive hard, press late
The dip should be short and vertical. Think knees forward, heels heavy, chest tall. A deep dip is not better. It often slows the rep down and makes the bar slide away from the body. Most athletes need less dip than they think.
After the dip, stand hard. Let the leg drive pop the bar off the shoulders before the arms take over. This is the part that changes the movement. The arms finish the rep, but they should not start the fight.
| Fault | What it looks like | Fix to try |
|---|---|---|
| Forward dip | The chest tips and the bar rolls toward the fingers | Dip against a wall target or slow the first inch of the dip |
| Early press | Shoulders burn before the legs feel involved | Pause in the dip, then drive before bending the elbows |
| Soft lockout | Bar finishes forward with ribs flared | Squeeze glutes, pull ribs down, and finish with biceps near ears |
| Overloaded reps | Every rep becomes a slow grind | Reduce load until the bar jumps off the shoulders |
A quick video check for the timing
This short CrossFit demo is useful because it keeps the push press simple. Watch the dip and drive first. The lockout only makes sense if the bar left the shoulders cleanly.
How to cycle push presses in a workout
Cycling push presses is not just bouncing the bar off the shoulders. Receive the bar with control, breathe at the front rack, and keep the next dip stacked. The descent should set up the next rep instead of dumping the bar into a loose position.
For sets of 10 or more, break before the dip gets lazy. Five and five with short rests can beat one ugly set of 10 if the second half turns into lower back extension and shoulder survival. The same pacing logic applies to movements like CrossFit thrusters, where breathing and leg timing decide whether the bar keeps moving.
Push press vs push jerk
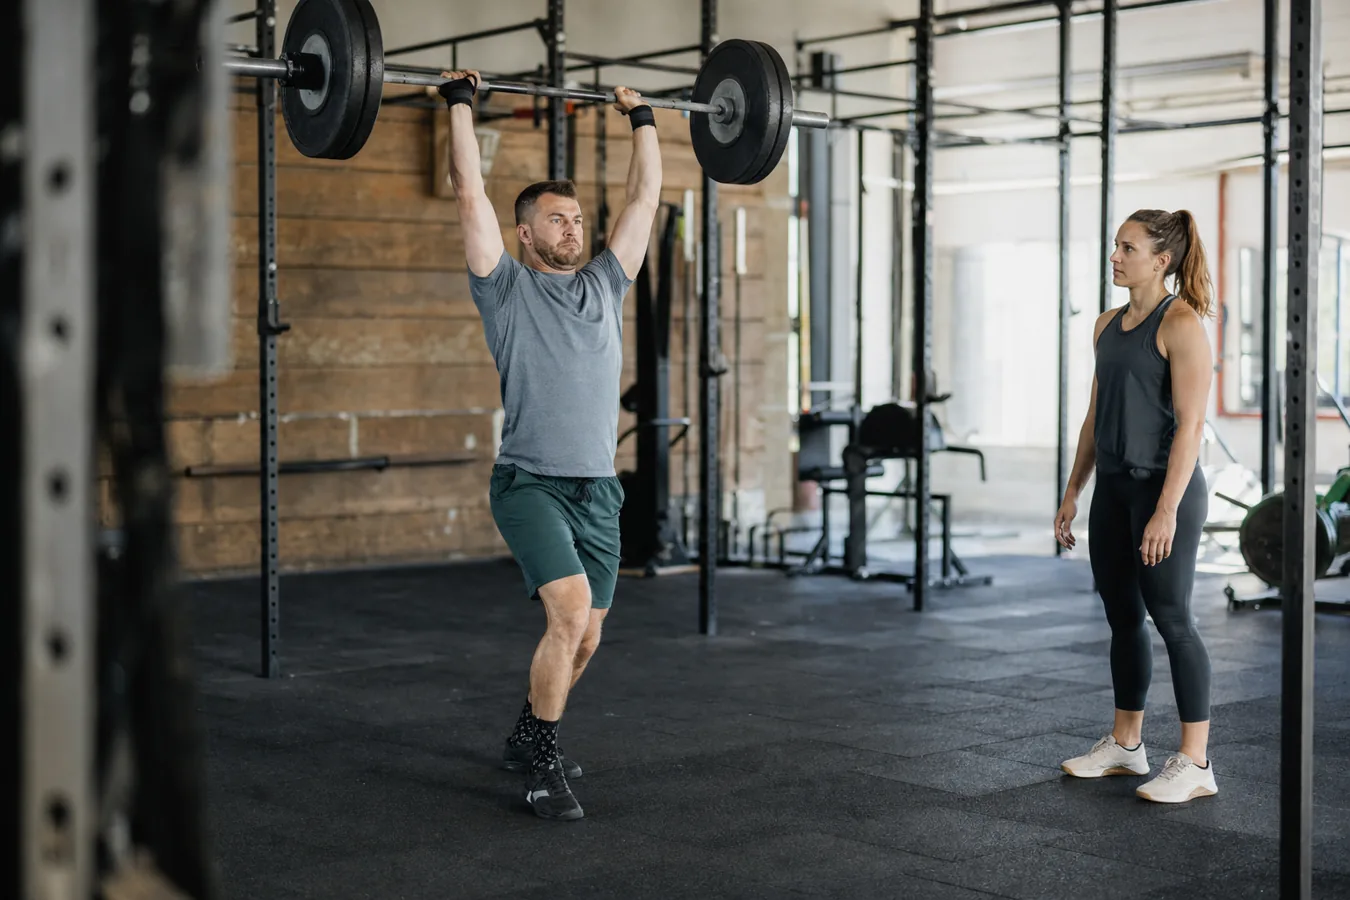
The push press finishes with the legs straight. The push jerk adds a second dip under the bar after the drive. That small difference changes the loading. A push jerk lets many athletes move more weight because they receive the bar lower. A push press forces you to finish the drive and press through to lockout.
If a workout calls for shoulder-to-overhead, the push press can be the right choice at moderate loads. If the bar is heavy enough that every rep stalls above the forehead, a push jerk may save energy. If the workout specifically says push press, keep it honest and do not sneak under the bar.
Athletes who are building toward barbell cycling in the clean and jerk should treat the push press as a timing drill, not just an accessory lift. The better the vertical drive, the easier it is to understand why the bar should travel up before you move around it.
When to scale the push press
Scale the push press when the bar path turns forward, the athlete cannot keep the ribs down, or the dip gets deeper every round. A lighter bar is the obvious fix, but it is not the only one. Dumbbell push presses, tempo dips, or strict press strength work can all make sense depending on what is breaking.
Do not scale so far that the workout loses its point. If the intended stimulus is fast overhead cycling, choose a load that still lets the athlete move with speed. If the workout is supposed to feel heavy, keep enough load to require focus. A smart CrossFit scaling choice protects the stimulus instead of turning every workout into a random modification.
What to check before your next overhead WOD
- Can you keep the dip vertical without the bar rolling forward?
- Can you feel the legs move the bar before the arms finish?
- Can you lock out without leaning back?
- Can you bring the bar back to the shoulders without losing your brace?
- Can you choose a load that keeps the workout moving instead of turning every rep into a max effort?
If one of those checks fails, fix that piece first. The push press rewards timing more than panic. Use the legs, keep the bar close, and let the shoulders do the last part instead of the whole job.